Hostinger Reach: Choose Recipients and Send Your Email Campaign

Learn how to choose the recipients and send your email campaign by following prior requirement steps

Updated 2 weeks ago

Hostinger Reach is a beginner-friendly, AI-enhanced email marketing platform fully integrated into the Hostinger ecosystem.

Requirements to choose recipients and send your email campaign

If you’ve completed all the steps below:

  1. Signing up and accessing the Reach dashboard

  2. Connecting your domain

  3. Adding business details

  4. Setting up your brand look

  5. Adding contacts

  6. Creating an email campaign

  7. Generating an AI email template

Then, you’re ready to choose your recipients and send your email campaign!

To choose your recipients and send your email campaign, you can follow the steps below:

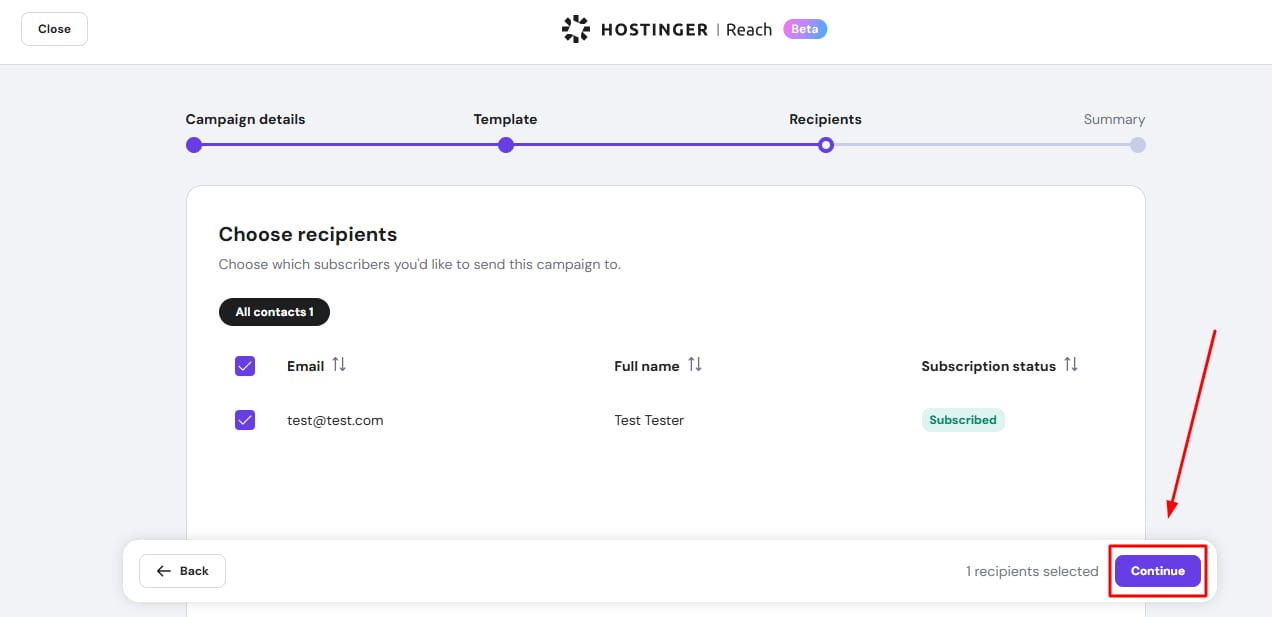
  1. Select the recipients for your campaign.

  2. Click Continue.

    Hostinger Reach recipients page with Continue button highlighted in the bottom-right

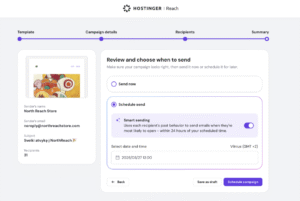
  3. Review the campaign.

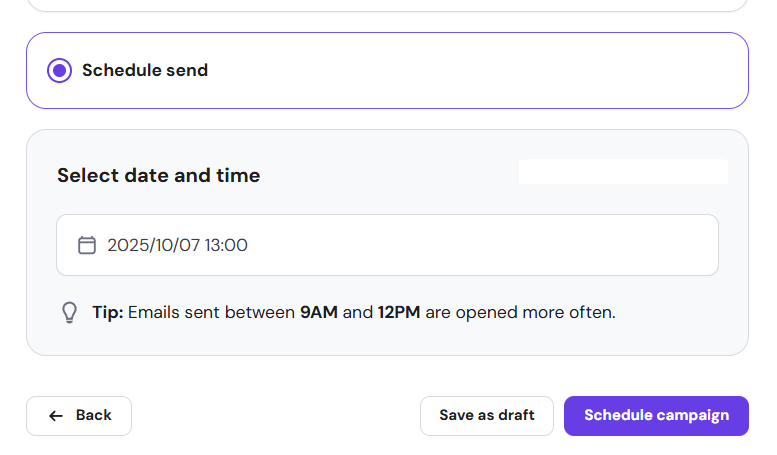
  4. Click Finish or Save as draft if you’re not ready to send just yet.

    Hostinger Reach email campaign review screen with the Finish button highlighted

If you click Finish and send, you’ll be asked to confirm that you want to send the email right away. Click Send now, and the campaign will be sent to your recipients immediately.
Hostinger Reach send options with Send now selected for the email campaign

If you want to schedule the delivery, select Schedule send and choose the date and time for your campaign to be sent.

Hostinger Reach schedule send option selected with date and time set for campaign