While our Backups tool is designed to download files of all the websites within a particular hosting plan at once, you can download a backup of a particular website via SSH.
This method doesn’t apply to sites created with Hostinger Website Builder 💡
Step 1 – Preparations
To begin, you’ll need two things:
-
Enough storage for at least your desired website’s public_html folder size
-
SSH access, which is available with Premium web hosting plans or greater
Make sure you’ve enabled SSH access and connect to your hosting plan: How to Connect to a Hosting Plan via SSH
Step 2 – Navigate to the Correct Location
Once connected via SSH, you’re located in its root directory. To double-check it, use the command ls and hit the Enter button. You’ll get a result similar to this:
The domains folder has all your websites’ files separated into individual folders (except for builder-based websites). Navigate to the domains folder using the cd domains command. Once you’re there, use the ls command again to see the content within the domains folder:
You should see all your websites listed there.
Step 3 – Generate a Compressed Folder
Create a compressed folder of your preference:
Compressing to .TAR.GZ
Use the command below. Replace folder-name with the title of your preferred website’s folder, and hit the Enter button:
tar -czvf folder-name.tar.gz /folder-name
Compressing to .ZIP
Use the command below. Replace folder-name with the title of your preferred website’s folder, and hit the Enter button:
zip -r folder-name.zip folder-name/
Once you do that, you’ll see a list of subfolders and files that have been added to your compressed folder. Then, you can use new commands again. Depending on your website’s size, it might take a few minutes.
You may use the command ls again to check if the new compressed file is now created and listed on your current location.
Step 4 – Get the Name of Your Database (Optional for WordPress)
If your website is built with WordPress, you might want to double-check the name of your website’s database. In that case, navigate to the website’s folder:
cd folder-name/public-html
And get its database name with the following command (no need to replace anything here):
wp config get DB_NAME
Then, copy the output (the title of your site’s database) prompted on your screen and save it somewhere for later:
After checking your database’s title, don’t forget to navigate back to the domains folder with the command:
cd ../..
Step 5 – Export and Compress Database (Optional)
If you already know the name of your website’s database, you may now export it via SSH. Once exported, you’ll be able to see the .SQL file in your location:

You may also compress this specific folder by following step 3 above: only replace the folder-name with the name of your database (.SQL) file. If you use the zip command, remove the -r part from the command, as it’s only used for folder compression. For example:
zip website-name-db-backup.zip website-name-db-backup.sql

Step 6 – Download the Compressed Files via SSH
To download the files, open a new terminal tab or disconnect from the current SSH session with the command exit:

Finally, adapt the following command to download the generated files:
scp username@hostname:/path/to/remote/file /path/to/local/file
In this example, it would be:
scp -P 65002 u817052417@82.180.135.53:/home/u817052417/domains/drew-dev-br.zip /home/andrew.ribeiro/Downloads
And for the database:
scp -P 65002 u817052417@82.180.135.53:/home/u817052417/domains/website-name-db-backup.zip /home/andrew.ribeiro/Downloads
You’ll be prompted to enter your password, and the files will be downloaded!
After that, we highly recommend you connect to your hosting via SSH again (step 1) and remove the generated files with the following command (so that they wouldn’t consume your hosting plan’s resources):
rm
Step 7 – Download the Compressed Files via the File Manager (Optional)
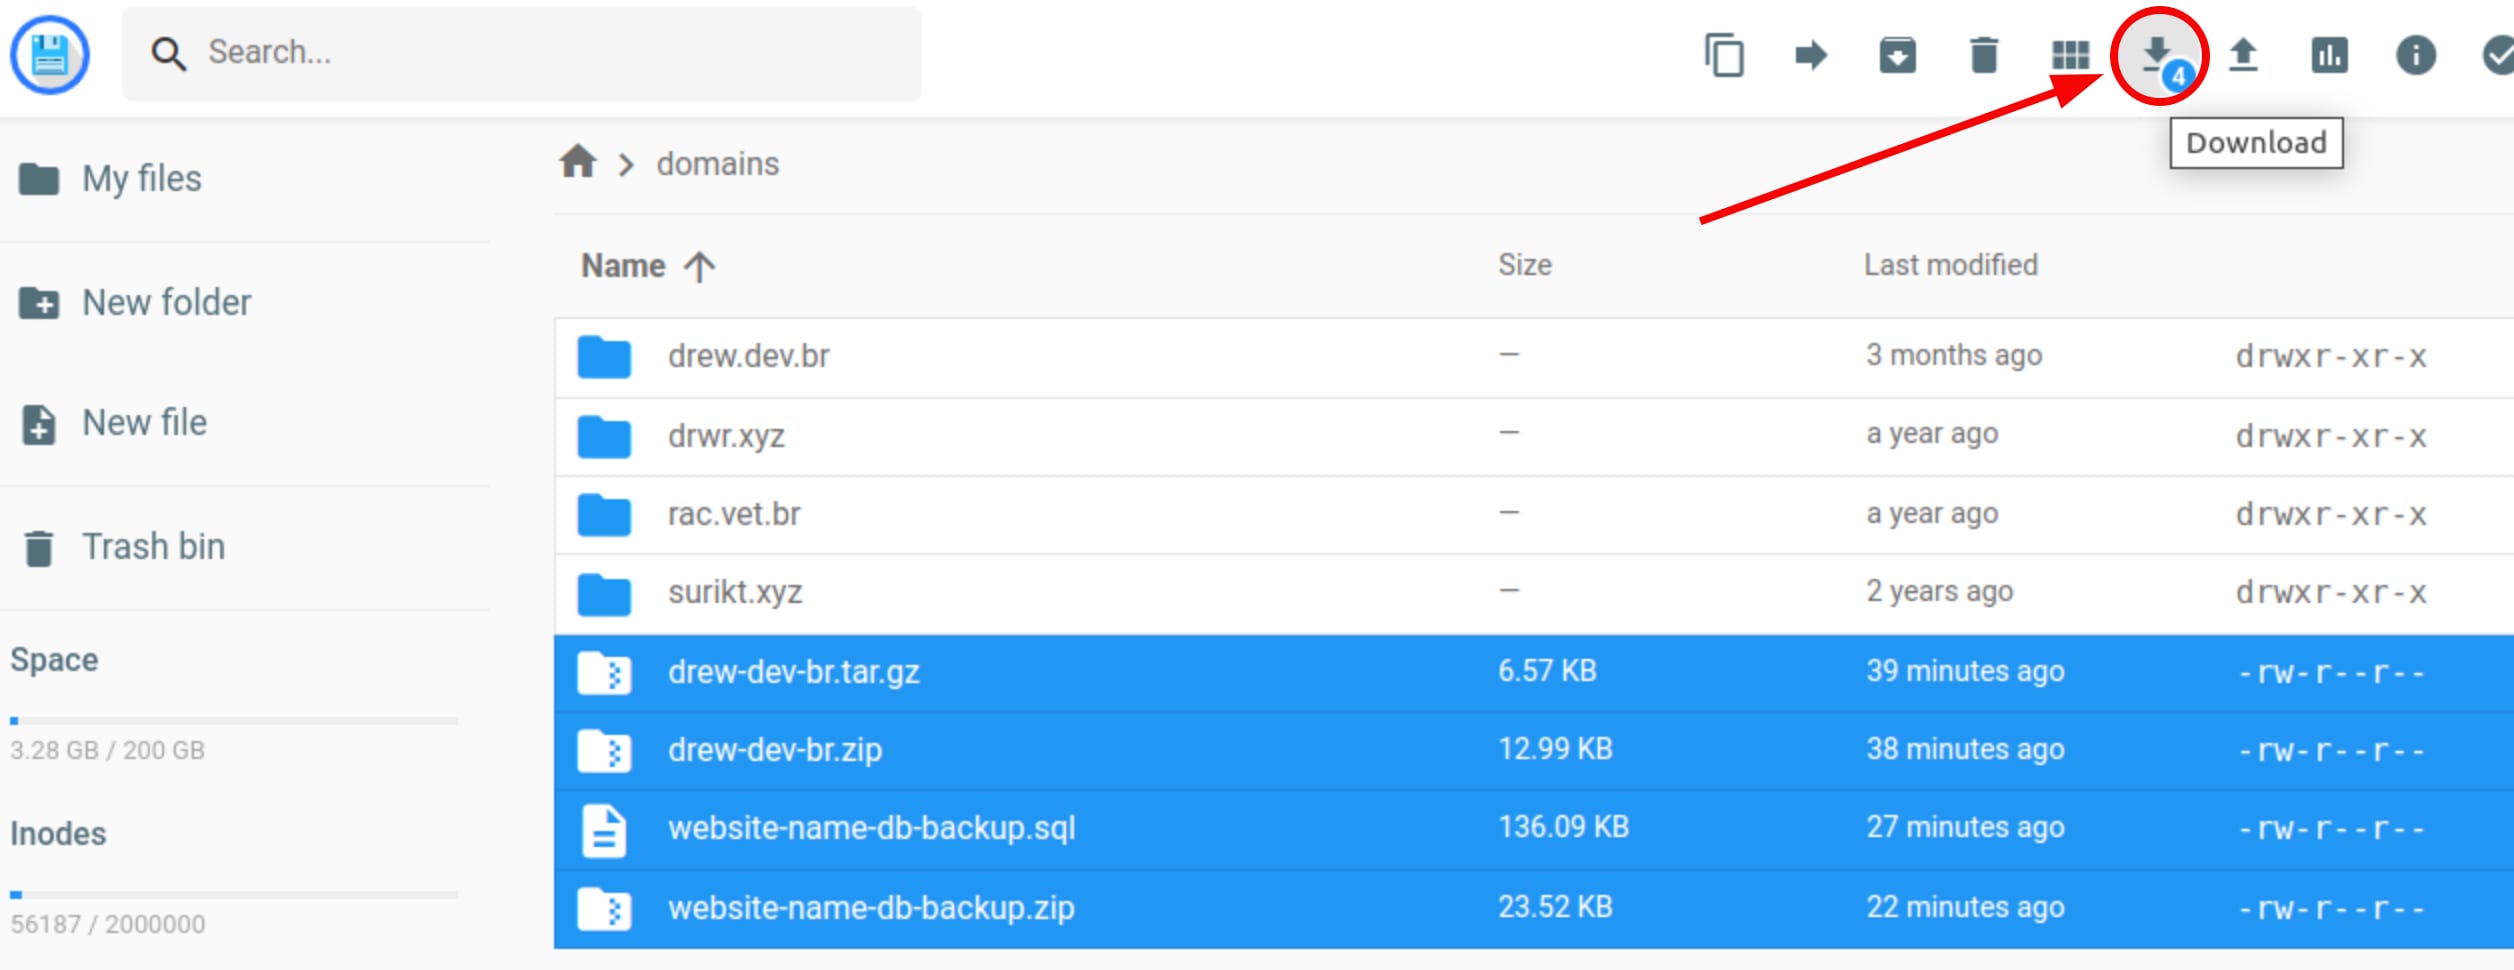
Go to the File Manager, and access all the files in your hosting plan:
Navigate to the domains folder, select the desired files, and download them:
Once finished, you may delete these files to have more space:
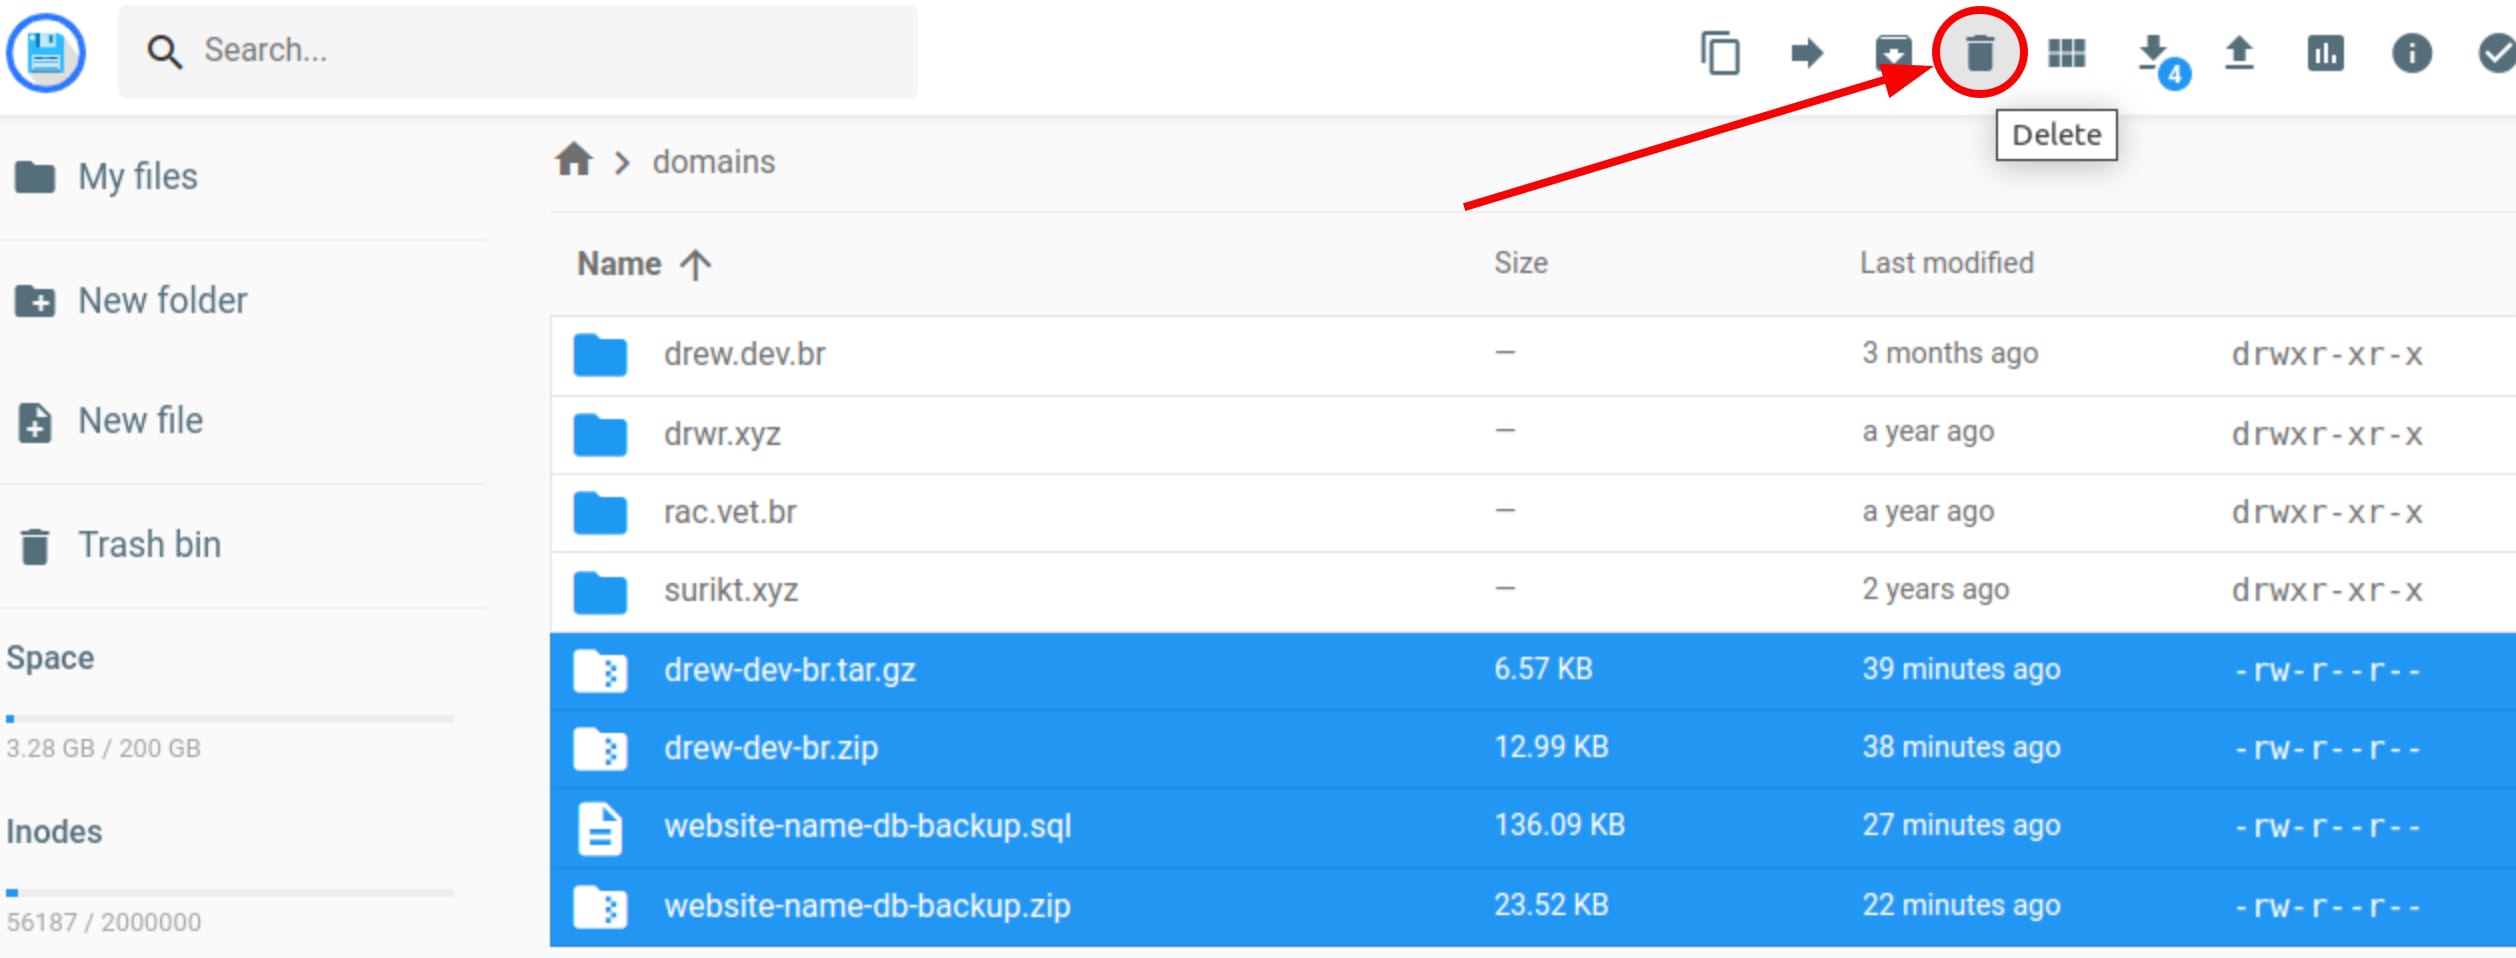
And that’s it!