To add a new WordPress website to your hosting plan, follow the steps below 👇
See how WordPress installation works in action. Click below to try the interactive demo:
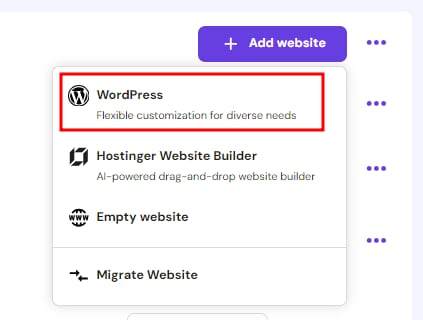
Step 1 – Add a website to your hosting plan
In the Websites section, click on the Add website button of the desired hosting plan and select WordPress:
Step 2 – Create the WordPress login details
On the next step, enter the following information:
-
Select the preferred language for your WordPress admin panel
-
Specify the administrator email address
-
Create or generate a strong password
Step 3 — Set up your WordPress site
You’ll be presented with two options:
- Create a website with AI (recommended) — Click this to launch the AI Website Builder flow. Kodee will guide you through describing your site, choosing an editor (Gutenberg or Elementor), and reviewing the suggested page structure before generation begins. Available on all shared and cloud hosting plans.
- Start with a blank WordPress site — Skip AI generation and begin with a default WordPress installation.
Note on themes and templates: Theme and template selection is no longer part of the initial setup. To install a theme after WordPress is created, go to Appearance → Themes in the WordPress dashboard. To access free pre-built templates, install the Starter Templates plugin by Astra. The Hostinger Affiliate theme is still available directly from the WordPress Overview in hPanel.
Note on plugins: Plugin recommendations are available in the Easy Onboarding checklist inside the WordPress dashboard after installation.
Step 4 – Use the AI Text Generator
Insert your brand name and a short description of your business, and the AI will help you create content for your website. Once you do that, click on Continue. Alternatively, you can skip this step for now and use the WordPress AI Assistant later.
Step 5 – Name your website
Specify the name (domain or subdomain) for your WordPress website. Here, you have the following options:
-
Use a domain you already own, either purchased at Hostinger or elsewhere. If registered at another provider, you will be required to point it to Hostinger.
-
Create a subdomain or use an existing subdomain from a domain you own.
-
Purchase a new domain.
If you want to skip this decision for now, click on Use a temporary domain, and click on Next.
After a few minutes, your WordPress installation will be completed, and you can start building your website using WordPress or go back to the control panel.
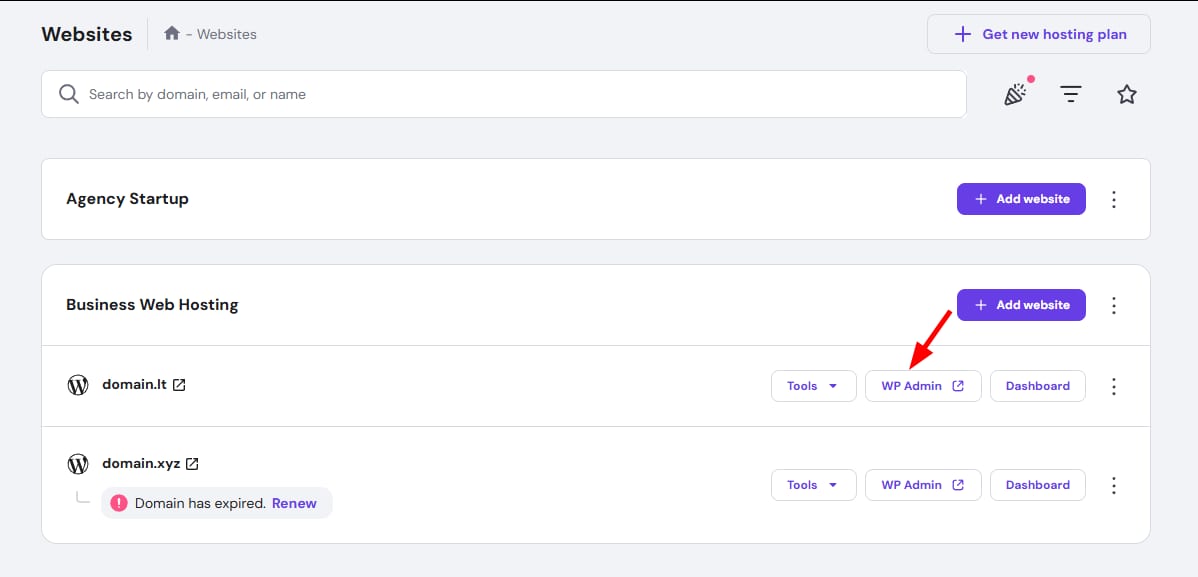
Step 6 – Access the WordPress dashboard
Once installation is complete, you will be able to manage your WordPress by going to the Websites section and clicking on Admin Panel:
Delete a WordPress website
If you wish to delete your WordPress installation and remove the website and associated emails from your hosting plan, we recommend you create and download a backup first. Then, go to the Websites section, click on the ellipsis ⋯ button, and select Delete: