Learn how you can do more and manage better your Hostinger Email services.
-
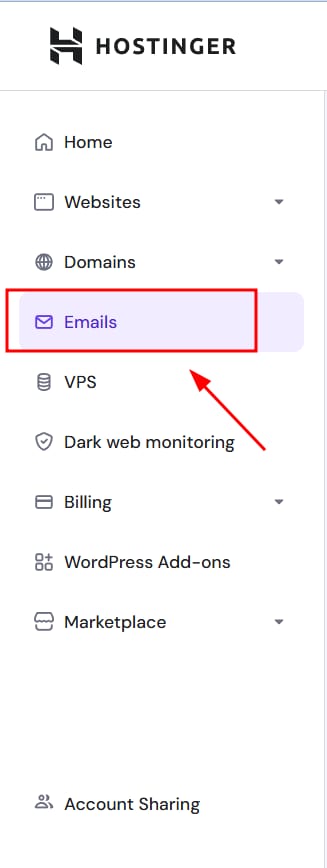
Go to the Emails section of hPanel.
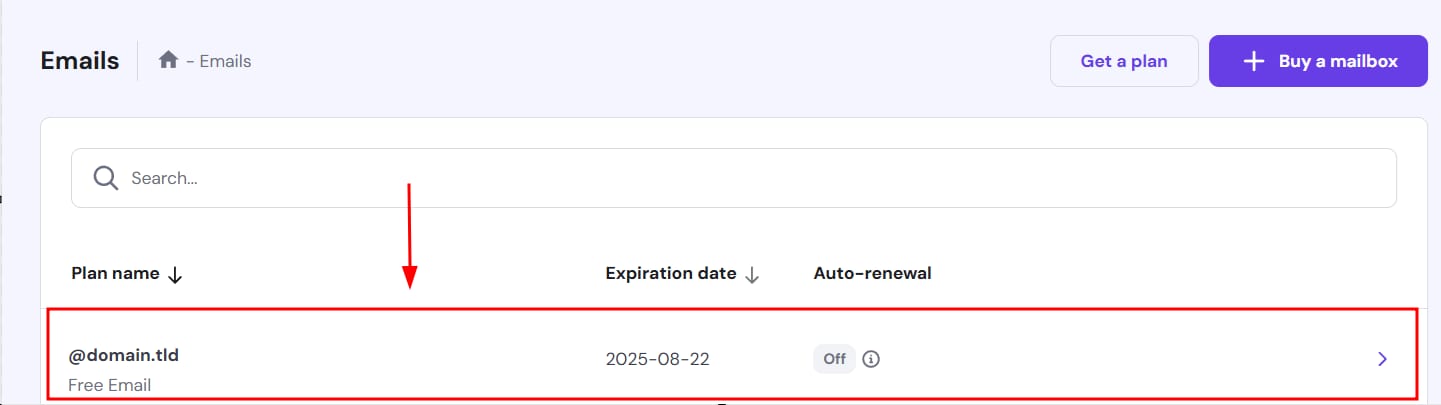
Click anywhere (or use the >) in the plan linked to the domain or subdomain you want to manage emails for:
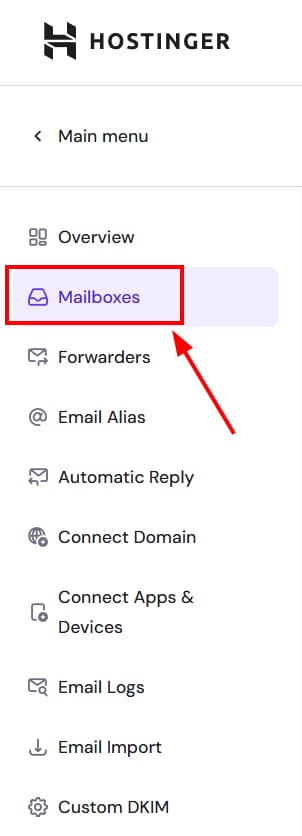
Go to Mailboxes on the left sidebar:
Then, click on the ellipsis ⋮ button next to the email account to find more options and choose Settings:
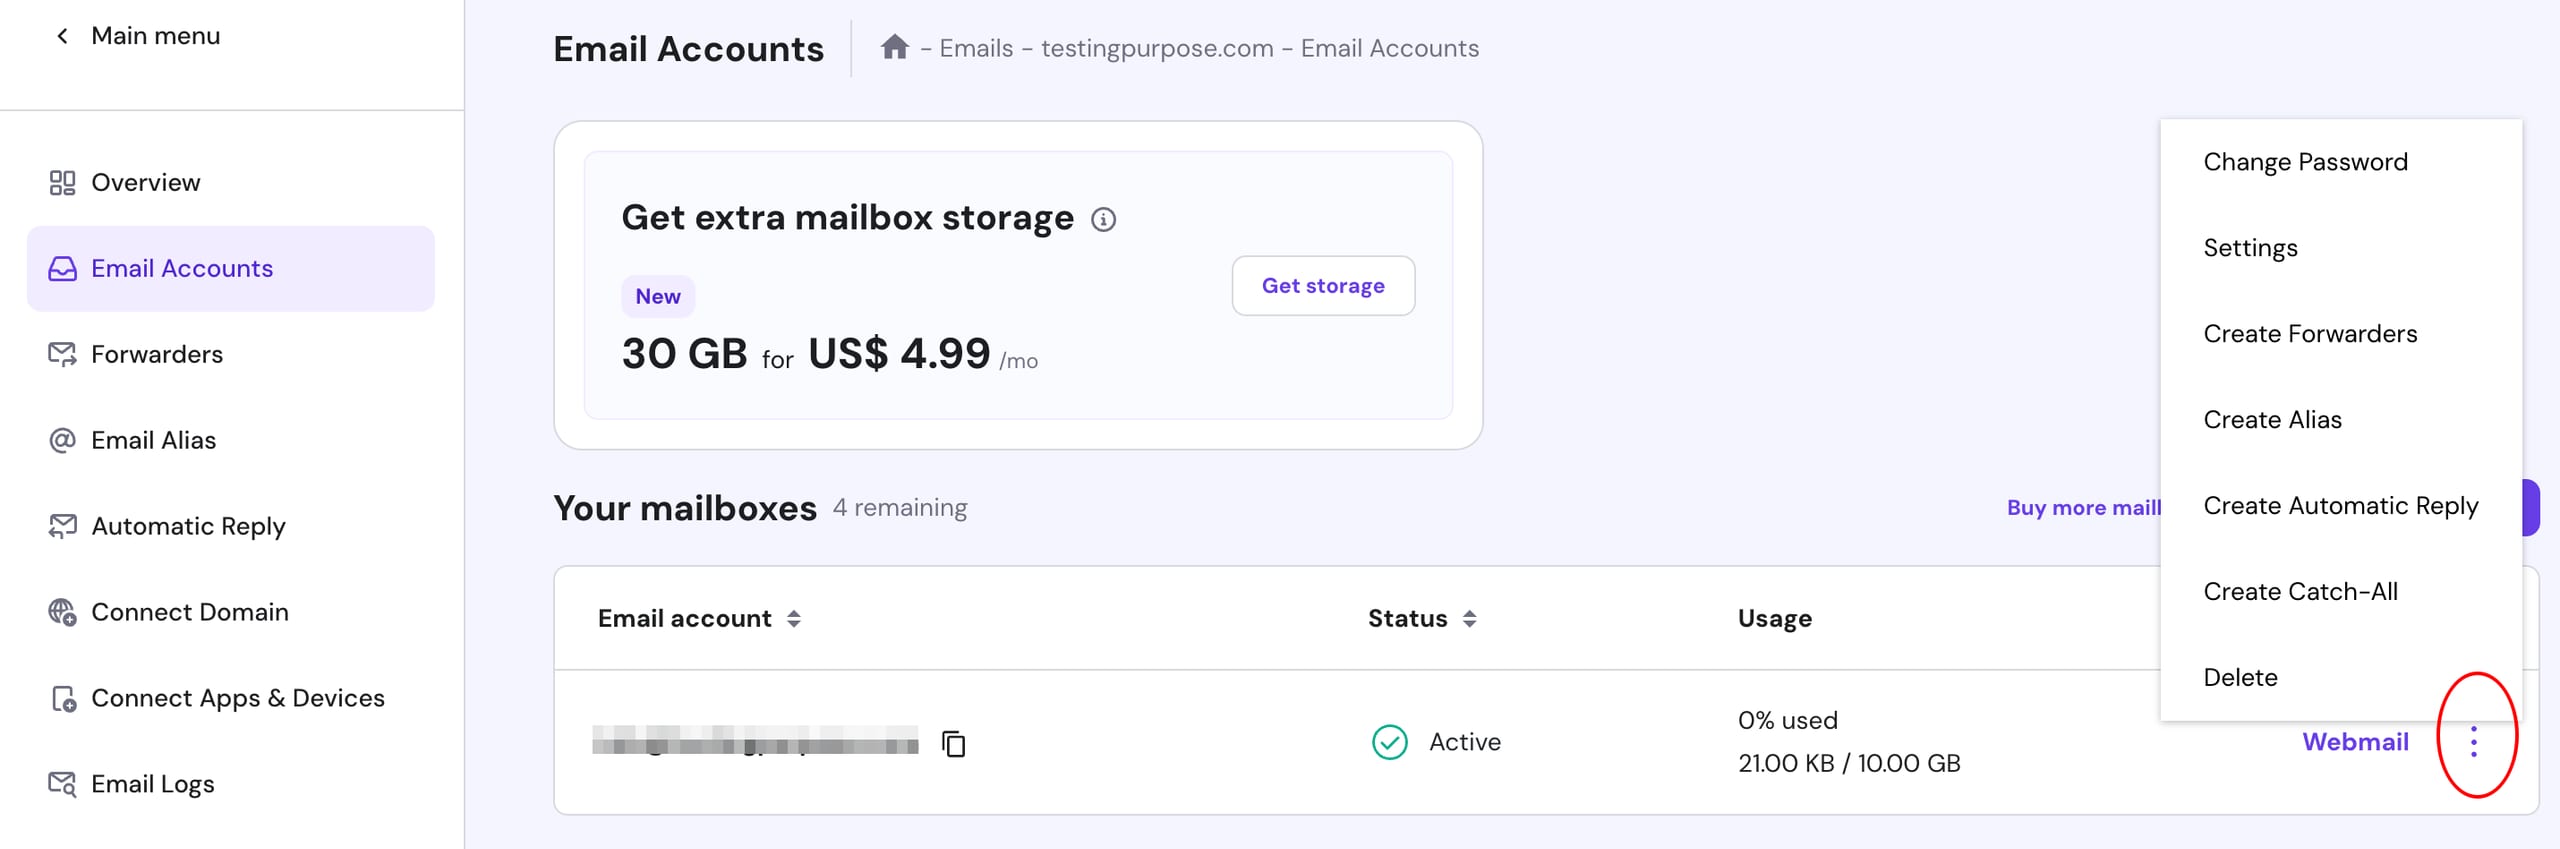
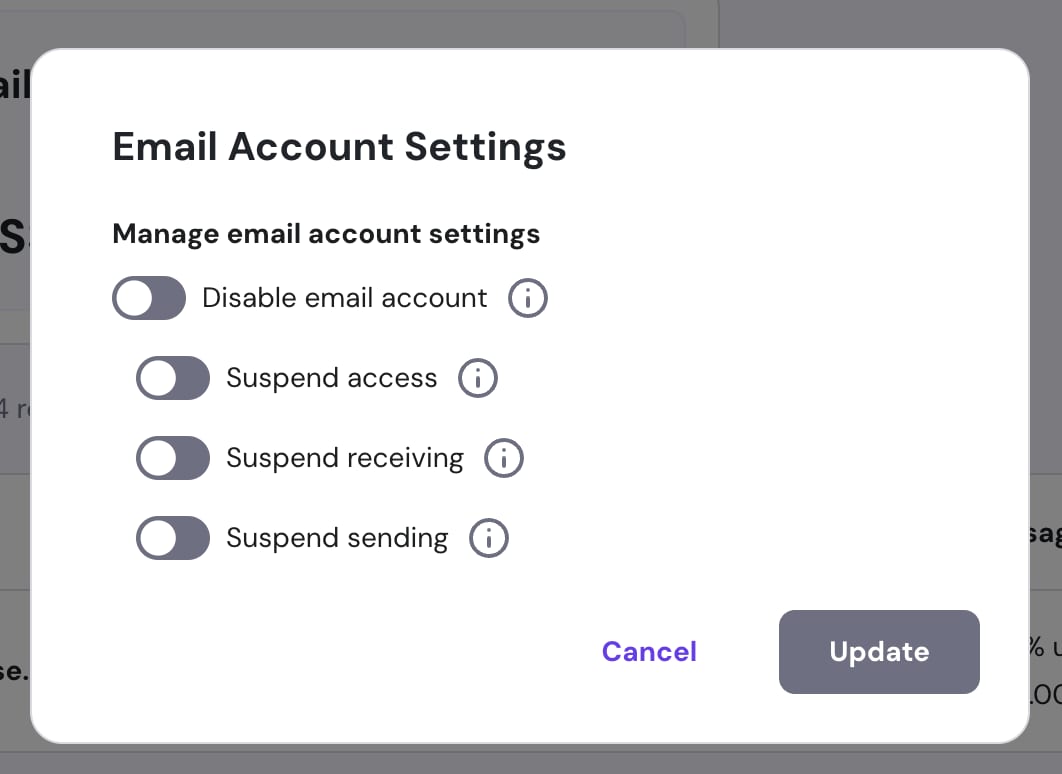
You will be presented with the following options:
|
Option |
Description |
|
Disable email account |
This option turns the email account off completely. You won’t be able to send and receive emails, as well as access webmail. |
|
Suspend access |
You won’t be able to log in to your Hostinger Email account. You’ll still be able to send and receive emails, but won’t be able to access them. |
|
Suspend receiving |
You won’t receive emails but will be able to send them. |
|
Suspend sending |
You won’t be able to send emails, but will still receive them. |
To change any option, click on the toggle, then select Update.