At Hostinger, you can easily restore your website files and databases to a previous state using the existing automated backups.
This procedure doesn’t apply to websites created with Hostinger Website Builder. In such a case, take a look here: Website Builder: How to create and restore website backups.
Initial considerations
Before initiating the restoration, it’s important to be aware of the following:
-
After restoring a backup, your website will be returned to its state at the moment of backup creation; any changes done after the backup date will be reverted.
-
Before restoring to a previous date and as an additional safeguard, you can download the current website data to your local device: How to download backups at Hostinger.
-
The methods described below apply for restoring websites, files and databases within the same account. If you wish to restore a backup on a different Hostinger account, check these articles:
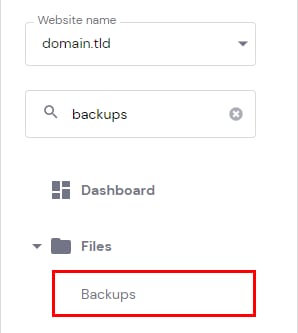
To restore a backup, go to the Websites section, find the site in question, and click on Dashboard. Then, search for Backups on the left sidebar and click on it.
You’ll find backup options for your website files and databases. Check the following methods to understand the differences according to your desired outcome and the detailed instructions 👇
Method 1 – Fully restore a WordPress website
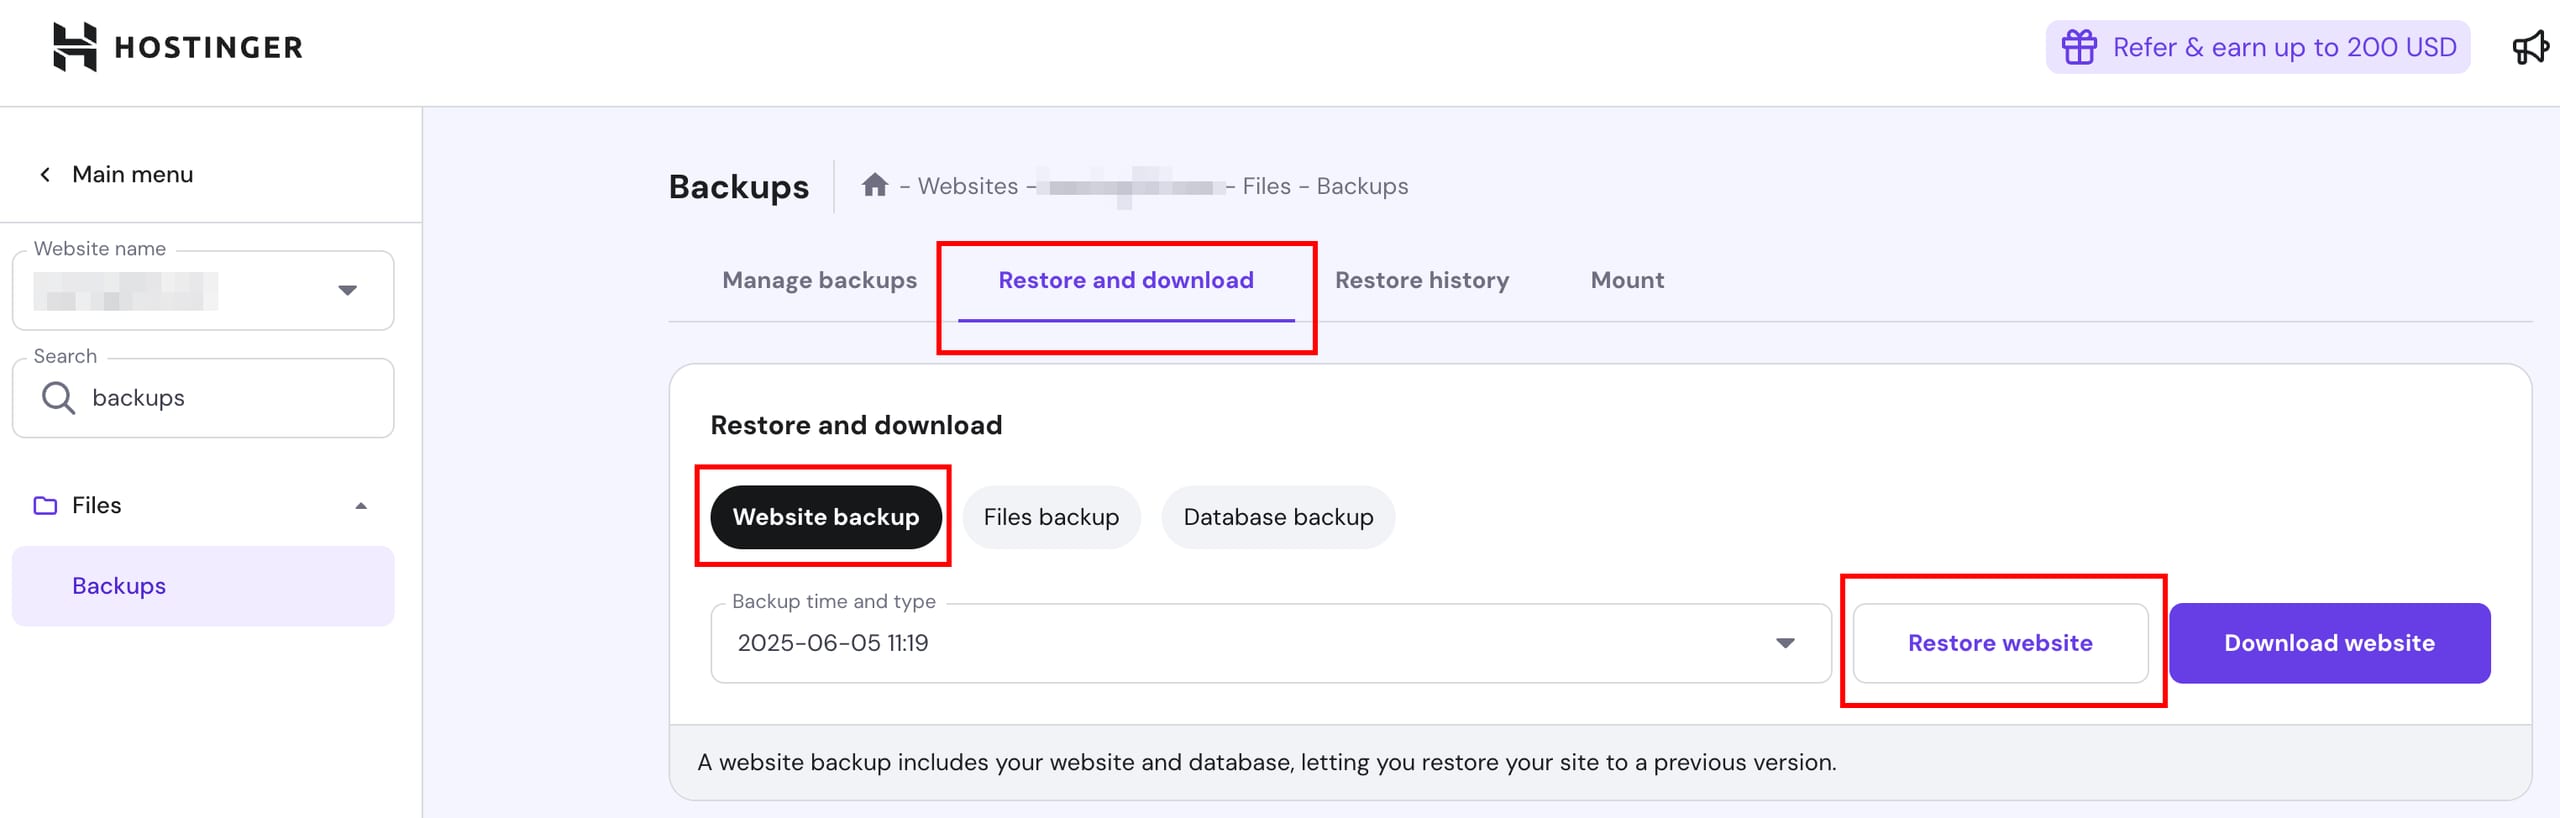
This method is only available for WordPress websites. It allows you to restore all the files and the database of a WordPress site in one click. When you arrive at the Backups page, this option will be selected by default:
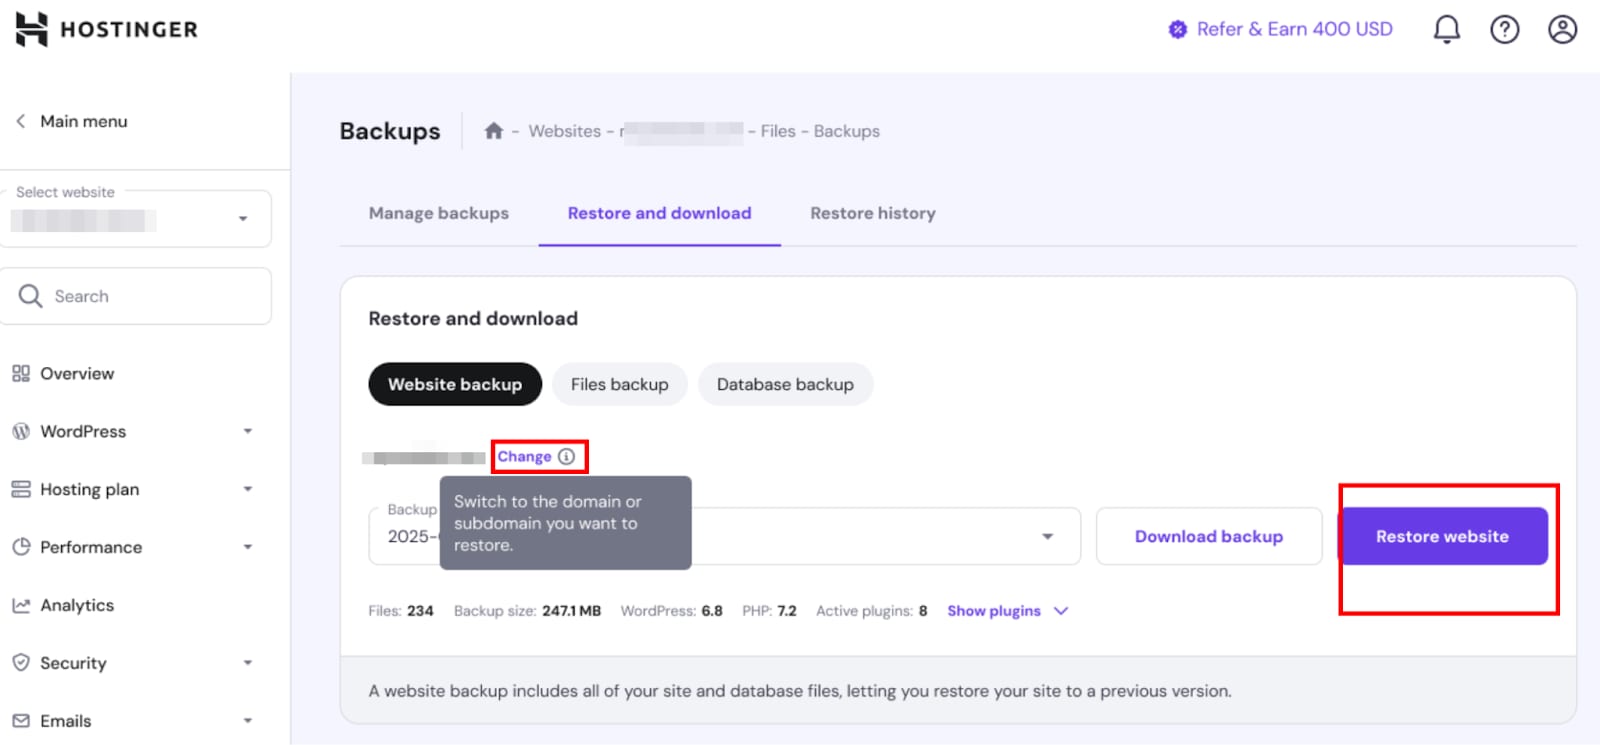
Choose the domain and preferred date from the available backups in the dropdown list, and click on Restore website:
NOTE
-
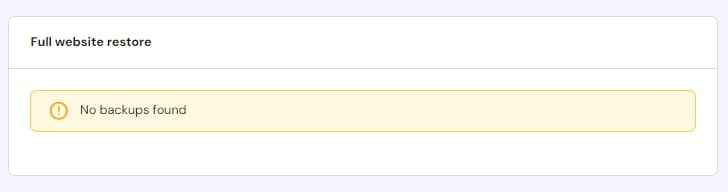
If you get a No backups found message on this section, try the files backups method instead:
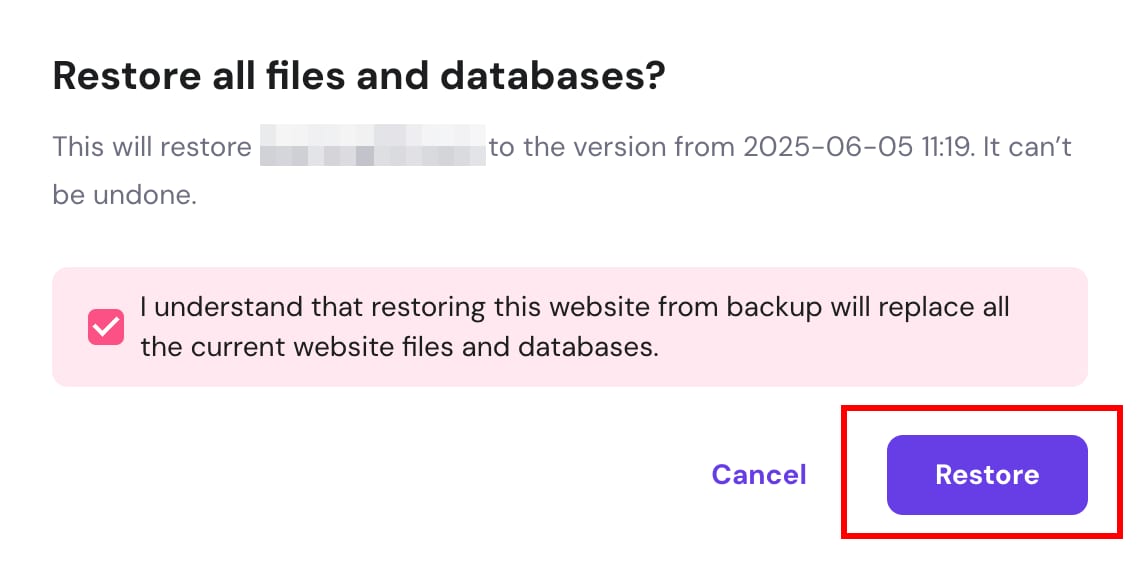
After clicking on the Restore button, confirm that you understand that restoring the selected backup version will replace current website files and databases, then click again on Restore:
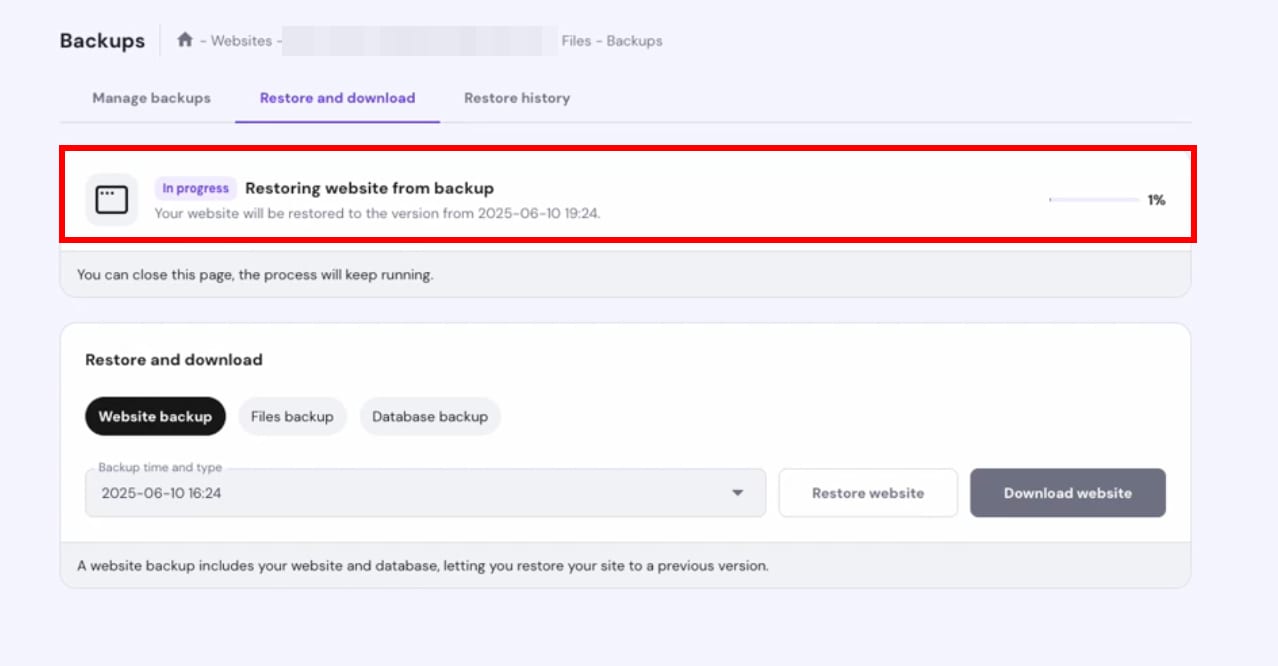
Usually, the restoration process takes 10–15 minutes, depending on the size of your website; the larger the backup, the longer it may take. You can track the progress of your website restoration in the Restore and Download section.

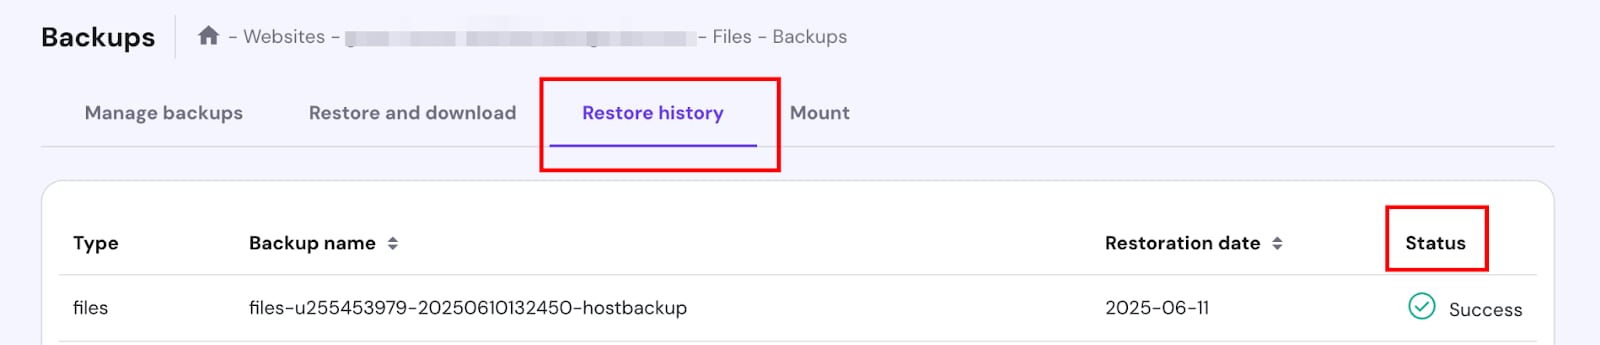
The restoration will continue in the background even if the browser tab is minimized or closed. Check the status in the Restore History tab:
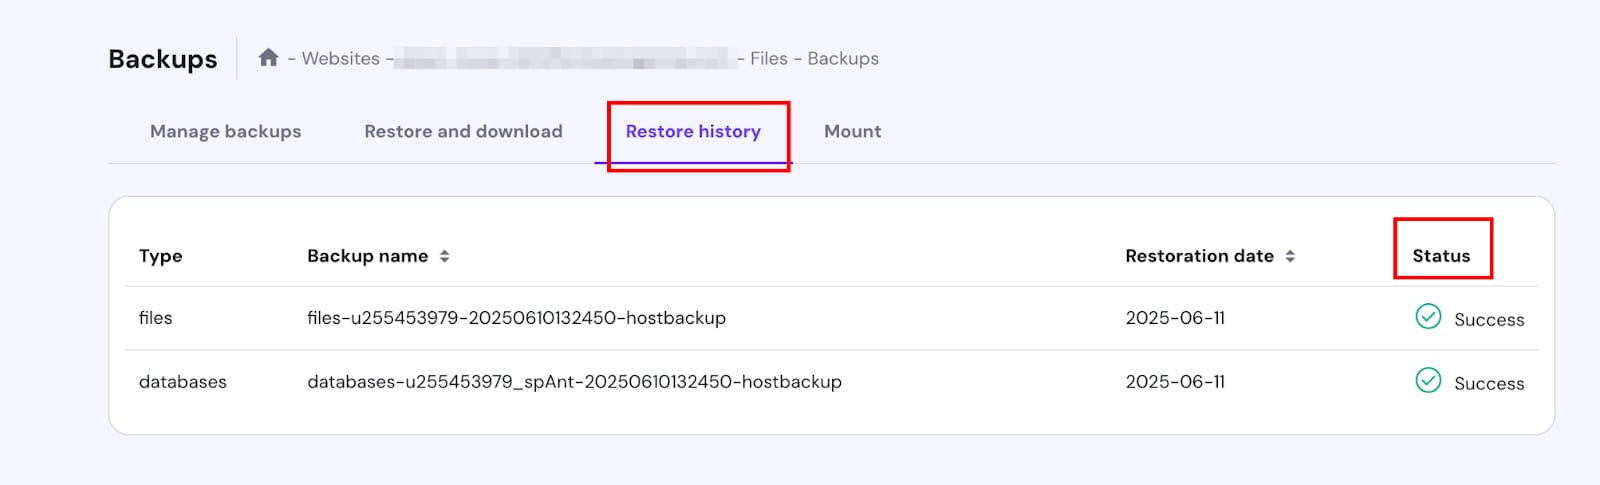
After completion, your website will be restored to its state on the selected date – be sure to clear your browser cache before visiting it.
Method 2 – Restore specific websites, subdomains, or directories
This method is recommended when you host several websites, subdomains, or directories and only want to perform partial restorations by selecting only specific files or folders (directories).
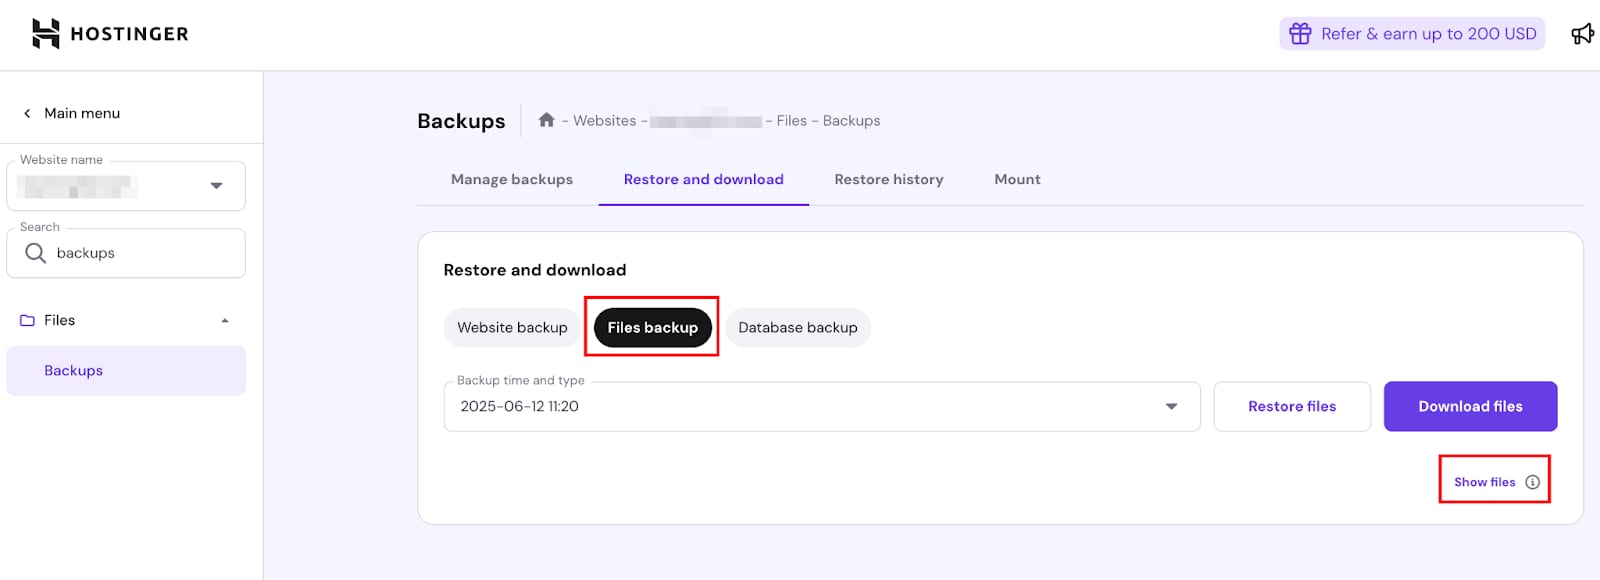
Click on Files backups, select the preferred date from the available backups in the dropdown list, and click on Show files:
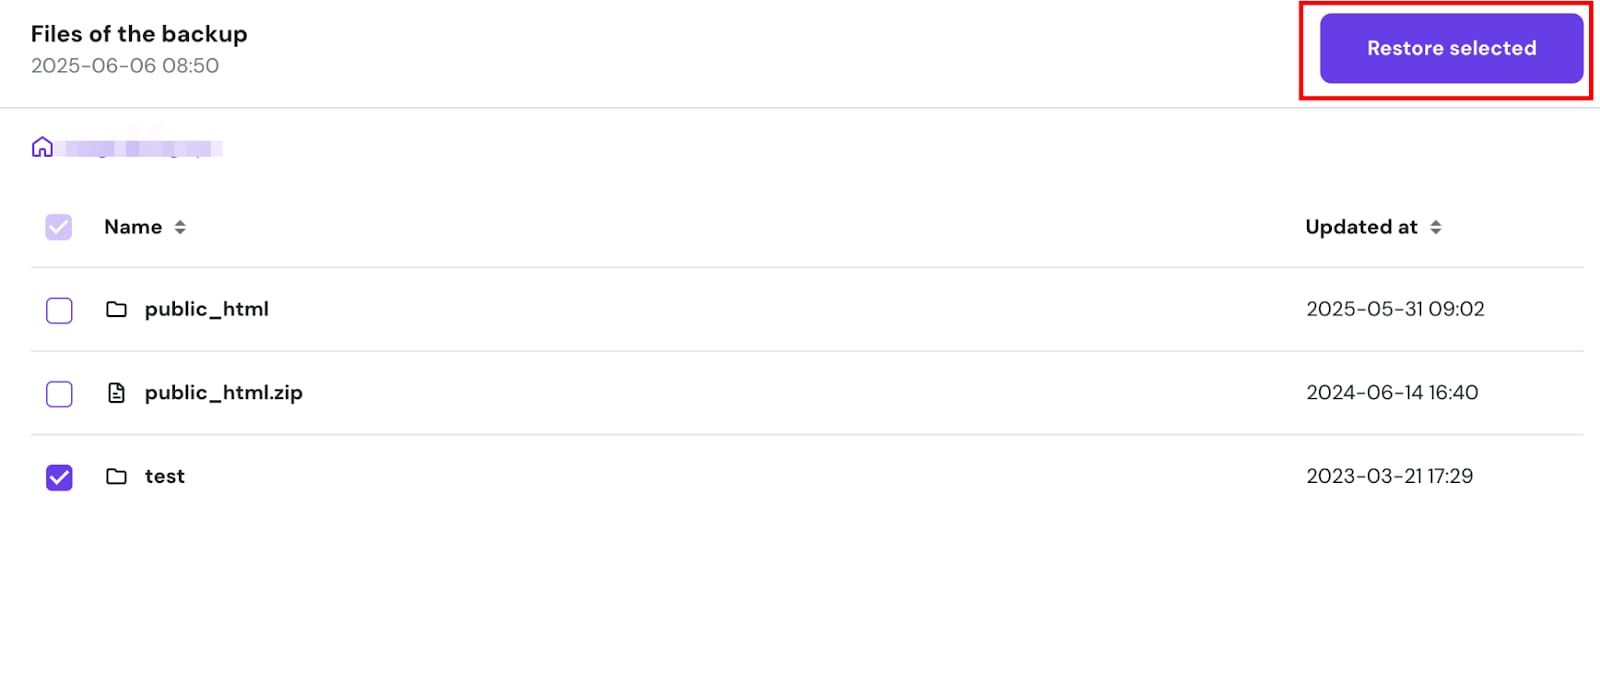
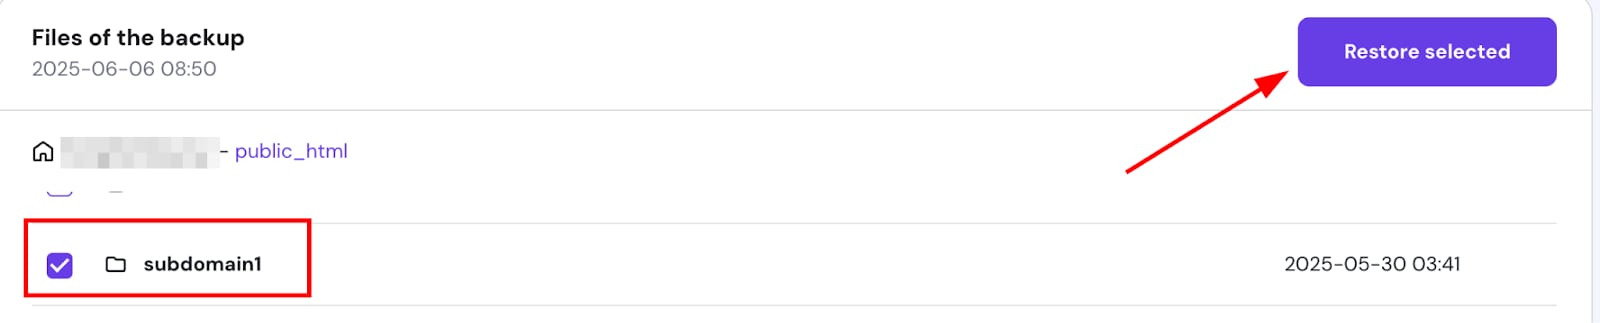
To restore only one domain and its subdomains, select the folder of the preferred website (e.g., domain.tld), and click on Restore selected:
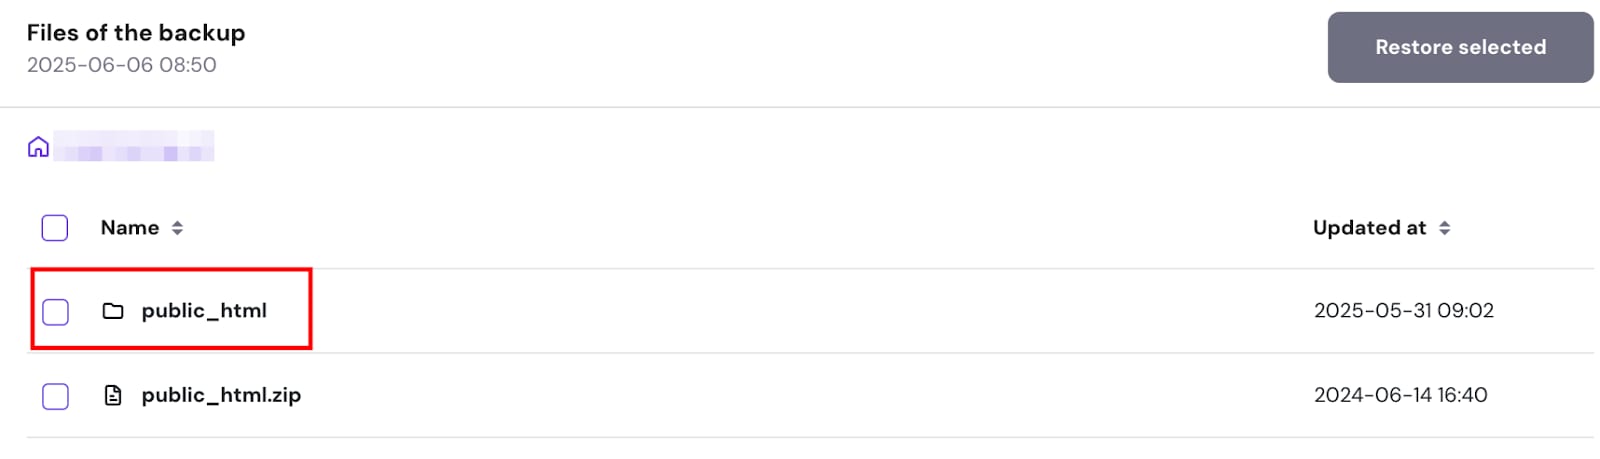
To restore a particular directory or a subdomain, select the folder of the preferred website (e.g., domain.tld), and open the public_html folder within:
Select the desired directory (folder), and click on Restore files:
NOTE
-
The default directory for your subdomain is named after the subdomain; if you chose a custom name when creating the subdomain, the folder will have that name instead.
Usually, the restoration process takes 10–15 minutes, depending on the size of your website; the larger the backup, the longer it may take. You can track the progress of your website restoration in the Restore and download section:
The restoration will continue in the background even if the browser tab is minimized or closed. Check the status in the Restore History tab:

If the partial restoration includes a whole website (when restoring from either a domain or subdomain), make sure to restore the databases as well to the same date as the files backup.
Restore specific files
This method only restores particular files (e.g., wp-config.php, .htaccess, etc.). Click on Click on Files backups, select the preferred date from the available backups in the dropdown list, and click on Show files:

Open the domains folder, select the folder of the preferred website (e.g., domain.tld), and open the folder public_html within:

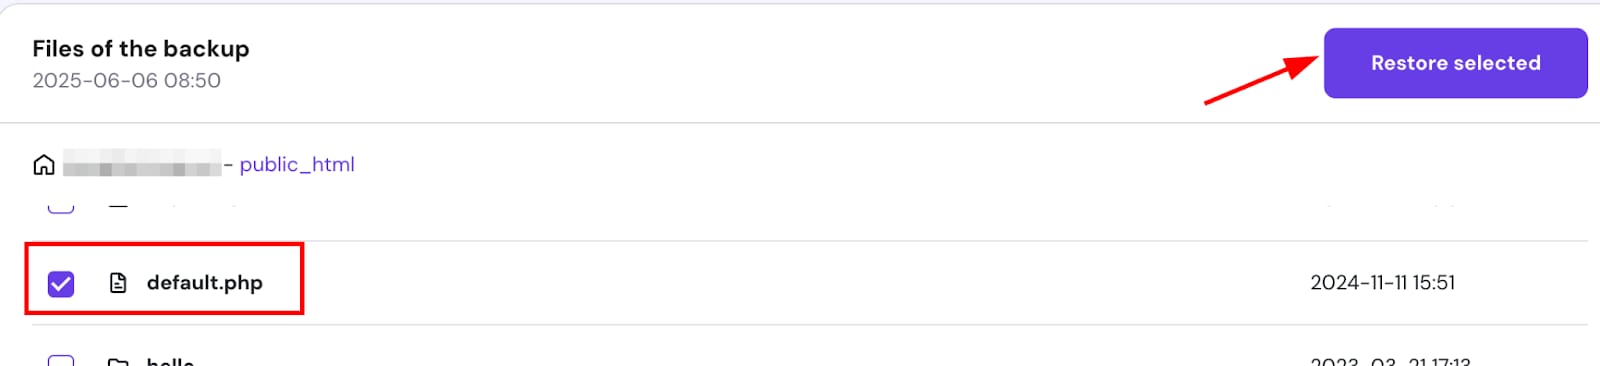
Then, select the preferred files within, and click on Restore files:
Usually, the restoration process takes only a couple of minutes, but it also depends on your file size. The larger the backup, the longer it may take. You can check the status in the Restore and download section:

Check the status in the Restore History tab:

Once completed, your selected files will be restored to the state of the selected backup date.
You can restore files and whole directories from public_html this way. If you need to restore just some particular files from a subfolder inside public_html, download the backup and upload the desired files via FTP:
Restore databases
Follow these steps after restoring the entire domains/subdomains, or if you need to restore your website’s database only.
Click on Database backups. Choose the preferred backup date, and click on Restore Database.

NOTE
-
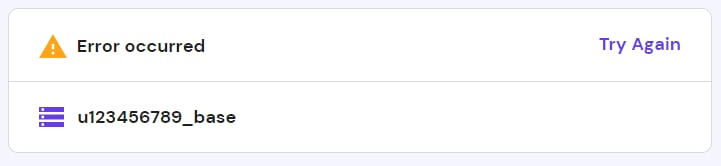
The database must exist in your List of Current MySQL Databases before restoring it. If you encounter an error, create the database again using the same database name and retry the restoration:
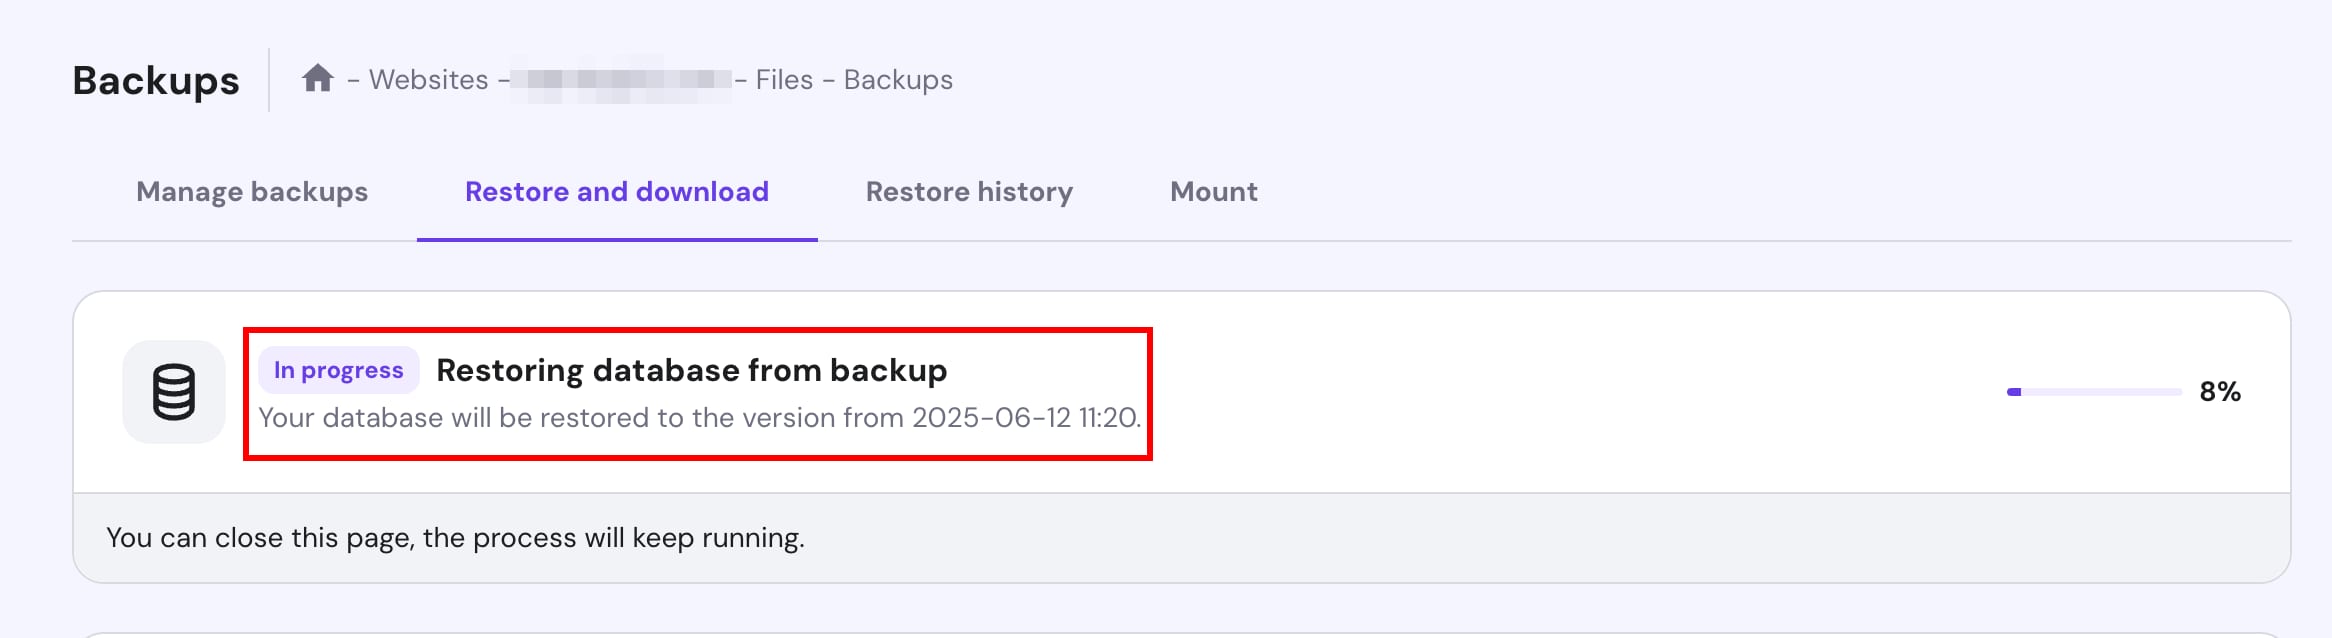
Usually, the restoration process takes only a few minutes, depending on the size of your database. The larger it is, the longer it may take. Check the status in the Restore and Download section:
Check the status in the Restore History tab:
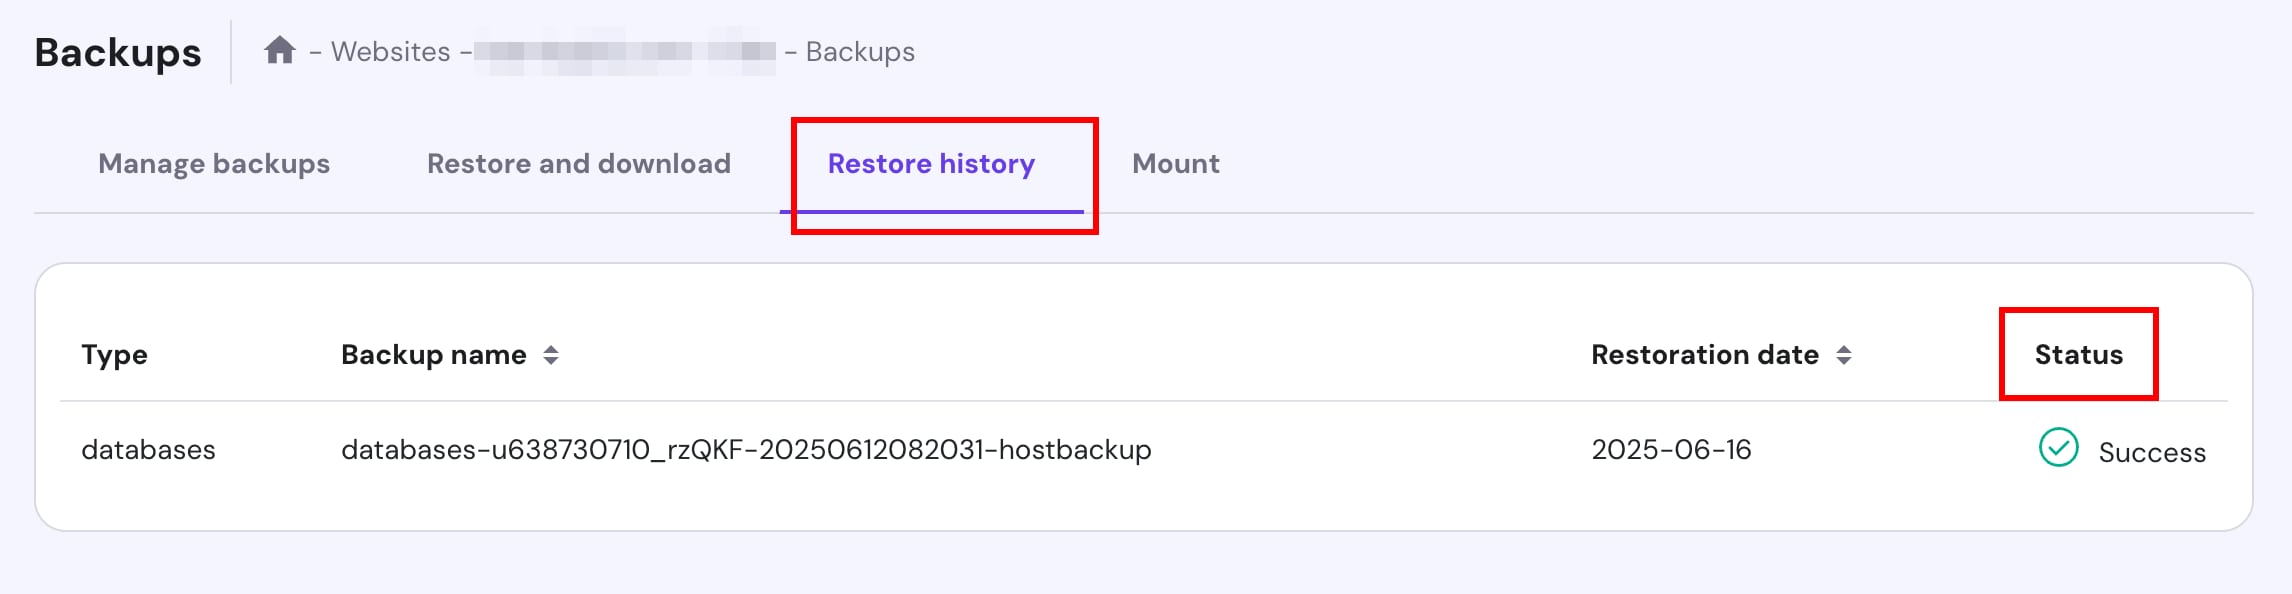
Once completed, your selected database will be restored to the state of the selected backup date. To check the changes, you may need to clear the cache.
Restoring backups for a subdomain
NOTE:
-
This feature is only available on WordPress websites created under a subdomain
Go to Websites → Dashboard, search for Backups on the sidebar:
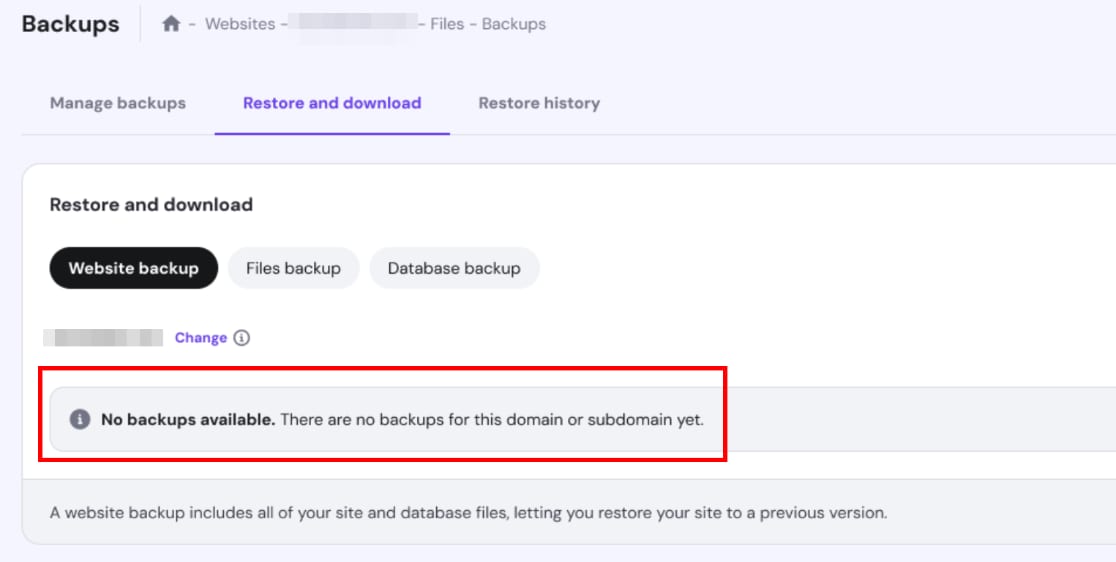
There, you will find the section Restore and download → Website backup.
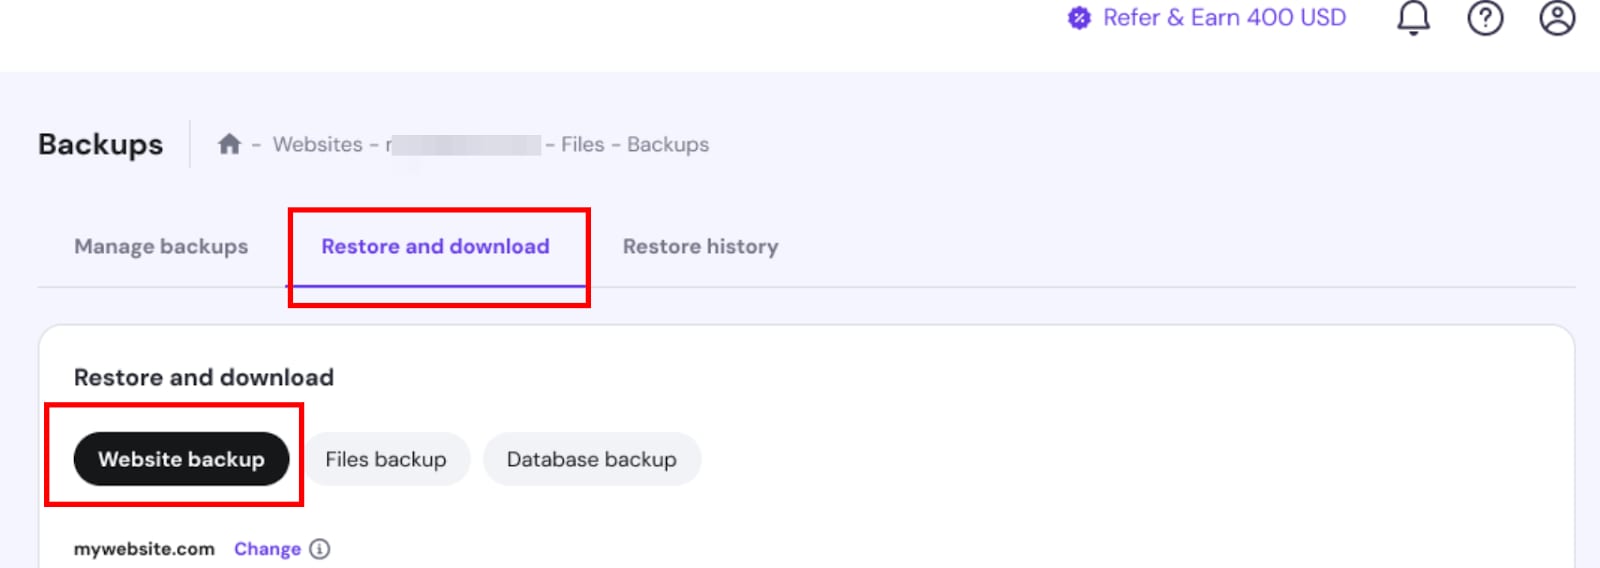
Choose Change → select the correct domain/subdomain → press Restore Website
Usually, the restoration process takes 10–15 minutes, depending on the size of your website; the larger the backup, the longer it may take. You can track the progress of your website restoration in the Restore and download section:

The restoration will continue in the background even if the browser tab is minimized or closed. Check the status in the Restore History tab:
NOTE:
-
If there are no available backups, you will be notified: