A .htaccess (hypertext access) file is a configuration file used to set up server rules for a website, such as forcing HTTPS or setting up redirects. Because this file is optional, it may not exist for your website, or it might be hidden by your FTP client.
You can easily check for its presence, create a new one using the Hostinger File Manager, or configure your FTP client to reveal it.
Before you start
- This guide applies to web, cloud, and agency hosting plans.
- Hostinger web servers fully support
.htaccessrules, but they are not mandatory. Ensure your website application requires this file before creating it. - Hostinger Horizons and Hostinger Website Builder do not use a file-based structure, so
.htaccessconfigurations do not apply to them.
Option 1 – Find or create the file using File Manager
Since the Hostinger File Manager displays all files (including hidden dotfiles) by default, a missing .htaccess file means it does not exist yet and needs to be generated.
- Access the Hostinger File Manager for your website.
- Open the
public_htmlfolder. - Check the file list. If the file is missing, click the New File icon in the sidebar.
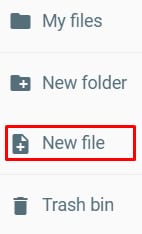
- Name the file
.htaccessand click Create. Always include the period at the beginning of the filename (.htaccess), or the server will not recognize it.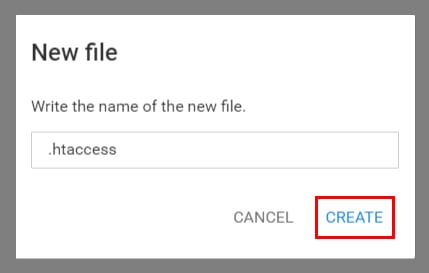
On the file editor, enter the content for the file and save the changes.
Option 2 – Reveal hidden files in an FTP client
If you are managing your website files via an FTP client like FileZilla, hidden files may be filtered out by default.
- Connect to your hosting plan via FileZilla.
- Navigate to the top menu bar and click Server.
- Select Force showing hidden files.
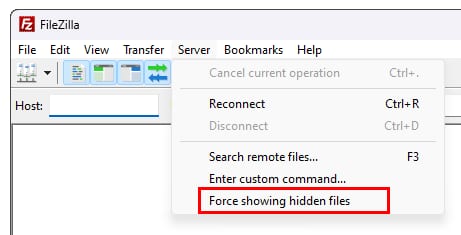
The file listing will refresh, and your .htaccess file will appear in your website directory. If the file is still missing, create it using the steps outlined in Option 1.
Your .htaccess file is now accessible, allowing you to manage your website’s server configurations and permissions.