If you don’t see your GitHub repositories when setting up Node.js hosting at Hostinger, you may need to update your GitHub permissions. This article explains how to manage Hostinger’s GitHub App permissions, including granting repository access and approving updates for new features.
Step 1 — Access your GitHub settings
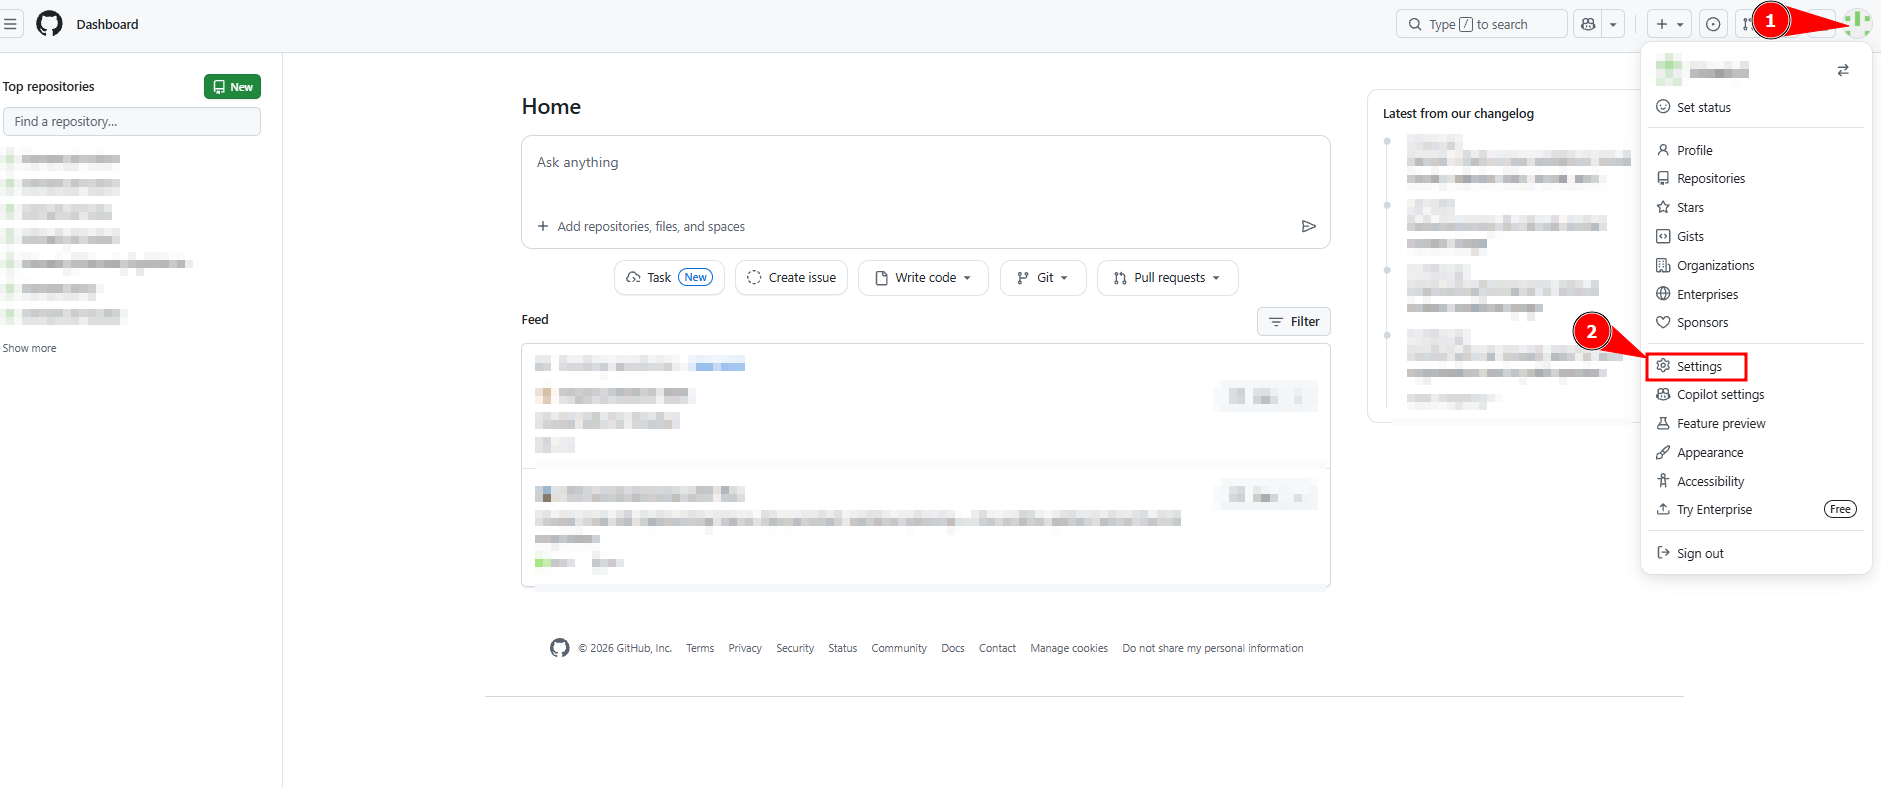
Open your GitHub account settings at https://github.com/settings and ensure you’re logged into the correct account.
Step 2 — Navigate to installed applications
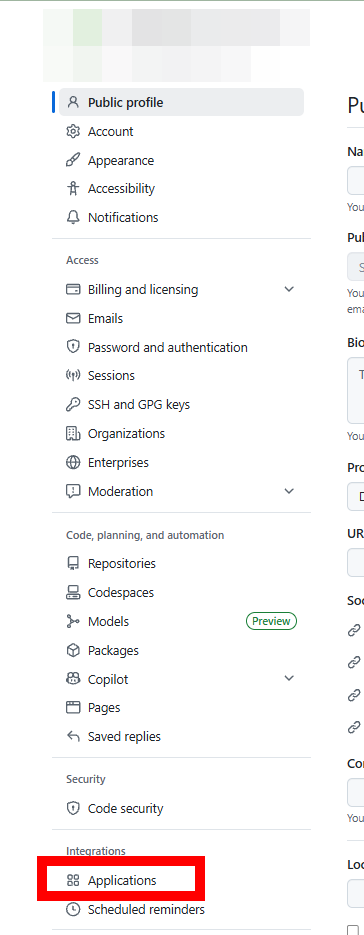
In the left sidebar, click Applications, and then open the Installed GitHub Apps tab.
Step 3 — Find hosting provider
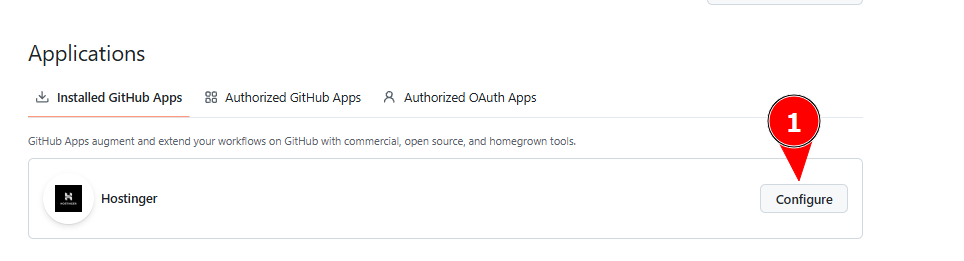
Locate Hostinger in the list of installed apps and click Configure.
Step 4 — Update repository access
You’ll see one of two permission setups:
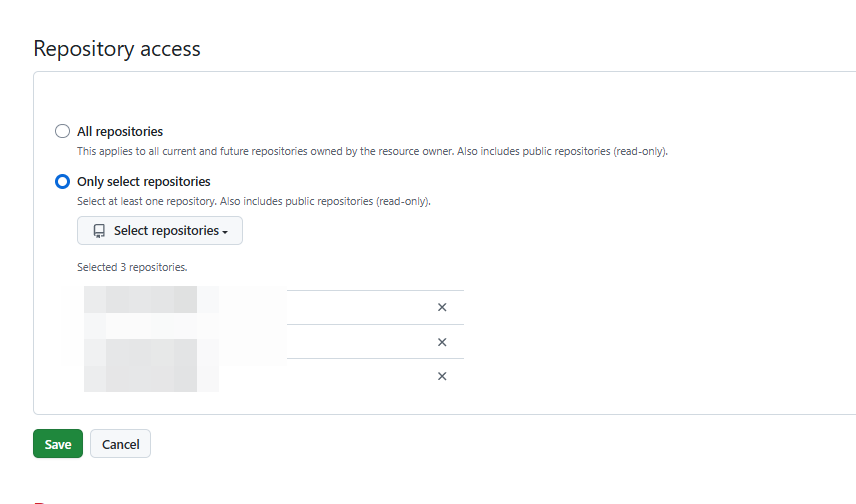
If you see “Only select repositories”:
- Click Select repositories
- Add the missing repository or repositories from the dropdown
- Click Save
If you see “All repositories”:
- Select All repositories to grant access to all current and future repositories
- Confirm the change
Step 5 — Grant access for organization repositories
If your repository belongs to a GitHub organization, additional permissions are required.
To grant organizational access:
- Go to your GitHub organization settings
- Click Third-party access in the sidebar
- Find Hostinger in the list
- Click Grant or Request access
- Select the specific repository if required
Step 6 — Refresh the repository list
Return to your Hostinger dashboard and refresh the page. Your repositories should now appear in the list.
If the repositories still don’t appear, try disconnecting and reconnecting your GitHub account in the Hostinger dashboard.
Granting write access for automated vulnerability patching
Hostinger’s automated vulnerability patching for Node.js hosting is now live. To use the auto-fix feature, the Hostinger GitHub App requires write access to your repository so it can open pull requests with security fixes on your behalf.
Without write access, auto-fix will not work — an error will appear when you attempt to create a pull request from the Vulnerabilities page.
- If you already approved the permission update via the GitHub email — write access is active and auto-fix is ready to use
- If you declined the email earlier and now want to enable auto-fix — you can re-approve manually at any time (see steps below)
To grant or re-approve write access:
- Go to GitHub Settings → Applications → Installed GitHub Apps
- Find Hostinger and click Configure
- Review the listed permissions and approve the write access request if prompted