This article explains how to secure your OpenClaw deployment with SSL using Traefik. Once configured, your OpenClaw dashboard will be accessible via HTTPS with an automatically assigned subdomain.
SSL is required for OpenClaw to function correctly. Without it, accessing the dashboard over plain HTTP will trigger errors that prevent normal operation, including Device identity required, Device signature expired, and Control UI requires device identity (use HTTPS or localhost secure context). It is recommended to configure SSL immediately after deploying OpenClaw to avoid running into these issues.
Adding SSL with Traefik
OpenClaw’s Docker deployment includes pre-configured Traefik labels. This means you do not need to manually configure certificates — deploying the Traefik project alongside OpenClaw enables SSL automatically.
Step 1 – Deploy Traefik from the Docker catalog
- Go to hPanel → VPS → select your server → Docker Manager.
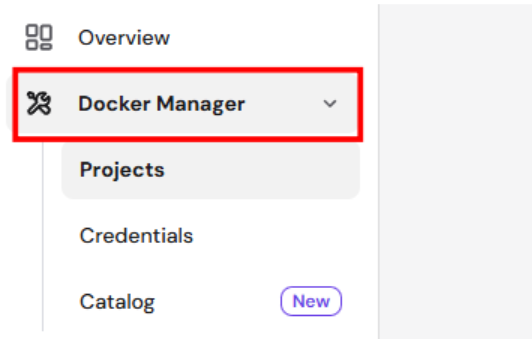
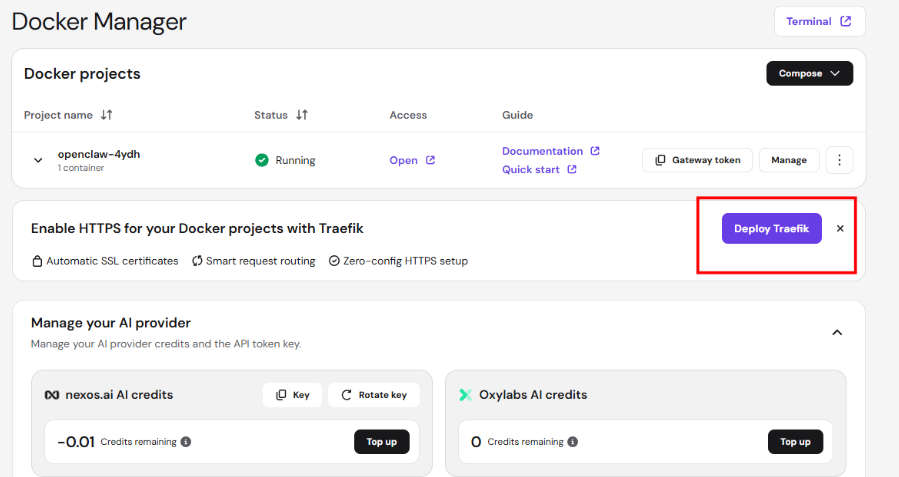
- Click on Deploy Traefik
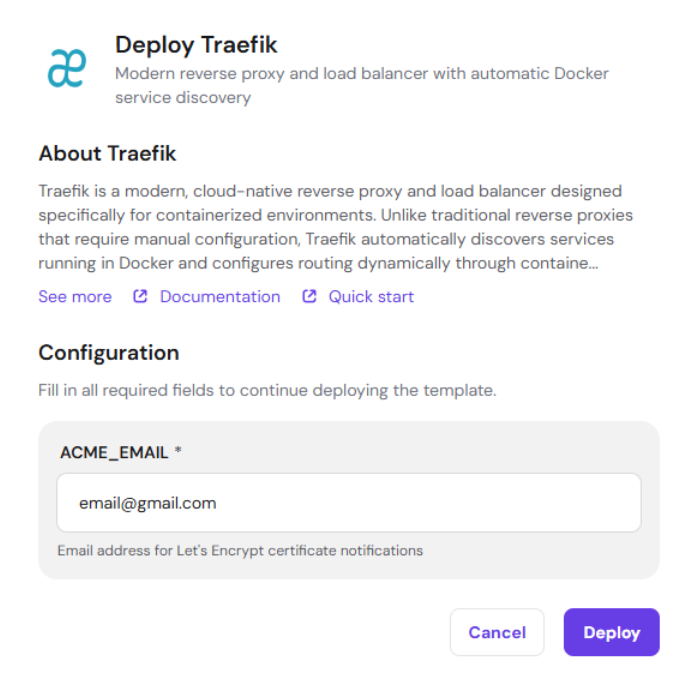
- Enter a valid email address for SSL. If an invalid email address is entered, the SSL won’t issue successfully.
- Wait for the Traefik project status to show Running as the container boots.
You can deploy Traefik before or after OpenClaw — the order does not matter.
Step 2 – Access OpenClaw via HTTPS
Once both OpenClaw and Traefik are running:
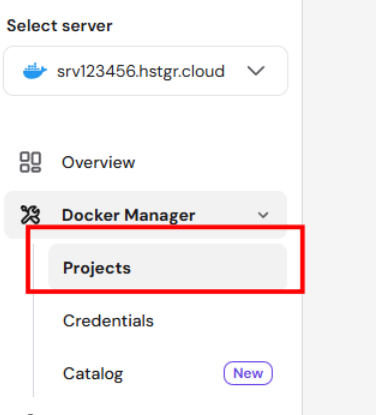
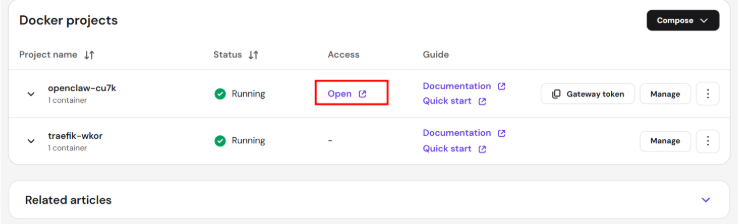
- Go to Docker Manager → Docker projects.
- Find your OpenClaw project in the list.
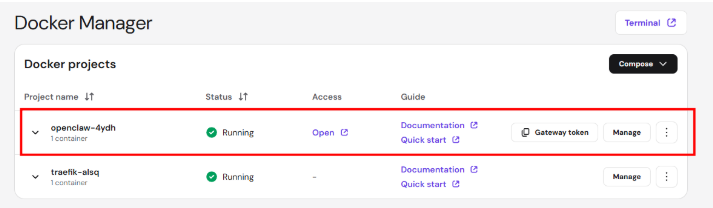
- Click the Open link in the Access column.
You are redirected to your secured OpenClaw dashboard at a URL like https://openclaw-xxxx.srv123456.hstgr.cloud.
Your OpenClaw deployment is now secured with SSL. All traffic to your dashboard is encrypted automatically, and no further configuration is required to maintain it.
While it is technically possible to remove SSL after configuration by deleting Traefik, this is not recommended. Doing so will revert your dashboard to plain HTTP, which will cause the device identity and signature errors described at the beginning of this article, effectively breaking access to the control UI.