This step-by-step tutorial will guide you through the process of setting up a Minecraft server, installing Forge, and adding Modpacks to your server using a game panel. By the end, you’ll be able to run a fully customized Minecraft server with the Modpacks of your choice.
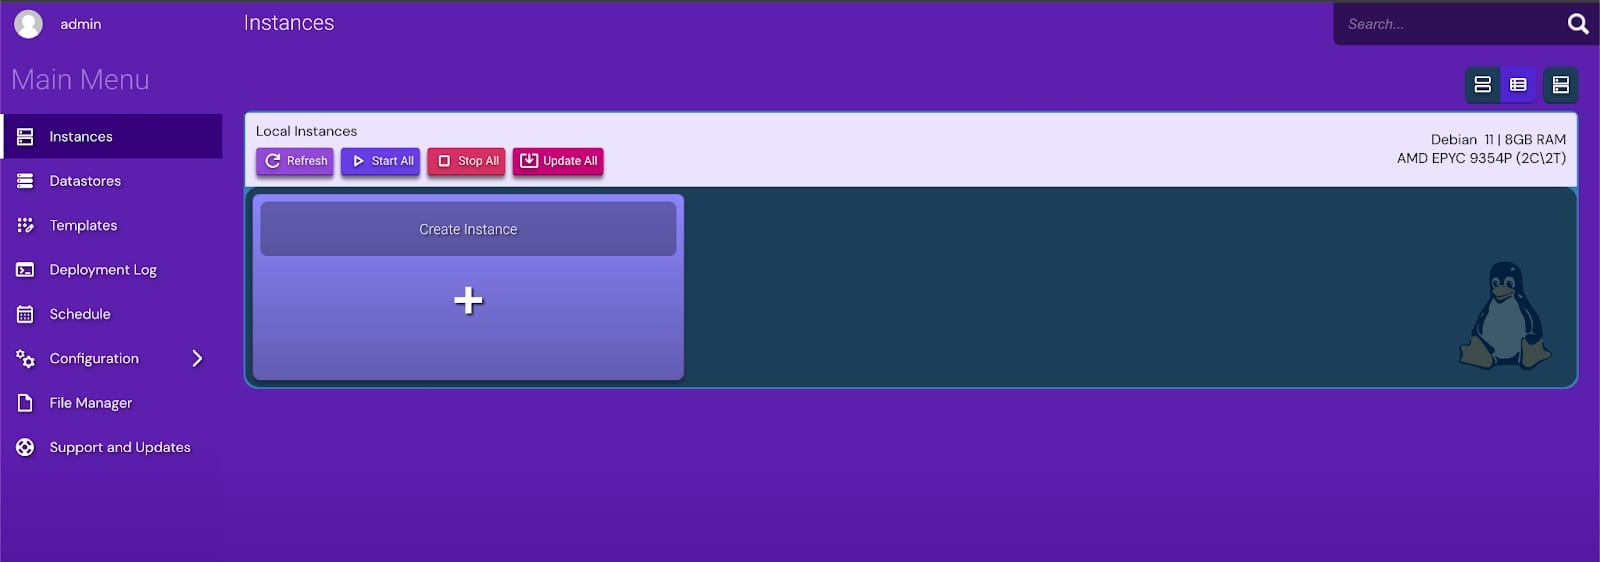
Step 1 – Entering the Game Panel
First, make sure that you have a game panel installed. Once the game panel is set up, navigate to the hPanel overview page. On this page, locate and press the “Manage Panel” button to access the control panel for your server.

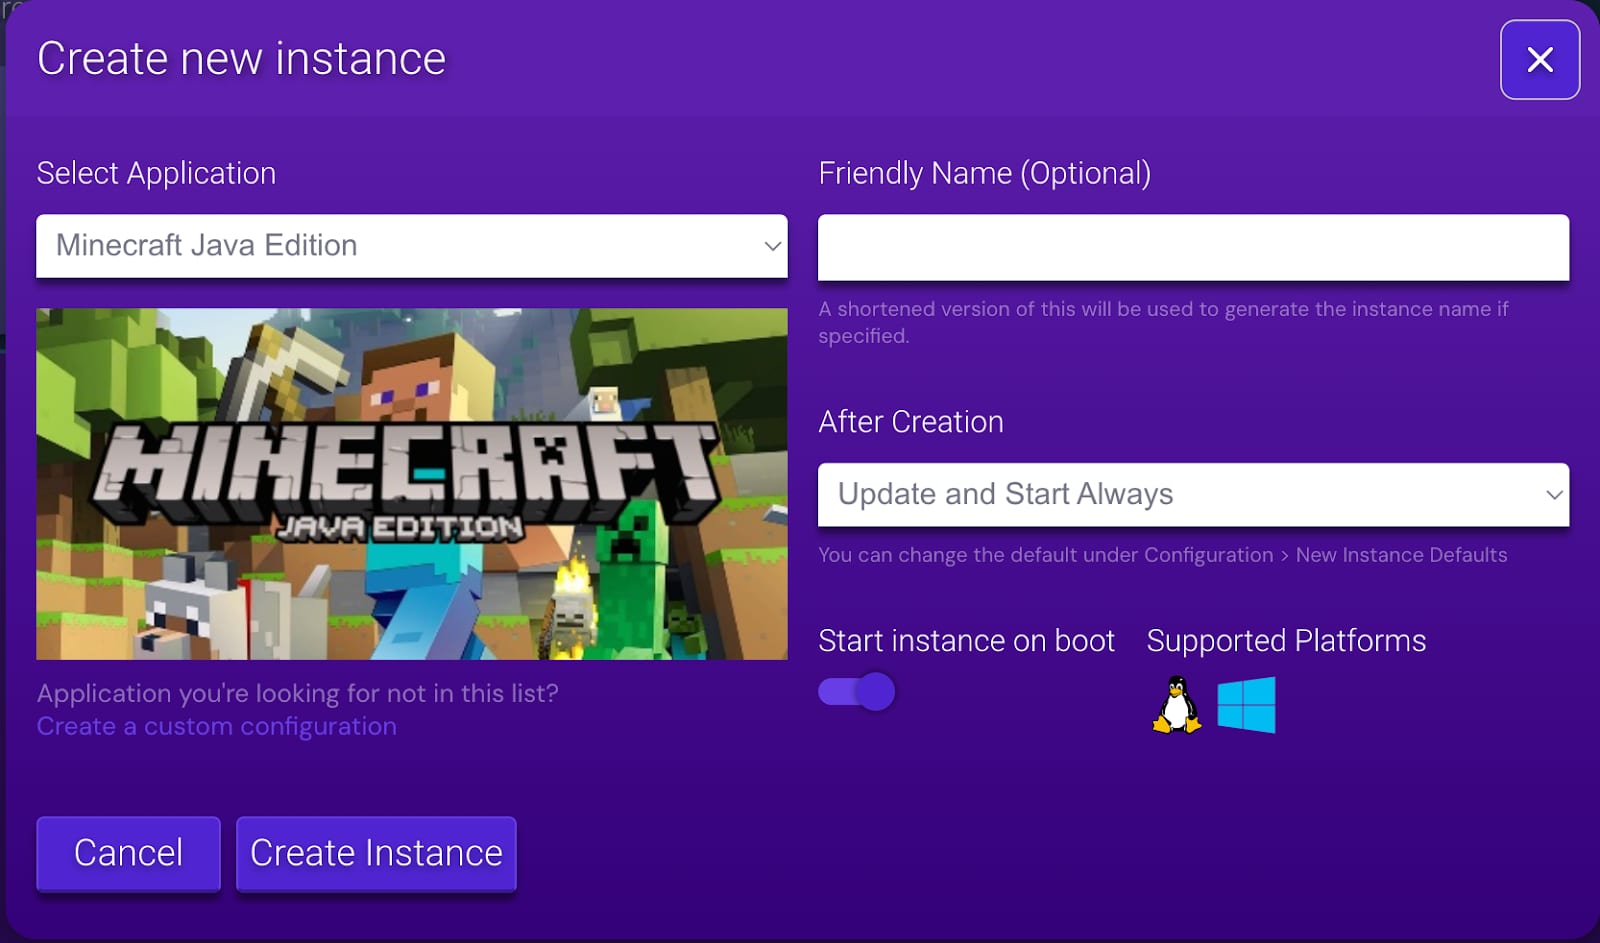
Step 2 – Create a Minecraft instance
After accessing the control panel, the next step is to create a Minecraft instance.
Choose the Minecraft Java Edition as the version of the game you want to set up.
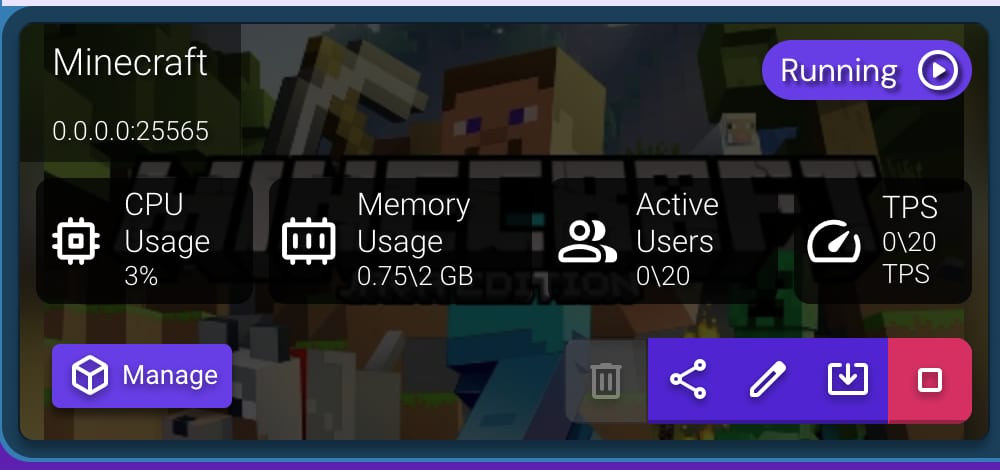
Once the Minecraft instance appears in the panel, click “Manage”.
Step 3 – Installing Forge
Proceed to the “Configuration” tab.
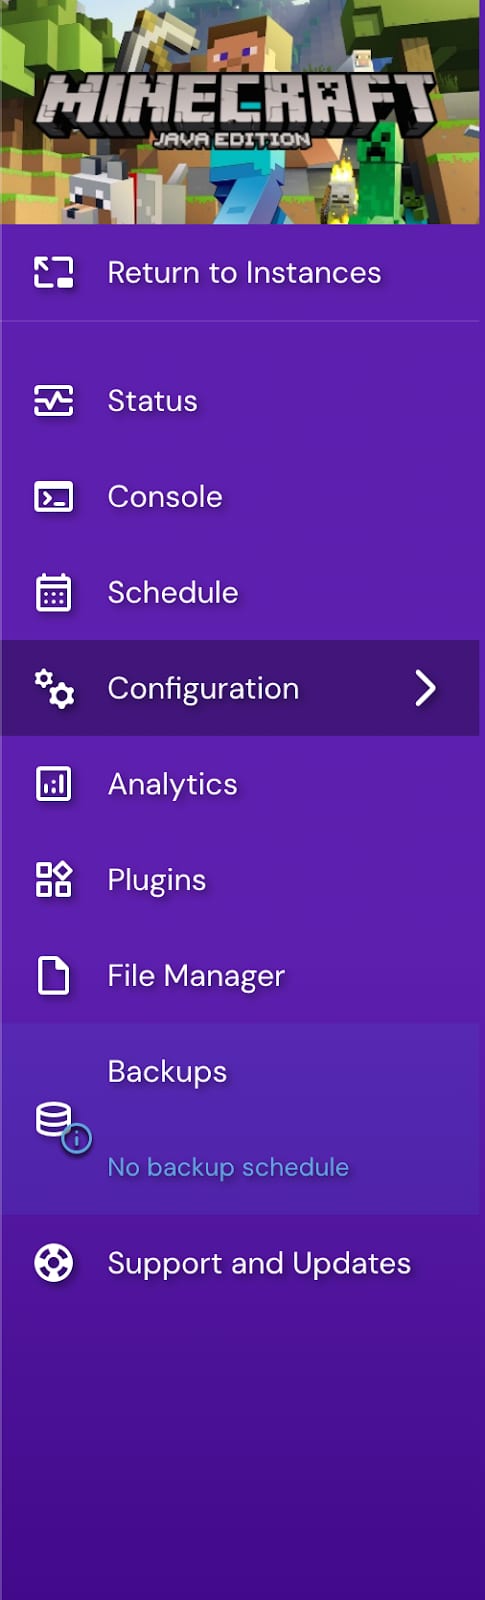
Within that, select “Minecraft” followed by “Server and Setup”. This will guide you through setting up the server environment for Minecraft.
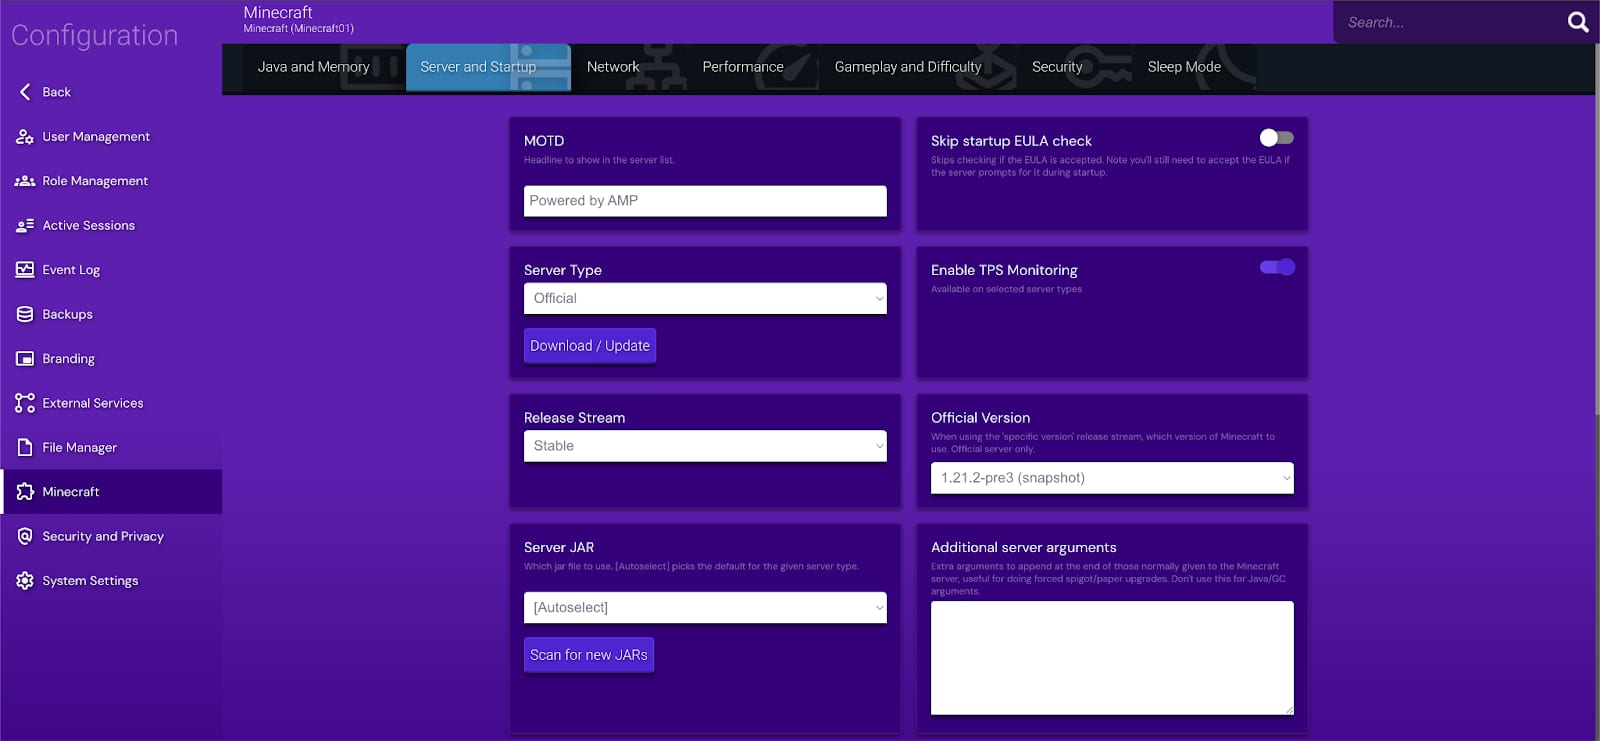
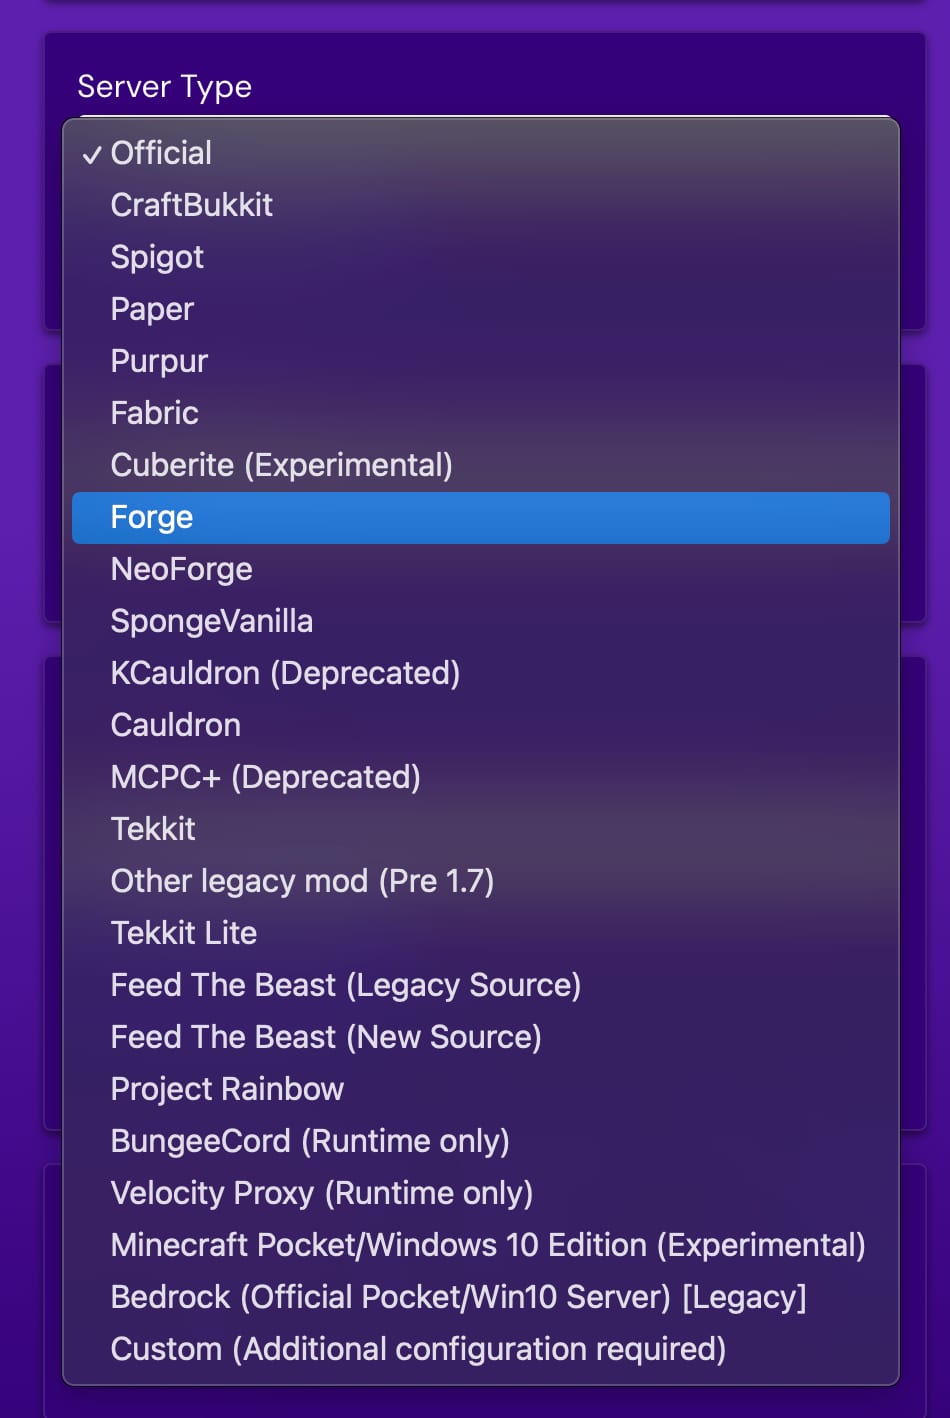
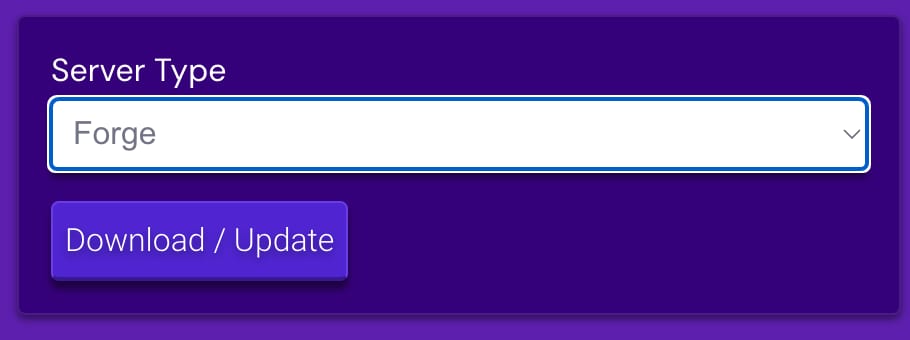
For the type of server you want to run, select “Forge” as the server type. Forge is necessary for running Modpacks.
Once Forge is selected, press the “Download/Update” button.
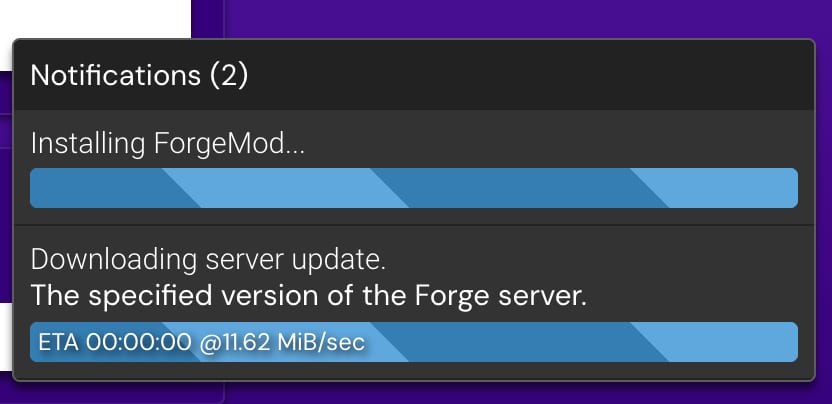
The installation of Forge will start automatically, and the system will handle the rest.
Step 4 – Download Modpack
To download Modpacks for your Minecraft server, visit trusted platforms such as:
-
CurseForge (https://www.curseforge.com)
-
Feed The Beast (FTB) (https://feed-the-beast.com)
Find the Modpack you want, ensure it’s compatible with your Minecraft version and Forge, and download the necessary files. You may need to extract them if they come in a ZIP format.
Step 5 – Installing Modpack
Before proceeding with any file transfers, make sure to stop your Minecraft server to minimize the risk of file corruption 💡
Return to your Minecraft server instance in the game panel and in the server management options, choose “File Manager” to access the server’s files.
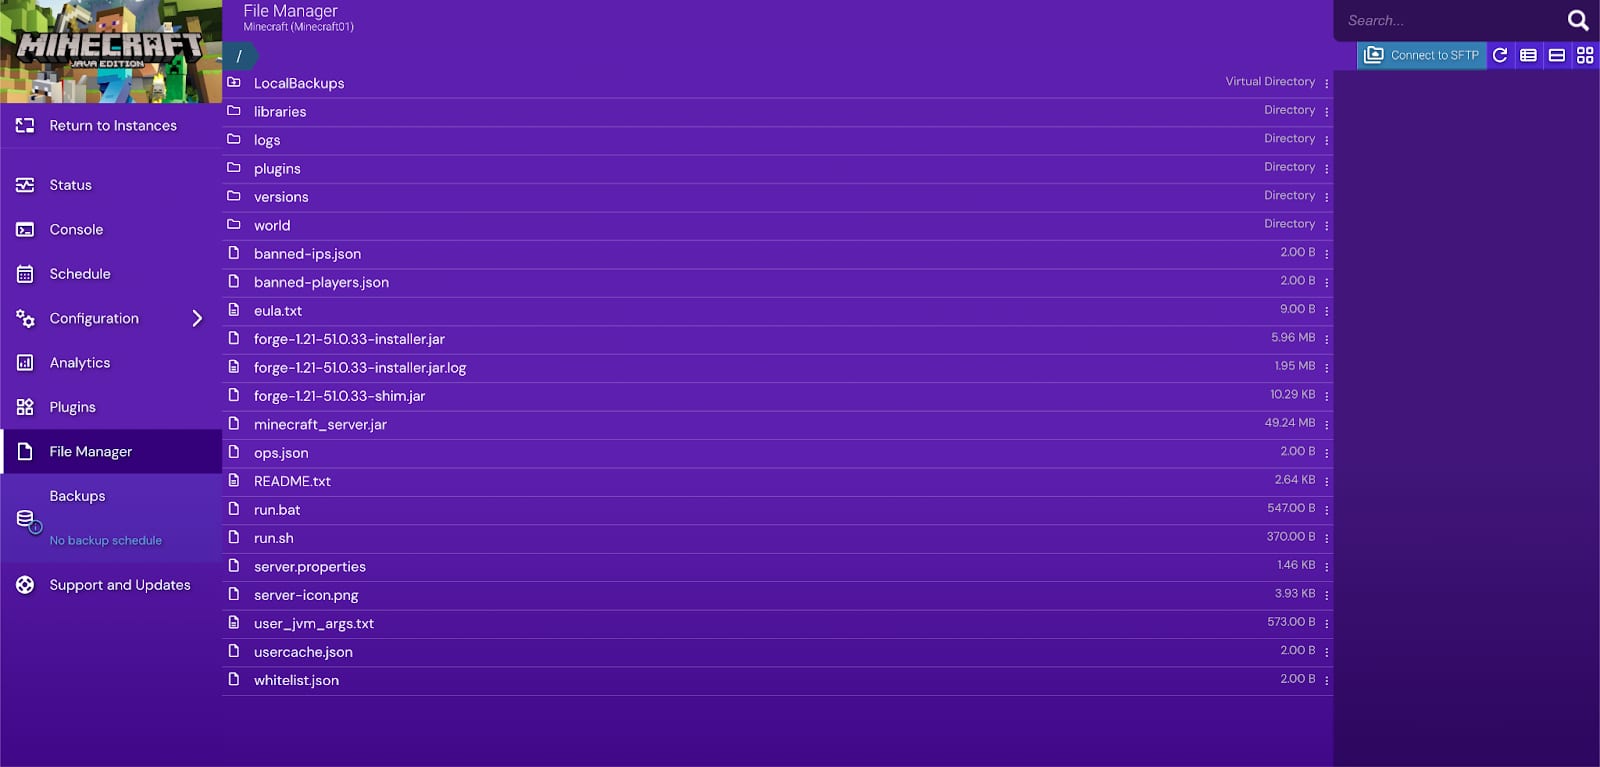
In the top-right corner of the file manager, you’ll find a button labeled “Connect to SFTP”. Click this button to connect to your server more efficiently.
For this, use an FTP client like FileZilla or another similar program, and connect using the credentials provided by the panel. Once you’re logged in to your server’s file system, you should see the server files and directories.
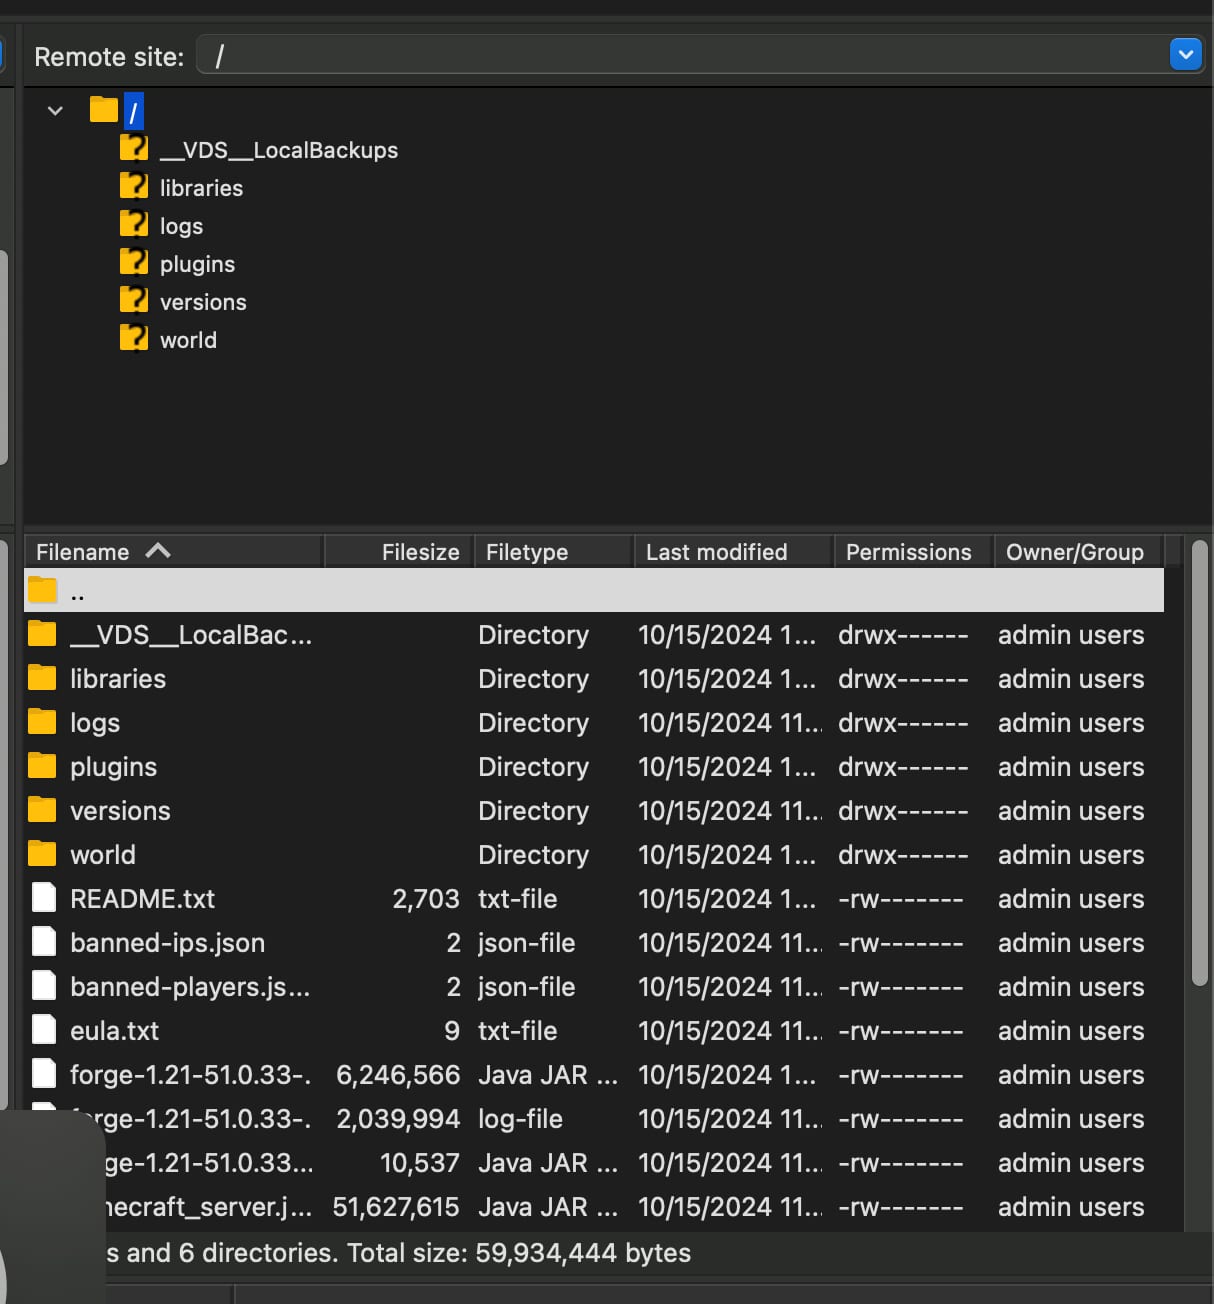
Afterward, paste the Modpack files into the root directory of your server.
Step 6 – Launching the server
After successfully uploading the Modpack files, go back to the file manager within your game panel to verify that the uploaded files are visible.
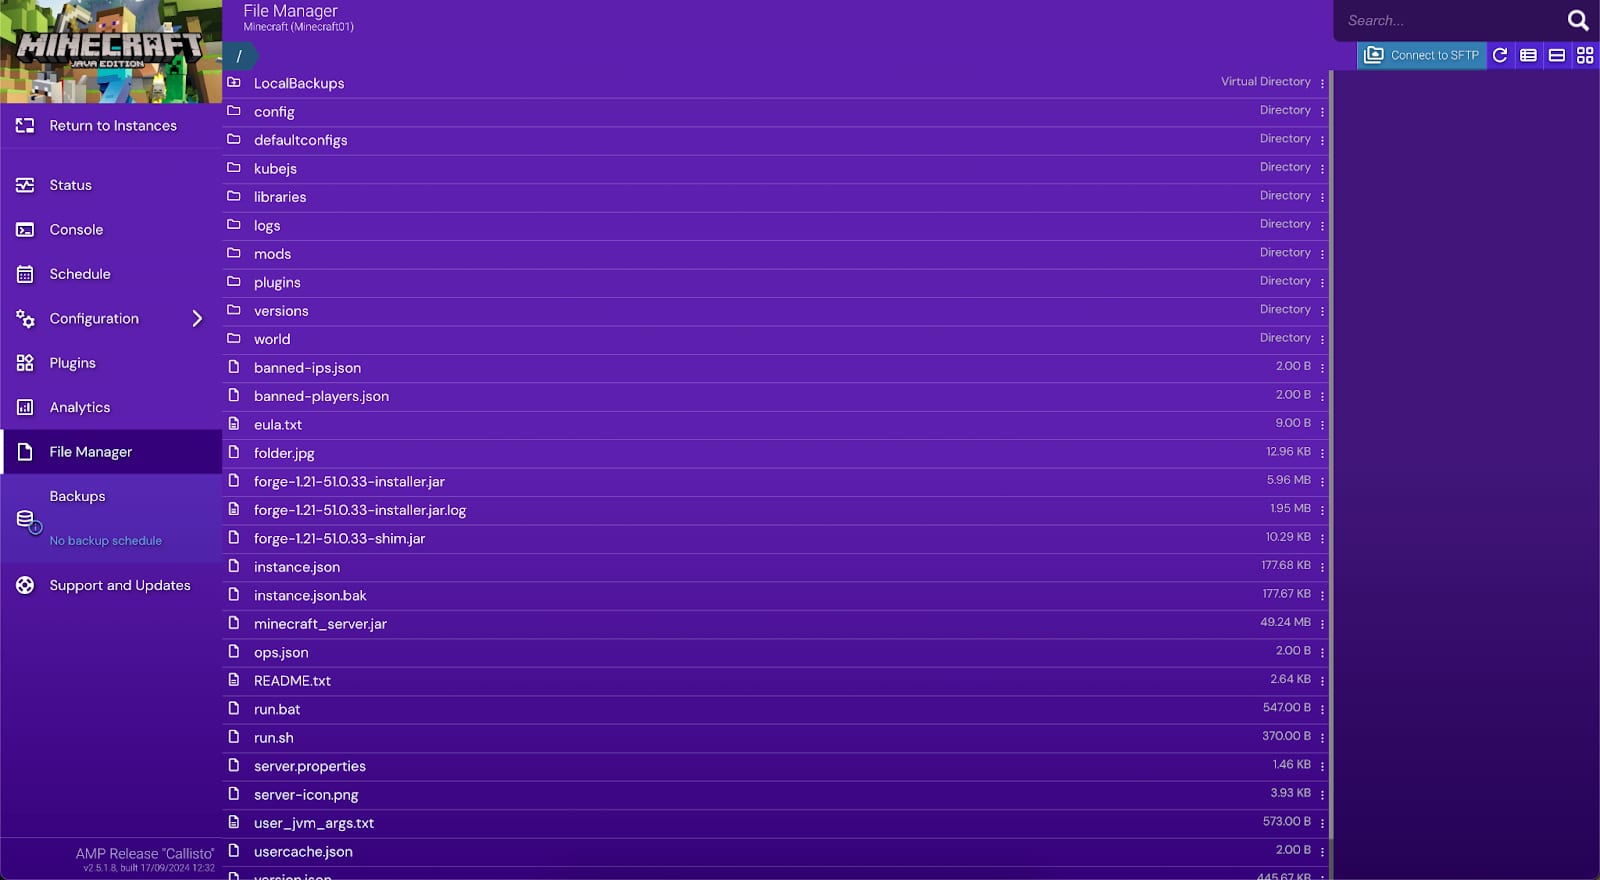
Once confirmed, start the server again.
Important Note: To play on the server with the Modpacks, you and any other players must have the same Modpacks installed on your Minecraft client