Here is a step-by-step guide to setting up Laravel Forge on a VPS from Hostinger. Follow these steps to configure your server and deploy your application successfully.
Step 1 – VPS installation
Install Ubuntu 24.04 on Hostinger’s VPS.
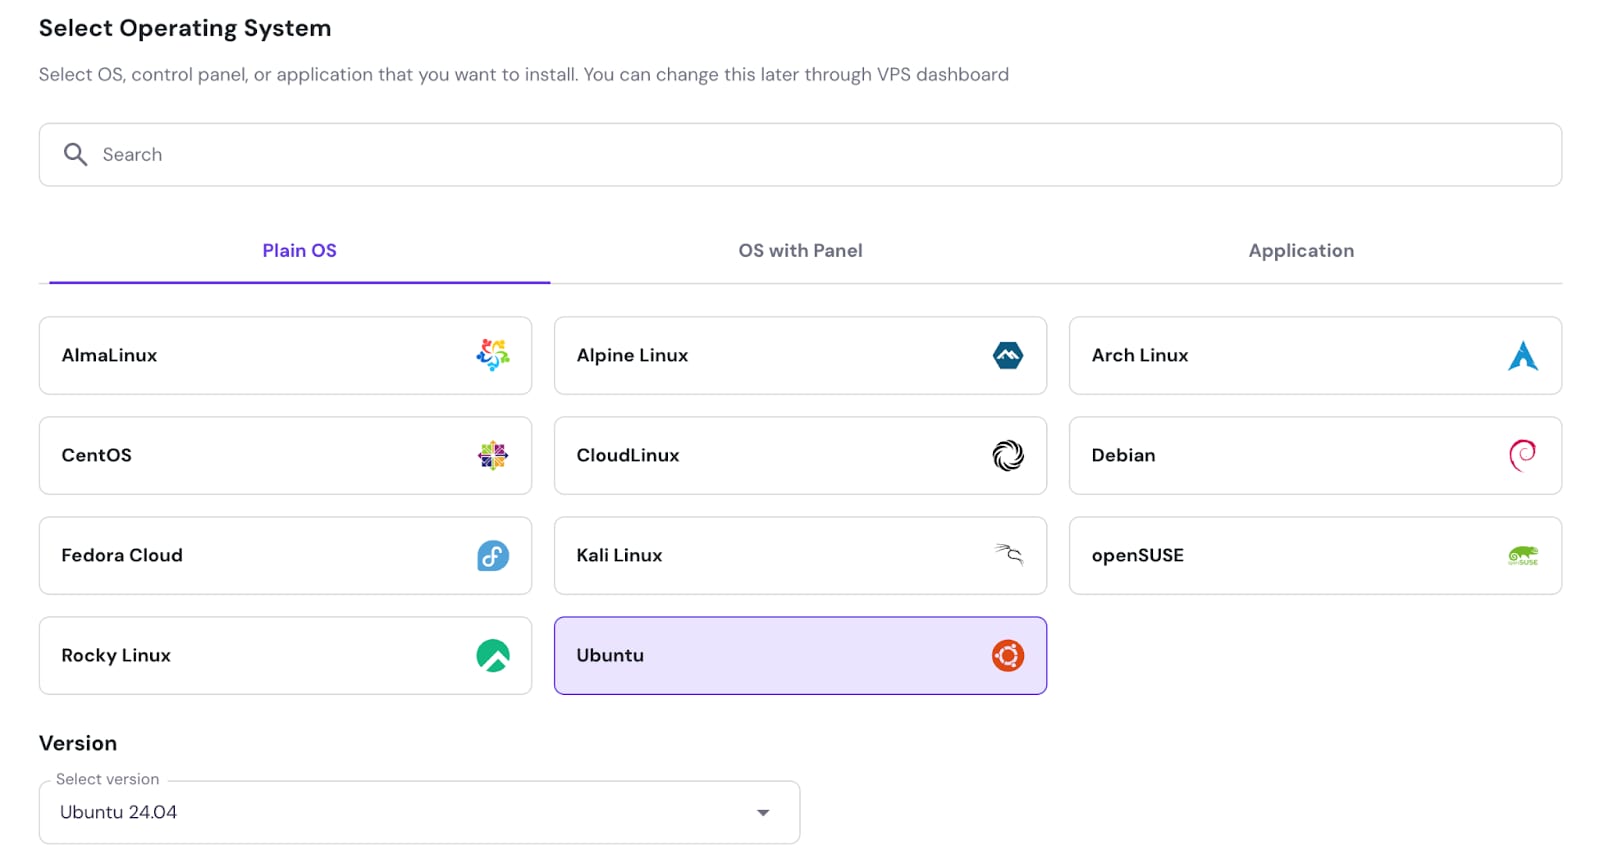
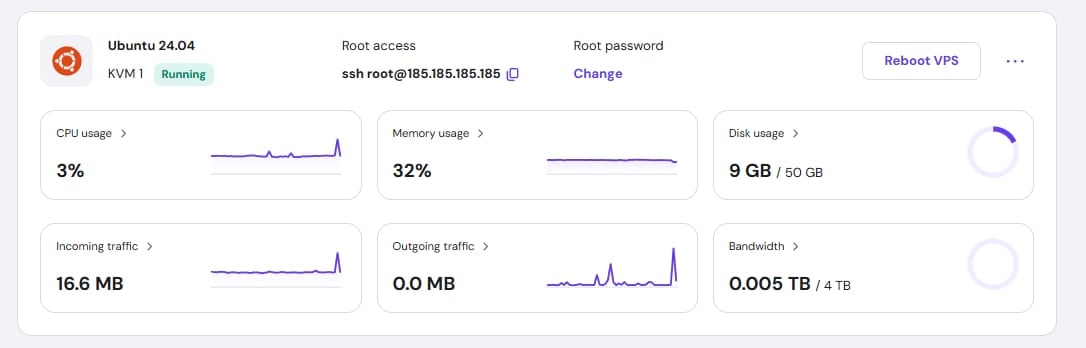
After installation, head to the VPS hPanel overview page, and copy your IP address.
Step 2 – Forge configuration
-
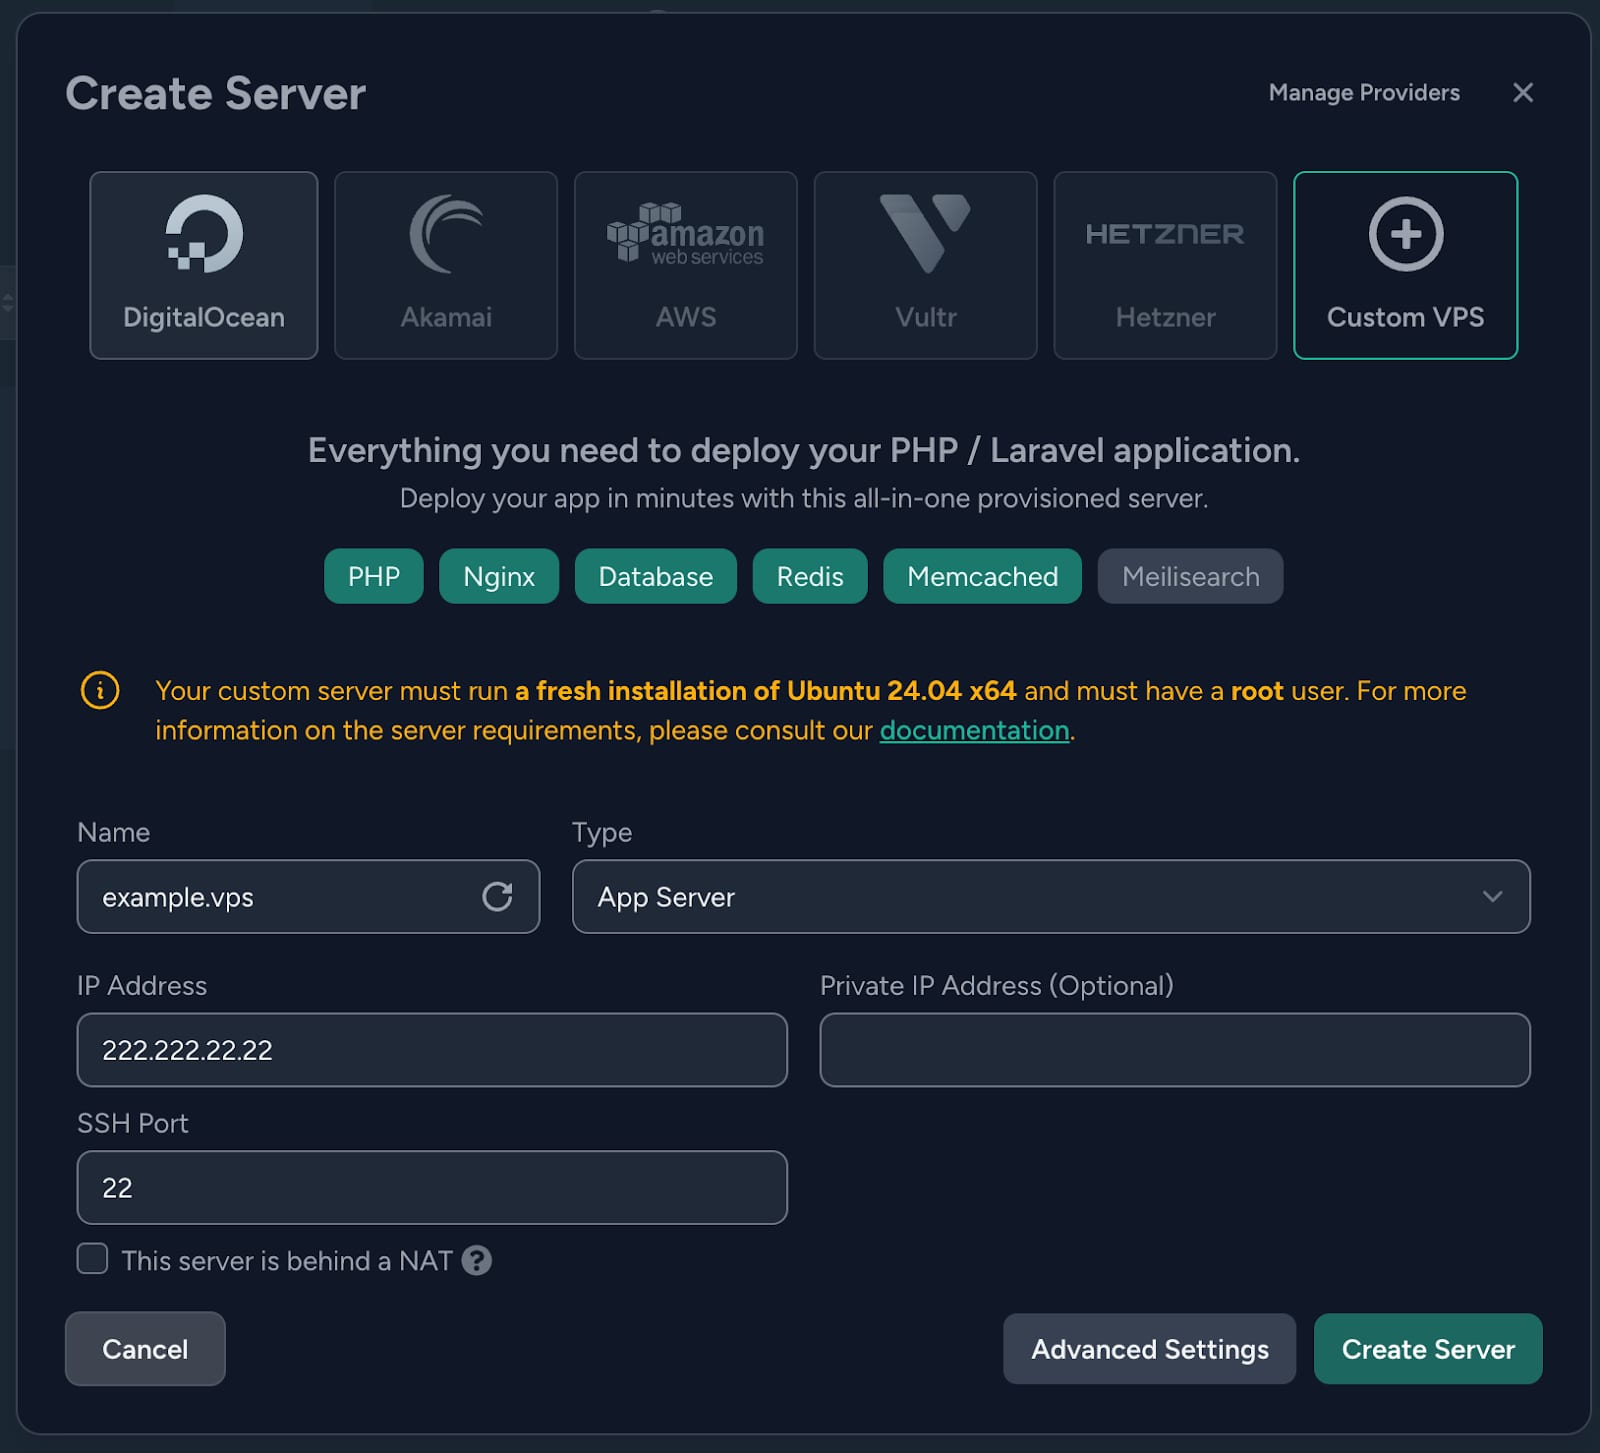
Log in to Laravel Forge and navigate to the Create Server section.
-
Select Custom VPS as your provider (shown in the screenshot).
-
Fill in the following details:
-
Name: Give your server a name, e.g., example.vps
-
Type: Choose your application type, based on your needs.
-
IP Address: Enter your VPS public IP address, e.g., 222.222.22.22.
-
SSH Port: Default port is 22 unless otherwise specified.
-
-
Once the details are filled, click on Create Server to proceed.
Step 3 – Server configuration
You will see the server’s provisioning command and server credentials. Write them down for later use. For now, copy the provisioning command.
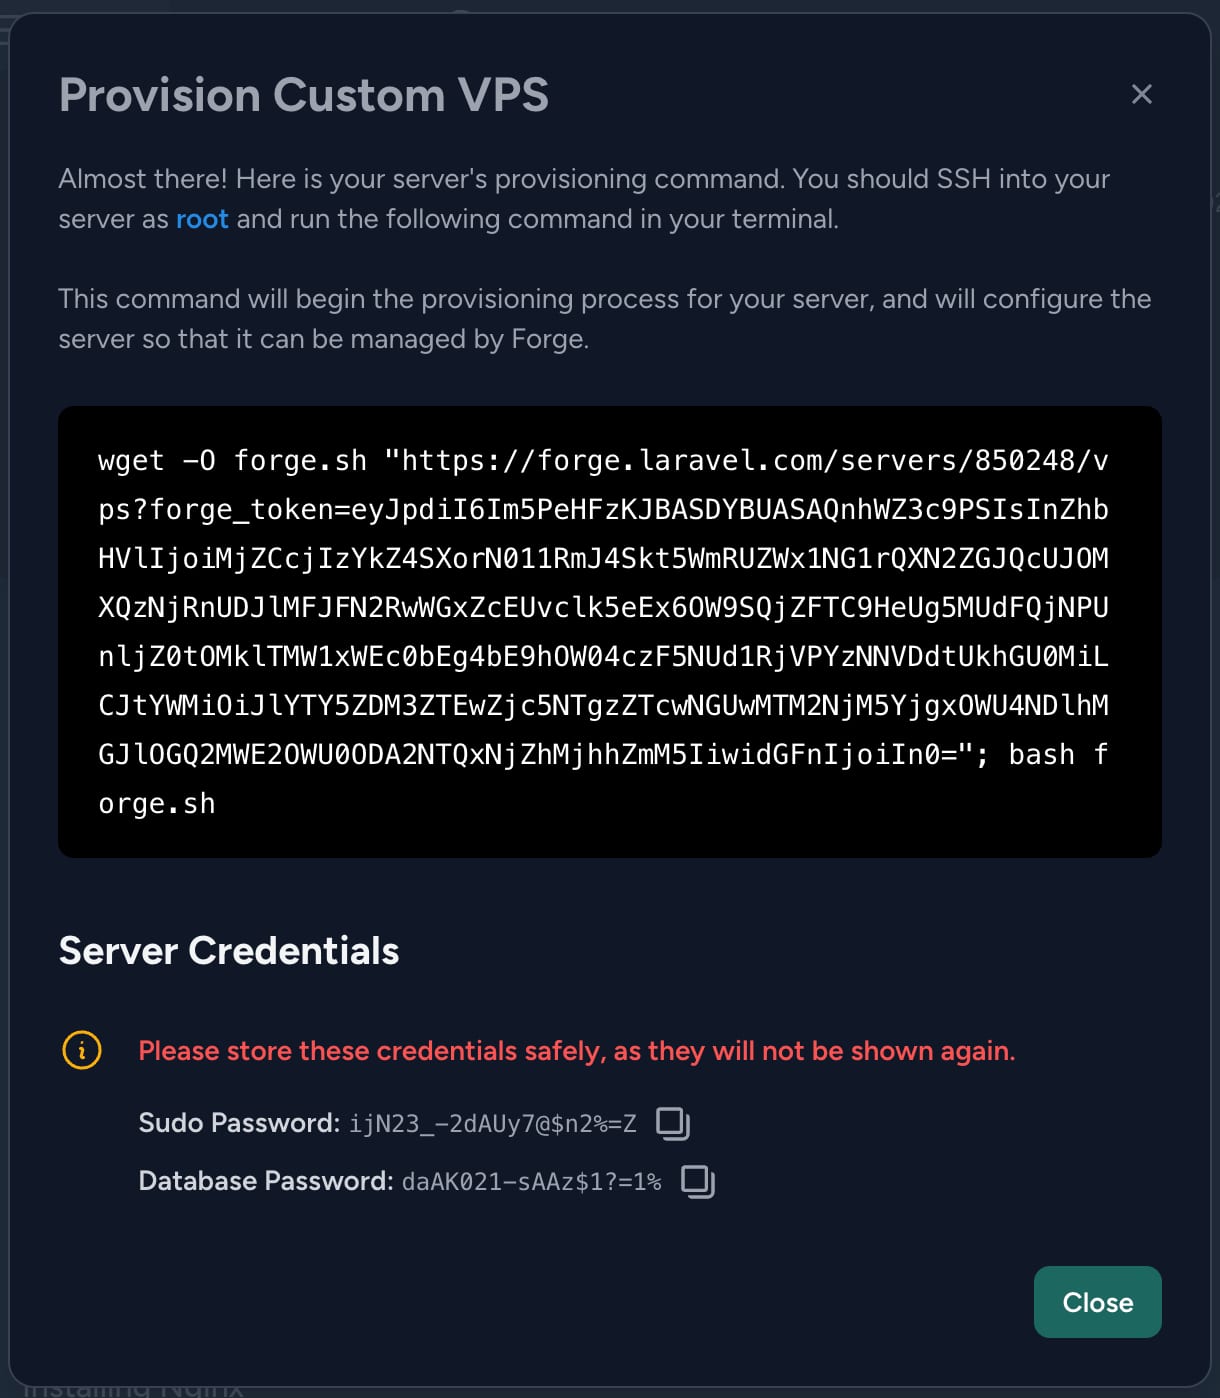
Open SSH client (terminal, PuTTY, or browser terminal in hPanel) and connect to the server using ssh root@your-ip-address replacing your-ip-address with your server’s IP address found in your hPanel.
Once logged in, paste and run the server’s provisioning command from Laravel Forge. This command will install all the necessary dependencies and configure your server for Laravel Forge management.
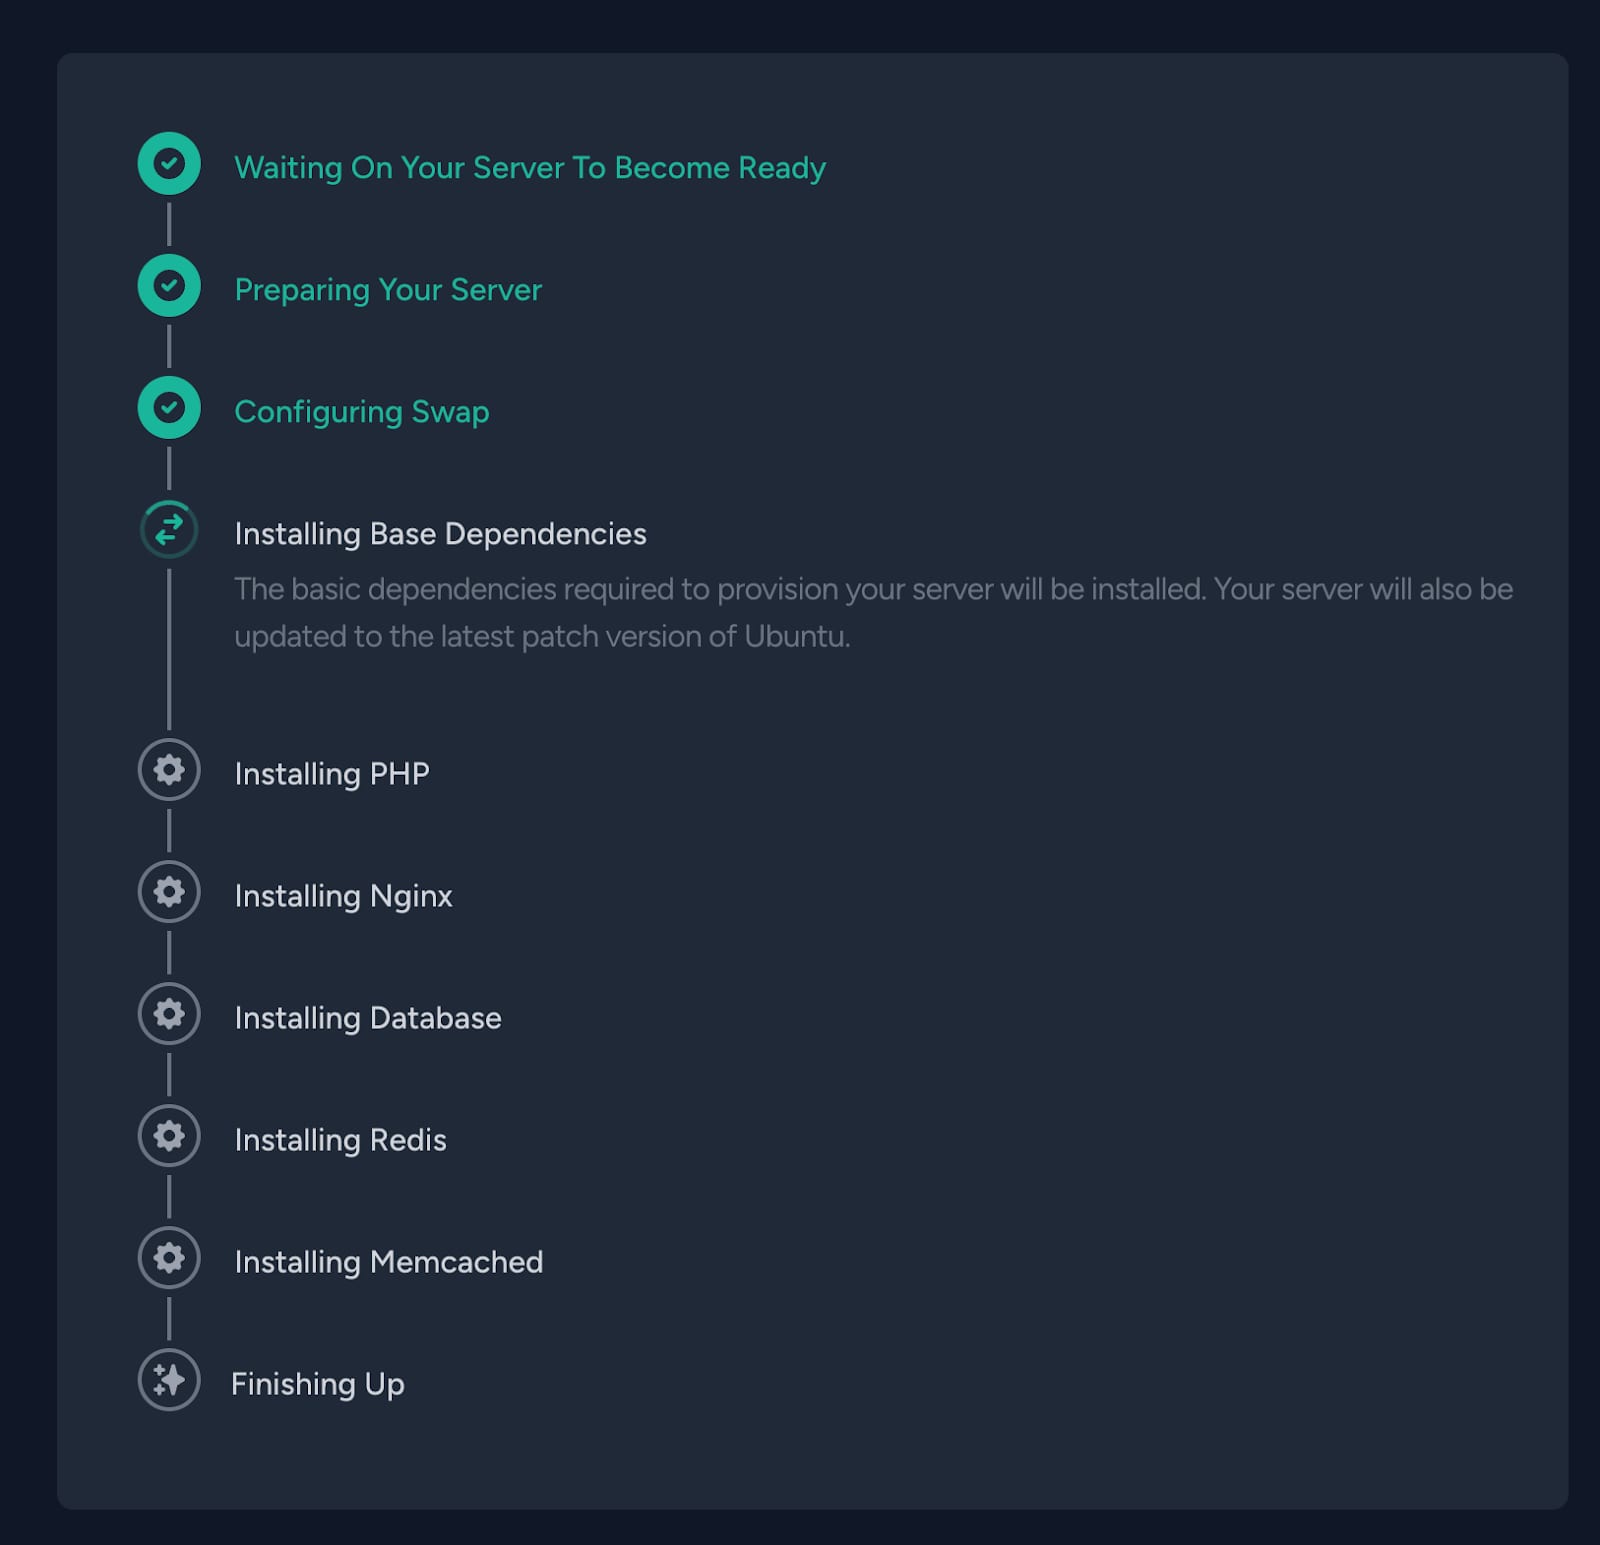
Step 4 – Monitor the Provisioning Process
After running the command, Laravel Forge will automatically handle the following steps:
-
Preparing the server
-
Configuring swap
-
Installing base dependencies (e.g., Ubuntu updates)
-
Installing PHP, Nginx, Database, Redis, and Memcached (based on your chosen type).
Wait for Forge to complete the installation, which may take several minutes.
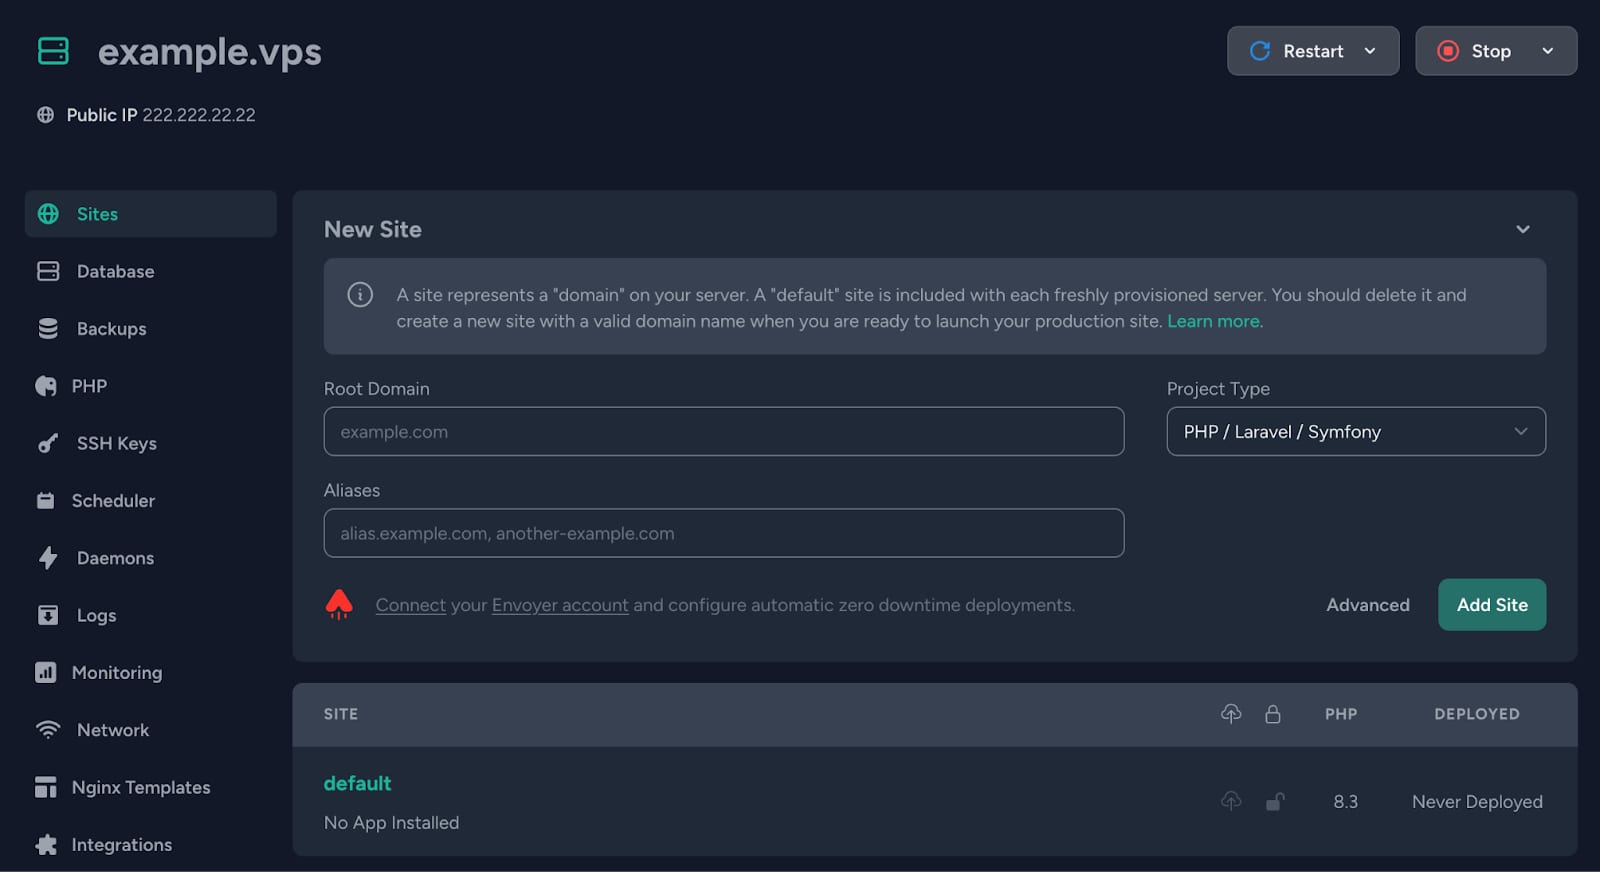
Step 5 – Create a new site
Enter all the necessary information (domain, aliases) and press “Add Site”.
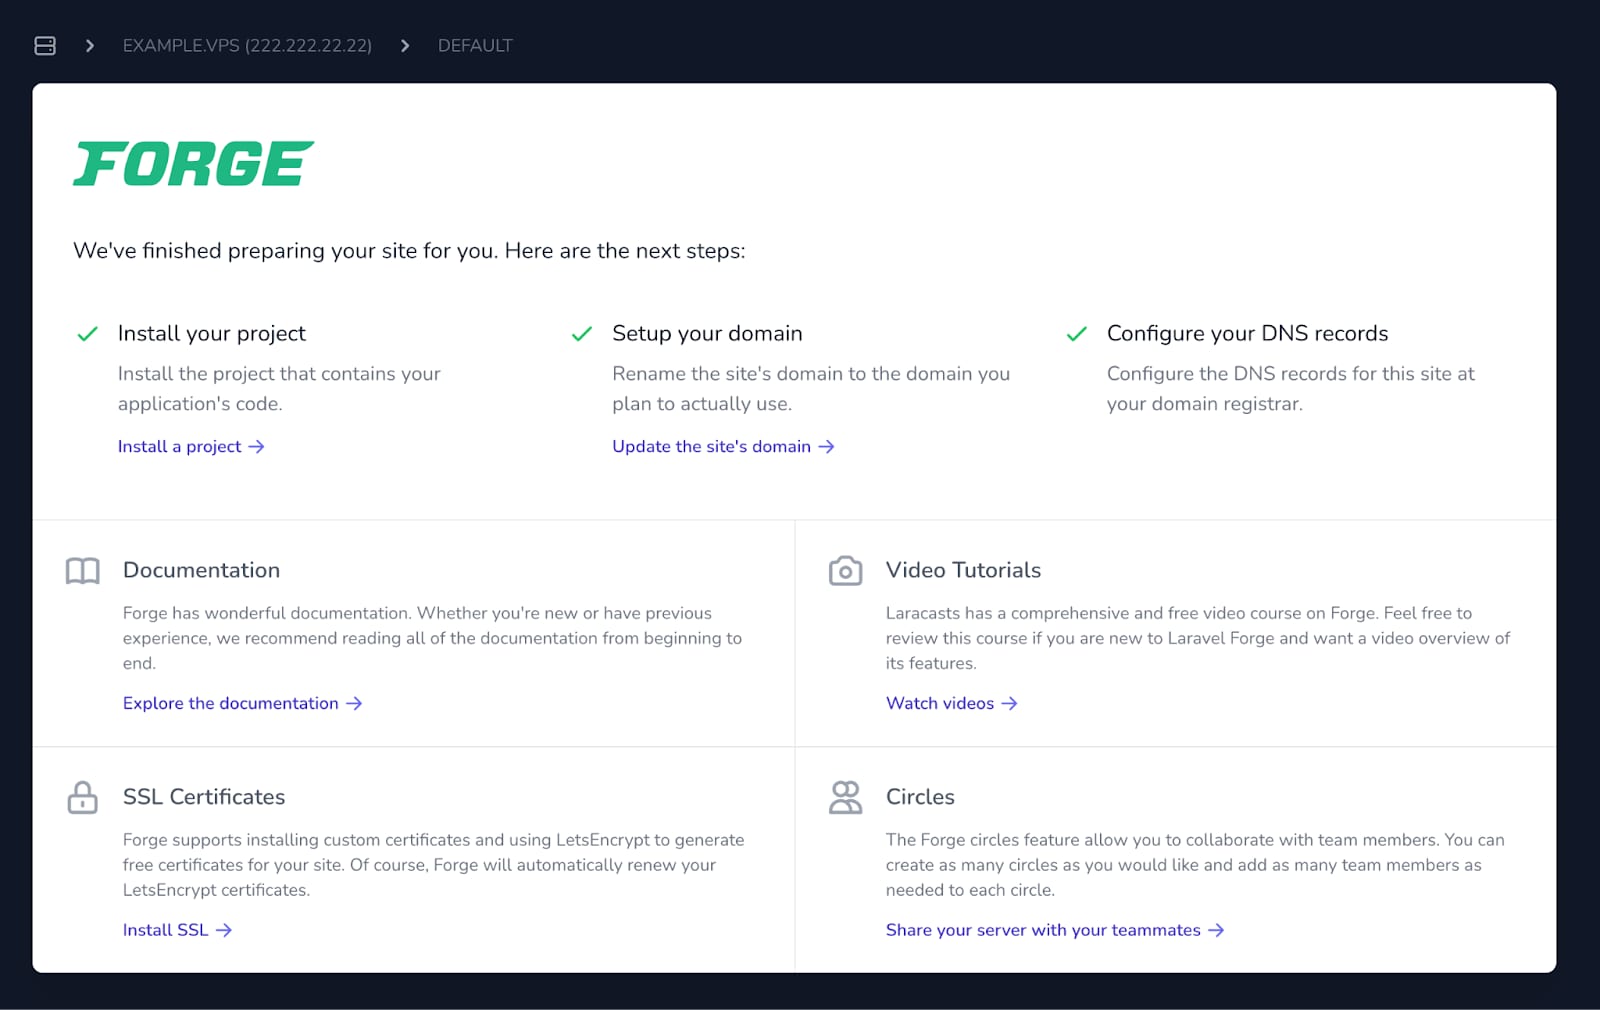
Step 6 – Access your domain
Your Hostinger VPS is now successfully configured to run Laravel Forge. You can manage your server via Laravel Forge, deploy PHP applications, and use additional services like Redis, Memcached, and databases.
For further development, visit Laravel Forge docs 🚀