Dokploy is a powerful, open-source deployment tool designed to simplify and automate the process of deploying applications. It allows an efficient infrastructure management, quicky application deployment, and helps maintain a smooth CI/CD pipeline.
The Ubuntu 24.04 with Dokploy VPS template at Hostinger comes with Dokploy preinstalled, enabling you to start deploying applications immediately.
If you don’t have a VPS yet, check the available options here: Dokploy VPS hosting 🚀
Step 1 — Access Dokploy
Open your web browser and go to:
http://[your-vps-ip]:3000Replacing [your-vps-ip] with the actual IP address of your VPS.
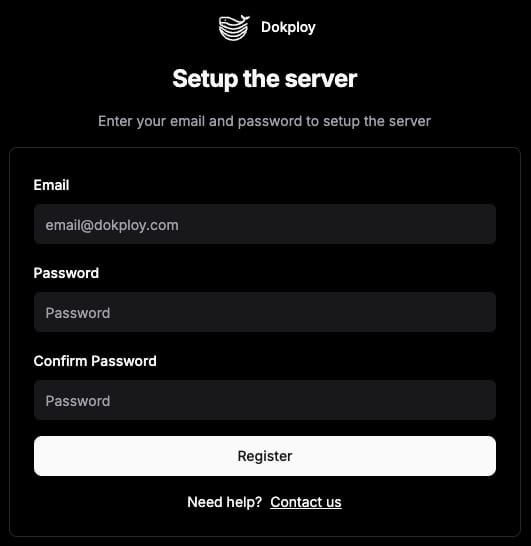
You will be prompted to create a new admin account. Enter your information and proceed with a setup.
Step 2 — Create a new project
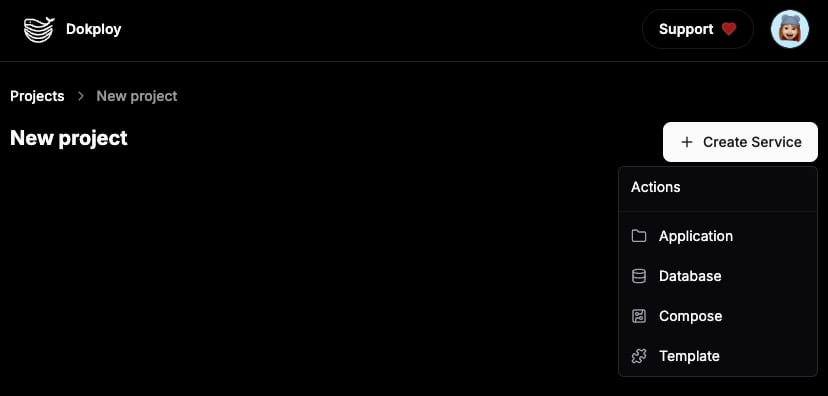
Once you’ve logged in, you can start by clicking the New Project button located in the top right corner. After creating the project, you’ll have the option to add services by selecting them from the dropdown menu.
Dokploy offers several deployment methods, streamlining the process whether you’re utilizing GitHub, any Git provider, Docker, or automated deployments:
-
GitHub
-
Gitlab
-
Bitbucket
-
Git (Any Git Provider)
-
Docker
Step 3 — Secure your Dokploy instance
To set up HTTPS for secure deployment and communication, you’ll need to install an SSL certificate. You can either use a free SSL certificate from Let’s Encrypt or install a custom certificate, depending on your needs.
-
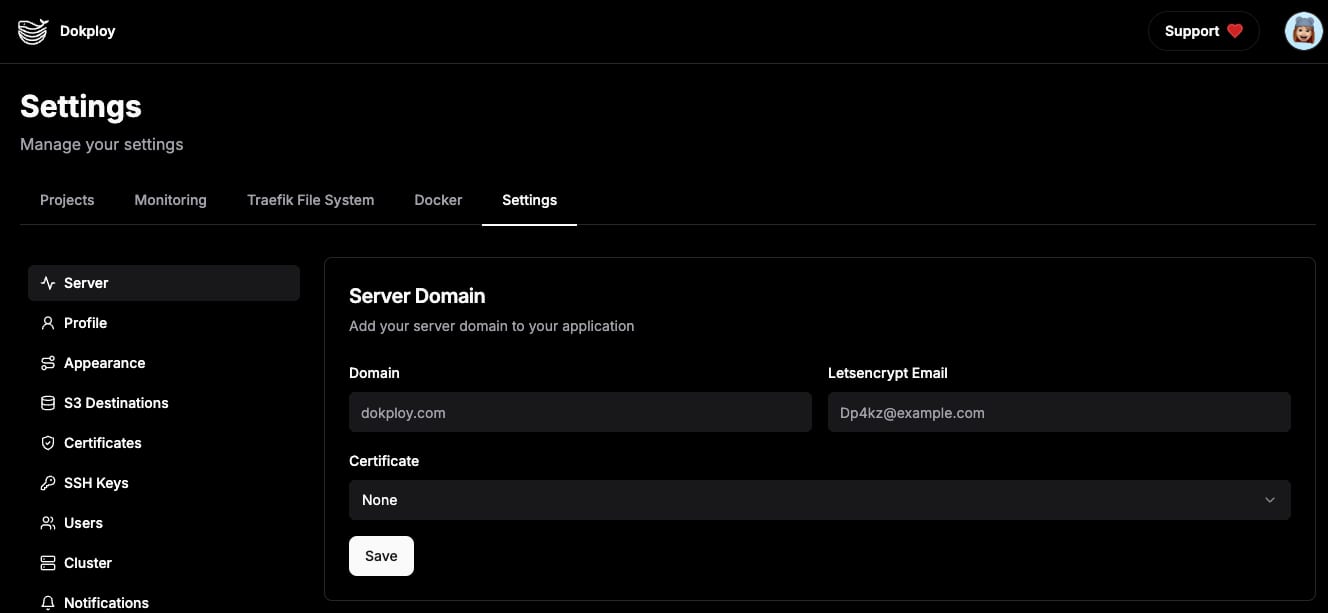
Navigate to the Settings page in Dokploy.
-
Enter the domain pointed to your VPS IP address, your email, and select Let’s Encrypt from the Certificate dropdown list.
-
Save the changes.
Be sure to explore the Dokploy documentation for more detailed information and advanced configurations. This will help you unlock Dokploy’s full potential and ensure successful deployments.