TinyCP is a lightweight, web-based control panel for managing Linux servers. It offers a simple, user-friendly interface for tasks like website management, database handling, and email setup, making it ideal for those who need a straightforward solution without the complexity of more advanced panels.
Our Ubuntu 22.04 64bit with TinyCP VPS template simplifies the setup process by providing TinyCP pre-installed. This guide will walk you through getting started with TinyCP on your VPS.
If you don’t have a VPS yet, check the available options here: VPS Hosting 🚀
Accessing TinyCP
Open a web browser and navigate to:
http://[Your-VPS-IP]:55555Replacing [your-vps-ip] with the IP address of your VPS.
You will reach the TinyCP login page:
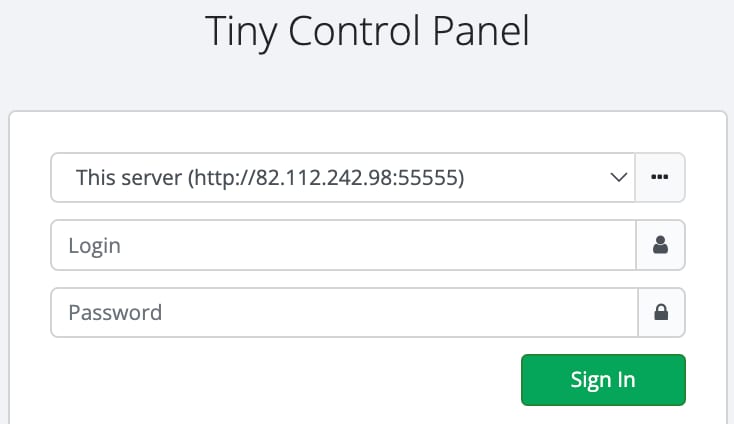
To log in, use the following credentials:
-
Login (user): admin
-
Password: enter the password you provided during the template installation
Navigating TinyCP
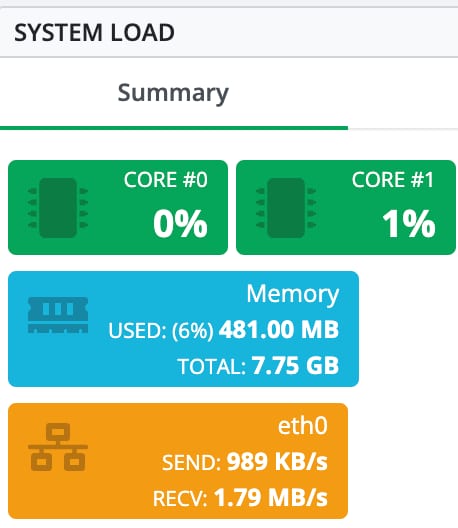
When logged into the control panel, the main dashboard provides a range of information, including system load, server details, user activity, and more.
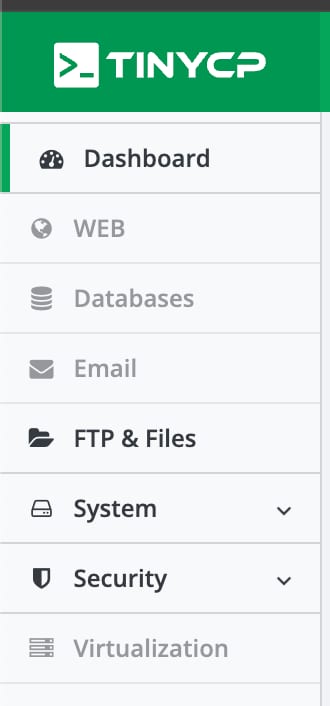
The navigation bar on the left allows you to quickly access the various features offered by this panel.
If you need help finding something specific, there’s a search bar at the top:

Additional Resources
-
For more detailed information and troubleshooting, refer to the TinyCP documentation.