Custom tags are a feature available on Hostinger web and cloud hosting plans designed to help you organize and streamline your website management. You can create personalized labels and assign them to your websites, making it easier to categorize, search, and filter your list by content type (such as blogs, portfolios, online shops) or project status.
Create a custom tag
You can create tags that fit your unique organizational needs for detailed categorization.
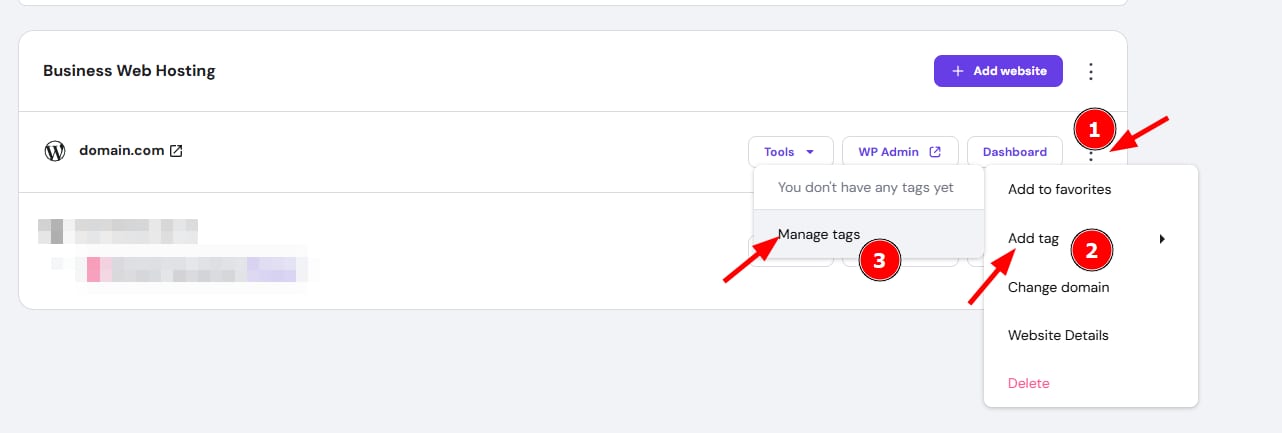
- Go to hPanel → Websites
- Click the options button (⋮) next to any website and select Add tag.
- Click on Manage tags to create a new tag.
- Enter a tag name of 30 characters or less and click Save.
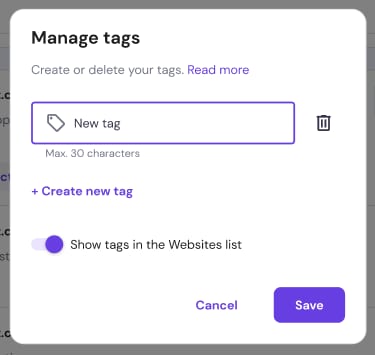
You can create as many tags as you need.
Assign a custom tag to a website
You can assign up to five tags to any website in your collection.
- In the Websites section, click the options button (⋮) next to the specific website.
- Select Add tag.
- Mark the checkboxes for the tags you want to apply.
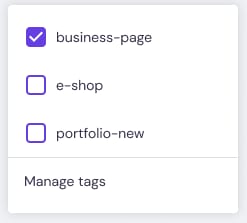
- To remove a tag, simply uncheck the corresponding box
Filter websites by tag
You can create a custom view of your list by filtering for specific categories.
- Locate the Filter by tag dropdown menu next to the search bar in the Websites section.
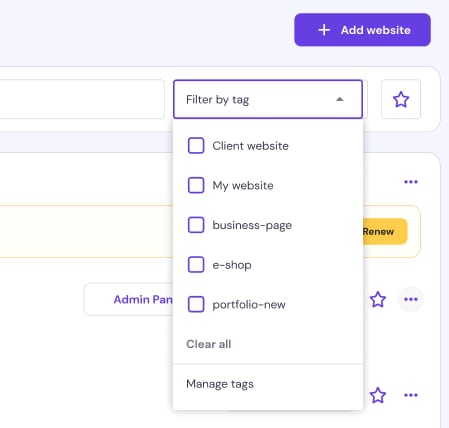
- Select the desired tags from the list.
- If you select multiple tags, hPanel displays only the websites that match all selected criteria
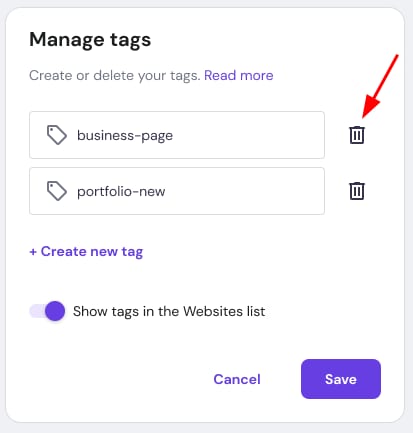
Manage and edit tags
You can update your organization system as your project needs change.
- Click the Filter by tag dropdown and select Manage tags.
- From this menu, you can rename existing tags, create new ones, or delete tags by clicking the bin icon.
Using custom tags allows you to increase productivity by navigating your Hostinger account more effectively. Your websites are now organized into a searchable system that scales with your growing portfolio.