If you wish to add or update your personal or company information, such as name and address, follow the steps below. These changes will also be reflected on the invoices for your Hostinger services 👇
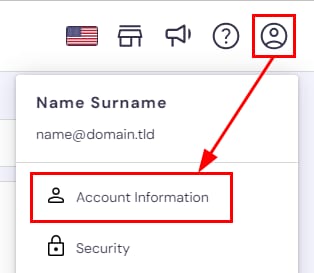
Within your Hostinger account, click on Account in the top right and select Account Information:
In the Personal information section, click on the field you want to update:
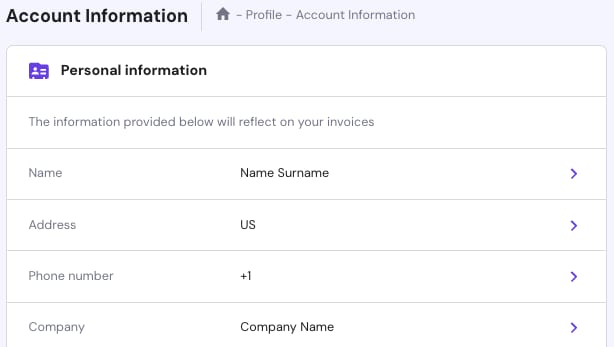
Here, you can update the following information:
-
Name: first name, last name.
-
Address: country, state/region/province, city, street, house/flat number, and ZIP code.
-
Phone number
-
Company information: name, taxpayer identification number, and company code.
- Recovery email: a recovery email address for your Hostinger account as an additional security measure
After saving a recovery email, a verification link is sent to your primary account email address to confirm the recovery email is valid. The recovery email itself does not receive the verification message.
How to Enter Additional Information
If you need to add more details, such as a your national identification number, you can use the Company code field.
Once you insert new details, click on Continue and insert your Hostinger account password to save the changes if prompted.
The changes will be reflected on your future invoices only. Previously issued invoices cannot be modified💡
NOTES
- You cannot add a backup email address if it uses a domain purchased within that same Hostinger account. This restriction does not affect new account registrations.
- The recovery email is currently used for account security purposes. It does not yet enable automated account recovery actions.
- Email communication language is set based on the location of your account. At the moment, it is not possible to change the language of automated emails/newsletters.