Ghost is a powerful blogging and publishing platform known for its simplicity and speed. Hostinger’s Ubuntu 24.04 64bit with Ghost VPS template comes with Ghost pre-installed, making it easy to start your own blog or publication. This guide will help you understand how to utilize this template to manage and publish content effectively.
Setting up your virtual environment will only take a few clicks with our Ghost VPS hosting plans!
Accessing Ghost
Open a web browser and go to http://[your-vps-hostname]/ghost/ — make sure to replace [your-vps-hostname] with the actual working hostname of your VPS:
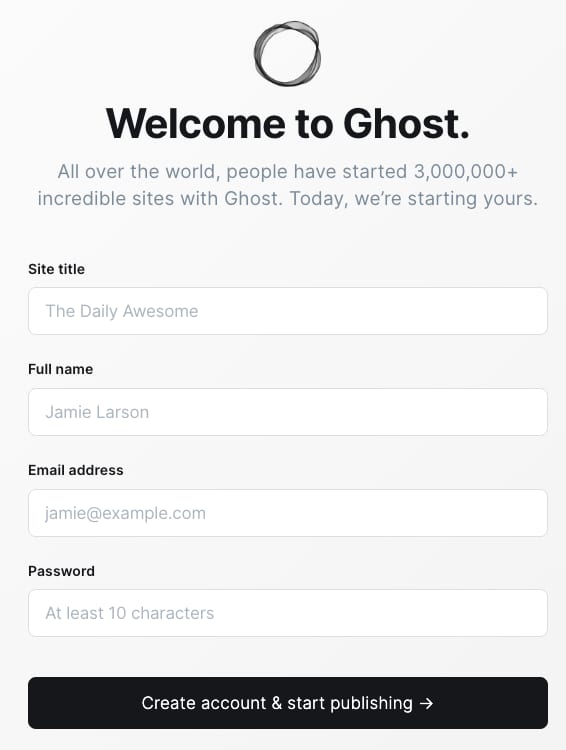
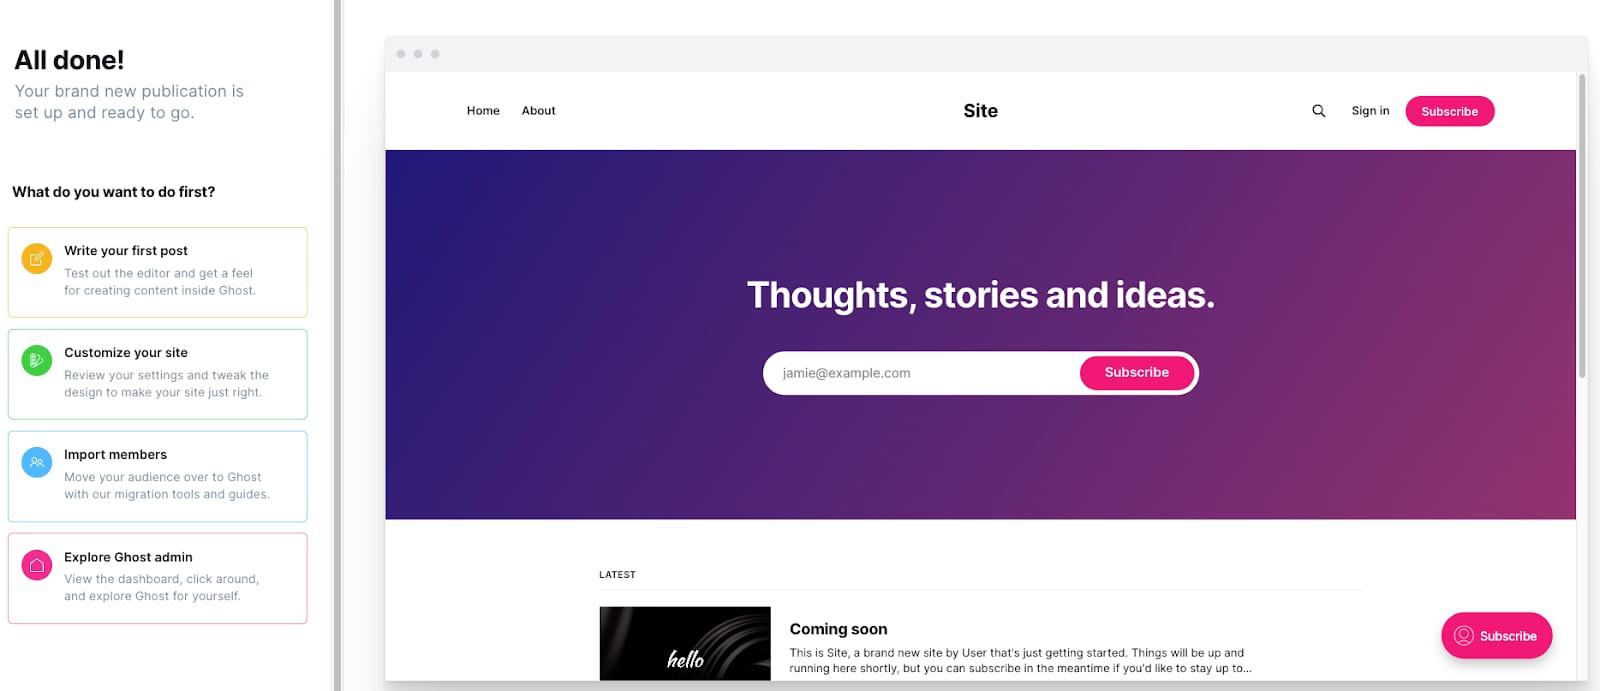
Upon your first visit, the Ghost Setup Wizard will guide you through creating an admin account:
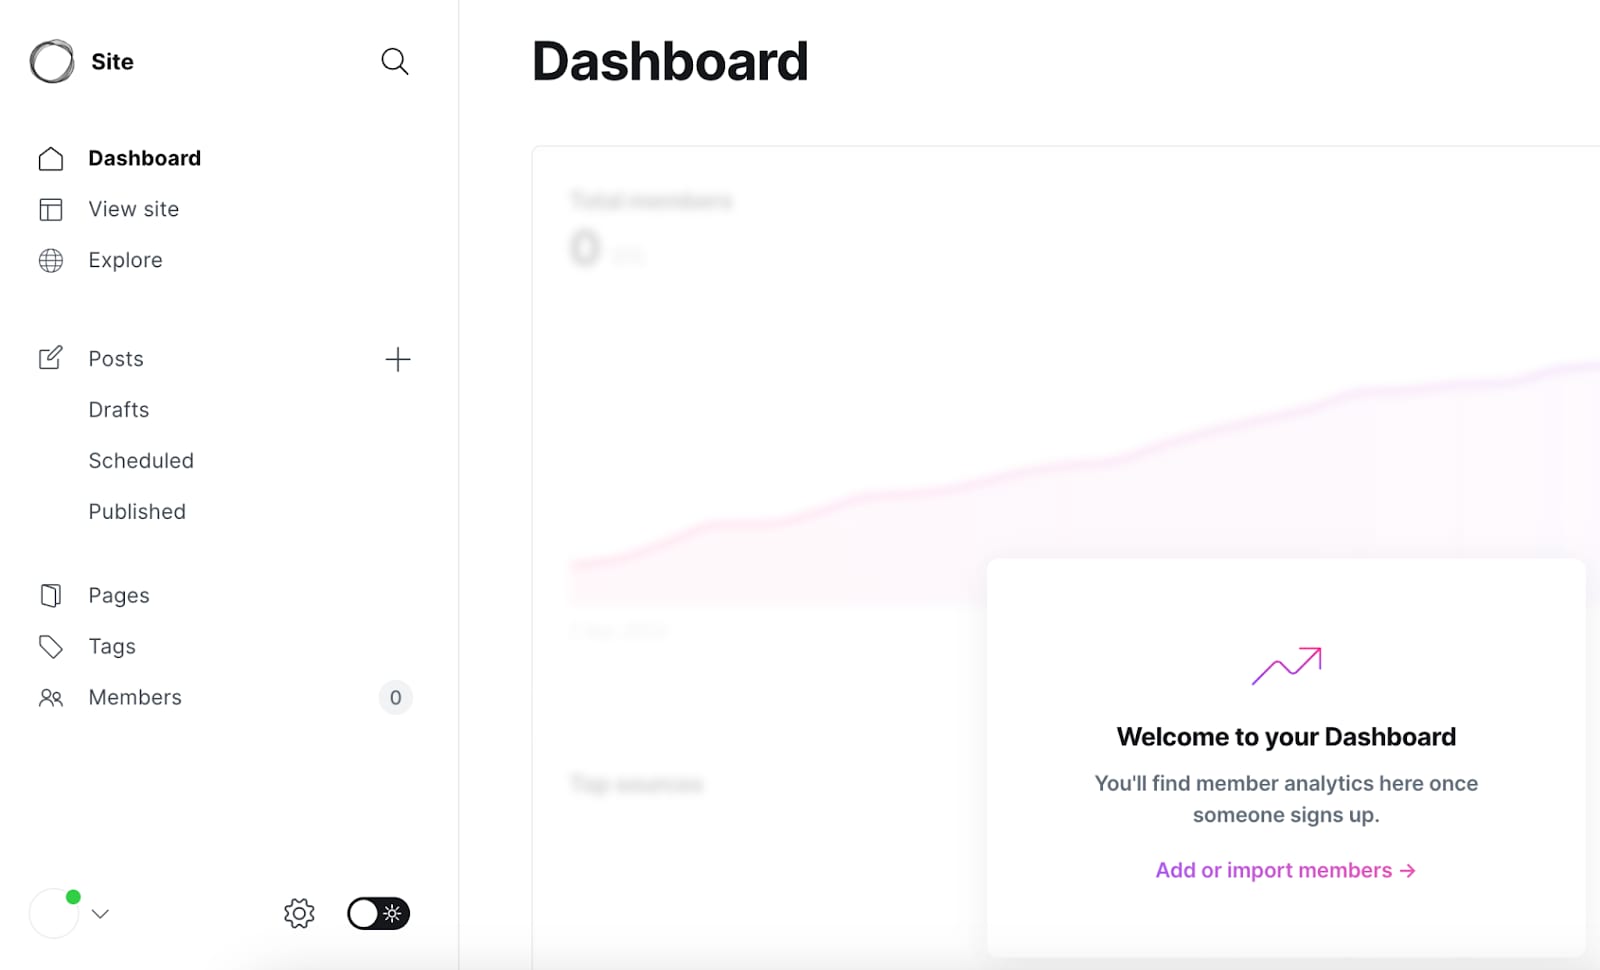
Exploring the Ghost Dashboard
The Ghost admin panel is intuitive. Spend some time exploring its features, including creating posts, managing tags, and customizing your site’s design:
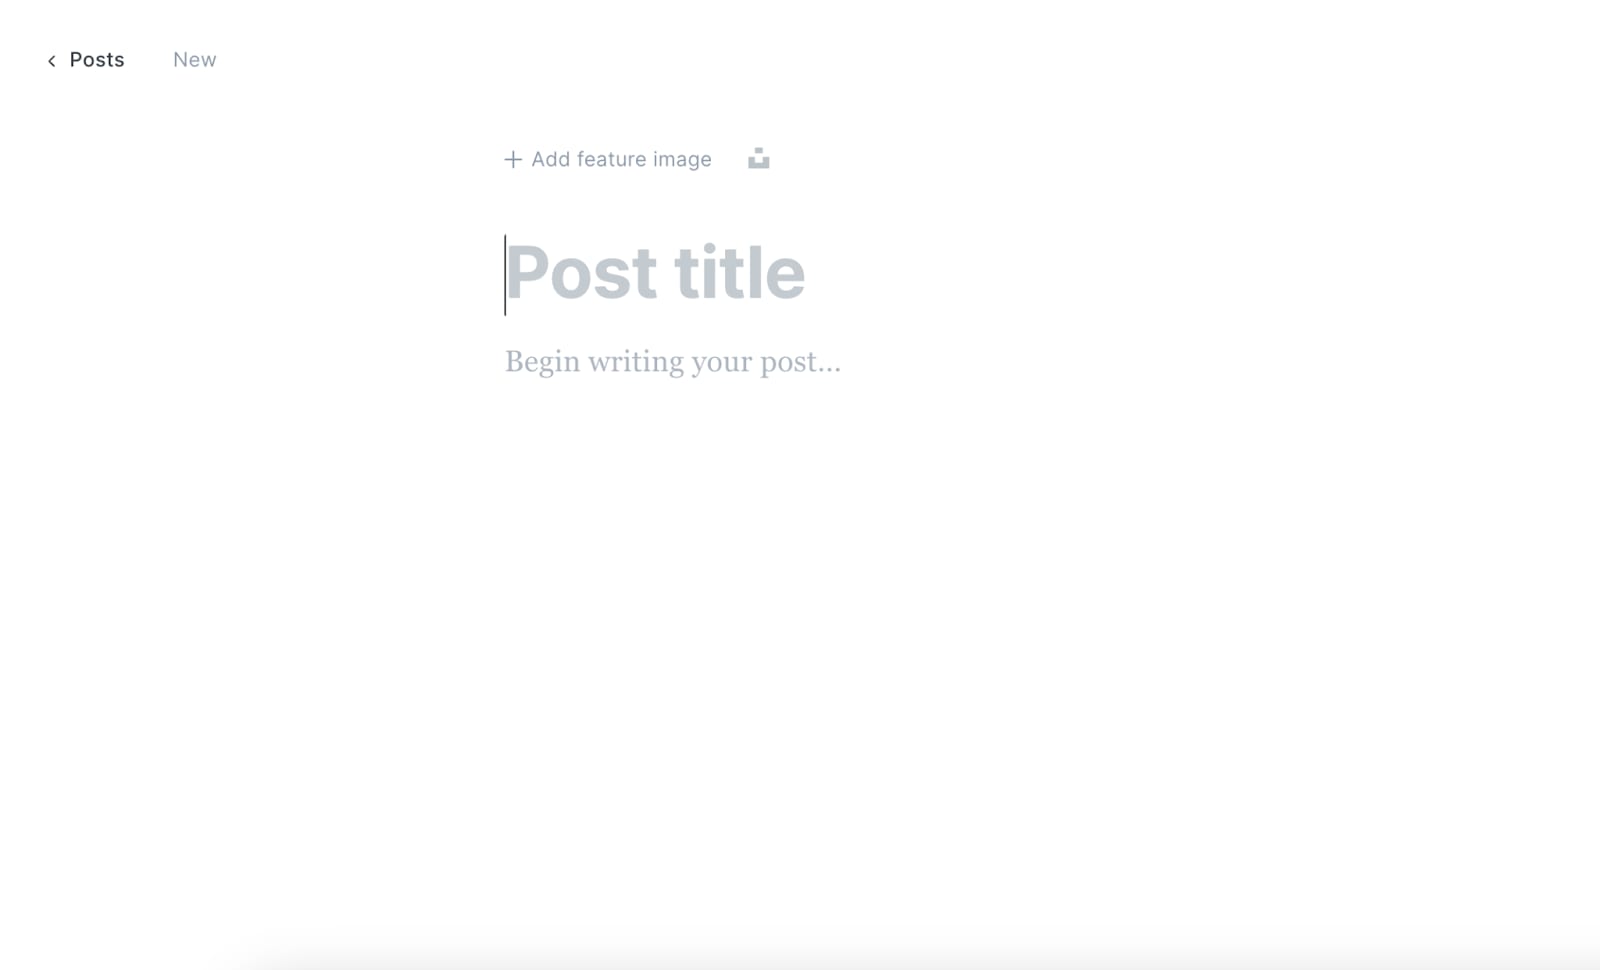
Learn how to create and format posts. Ghost offers a markdown editor for writing and styling your content:
Customizing Your Site
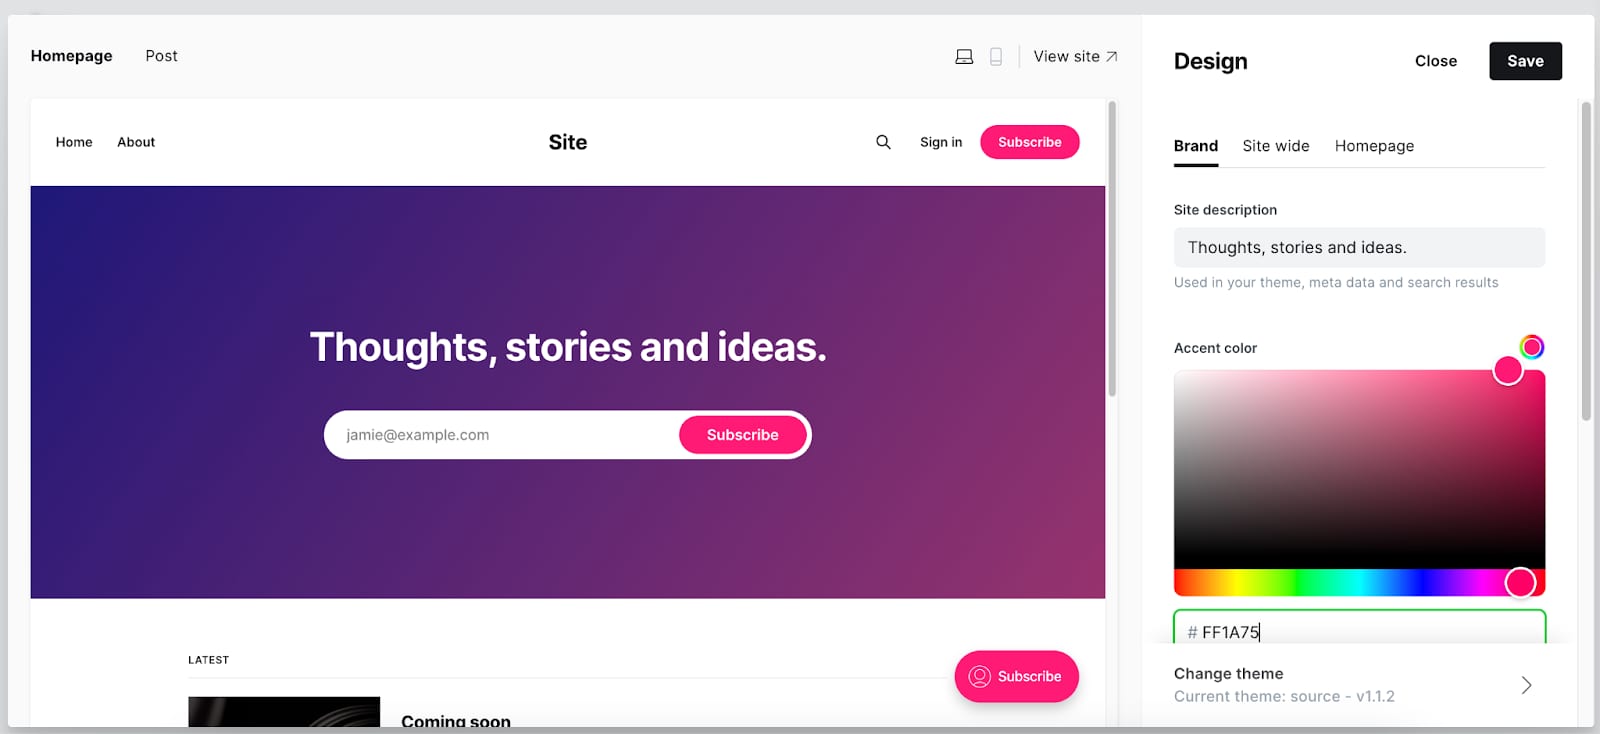
Ghost allows you to customize the appearance of your site. You can select from various themes or create your own:
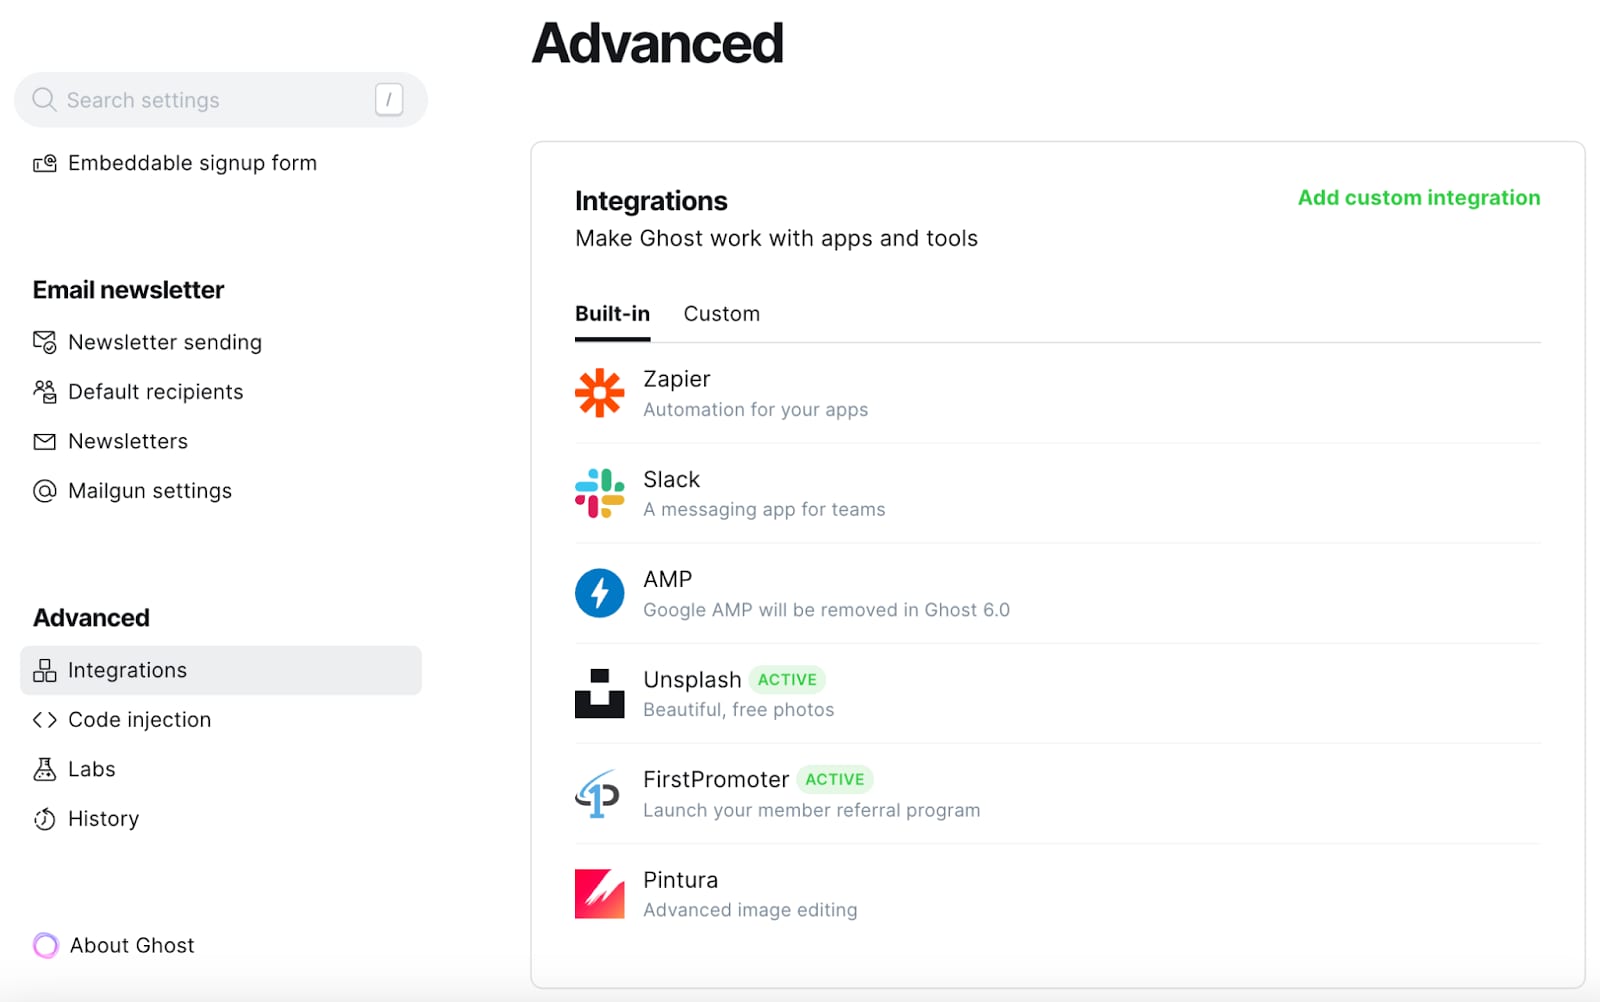
Ghost supports integrations with many popular services like social media, analytics, and email newsletters. Check the Ghost integrations directory for options:
For more detailed instructions and tips, refer to the official Ghost documentation and help center 💡