cPanel offers a Full Backup feature that can archive all your website files and configurations. Additionally, you can use the file to move your hosting account to another server or to save a copy of the files to your local storage.
This guide will explain how to do a Full Backup via cPanel. Do this regularly to secure your website data.
💡Ensure your cPanel has over 50% free space before using the Backup Wizard. Full backups temporarily double your storage usage, so the process may fail if there isn’t enough space.
1. In the cPanel page, scroll to the Files section and select the Backup Wizard menu.

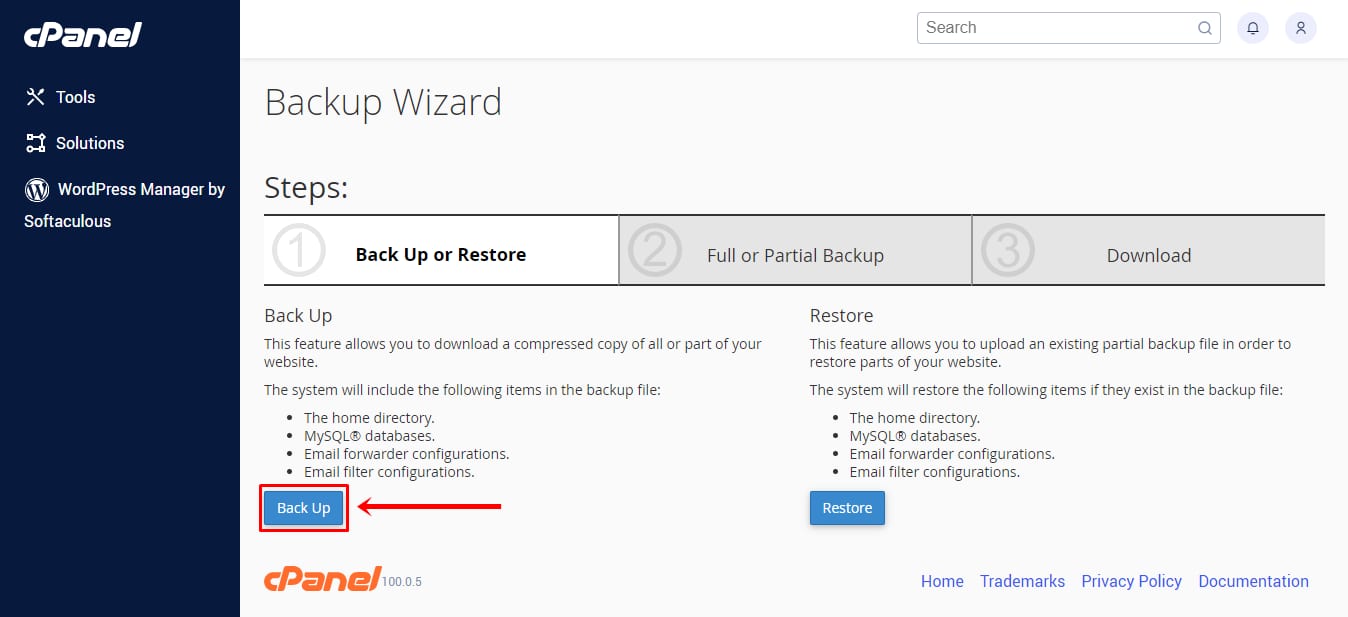
2. You will be redirected to the Backup Wizard page. Click the Back Up button to start the process.
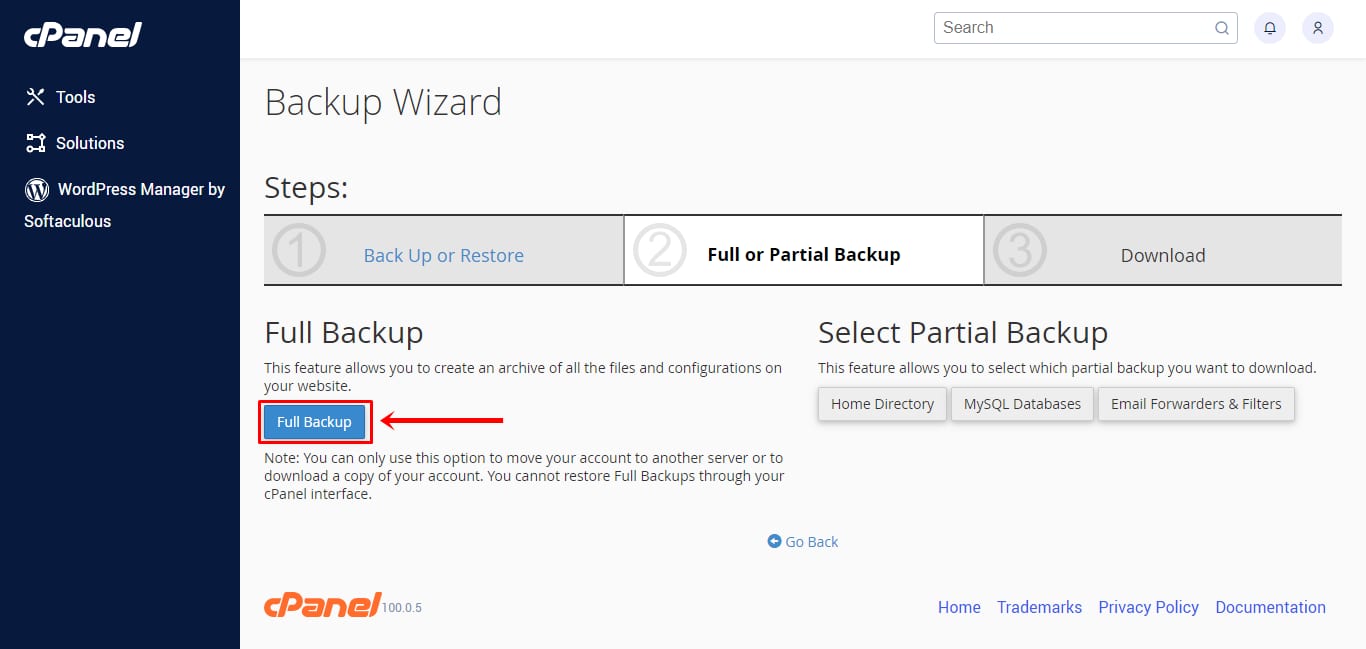
3. Click the Full Backup button.
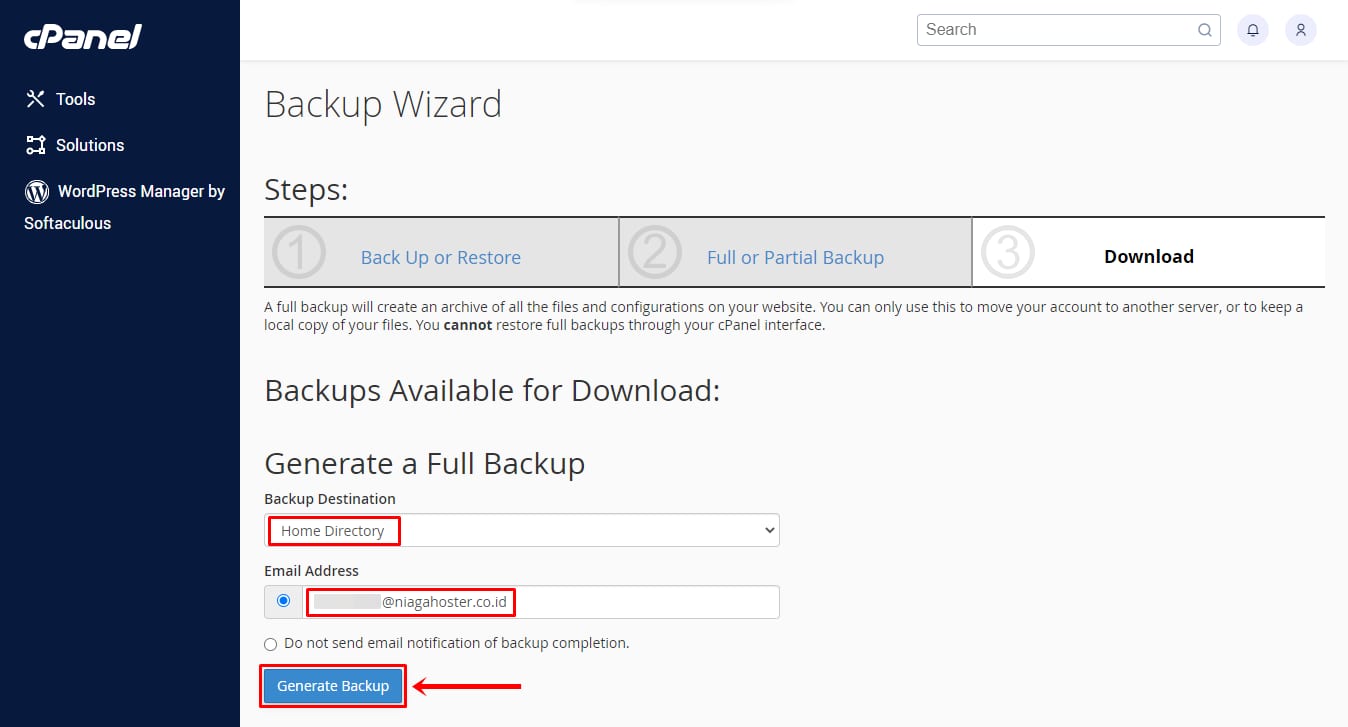
4. Select “Home Directory” as the Backup Destination and enter your active email address to receive a notification once the backup is complete. When everything looks correct, click Generate Backup.
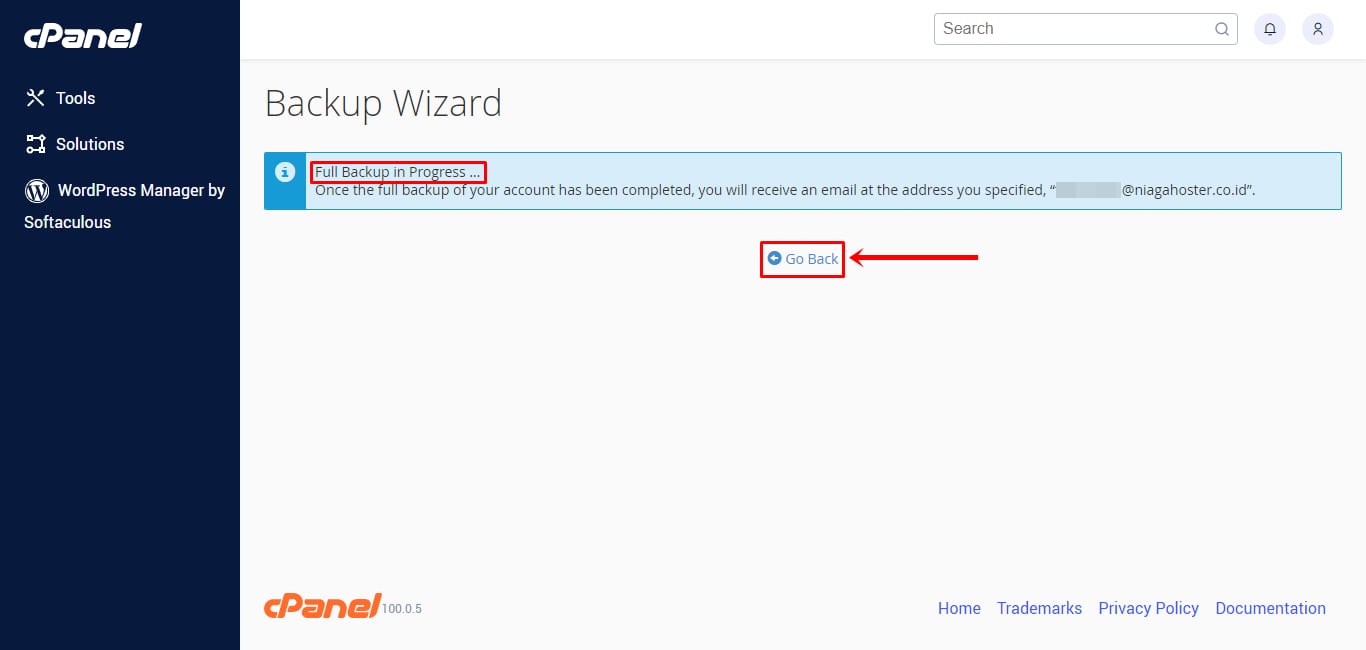
5. You’ll see a notification like this. Wait for the full backup to finish, then click Go Back.
6. You’ll be redirected to the Backup Wizard page. Under Backups Available for Download, click the available file link—this is the backup successfully created by cPanel.
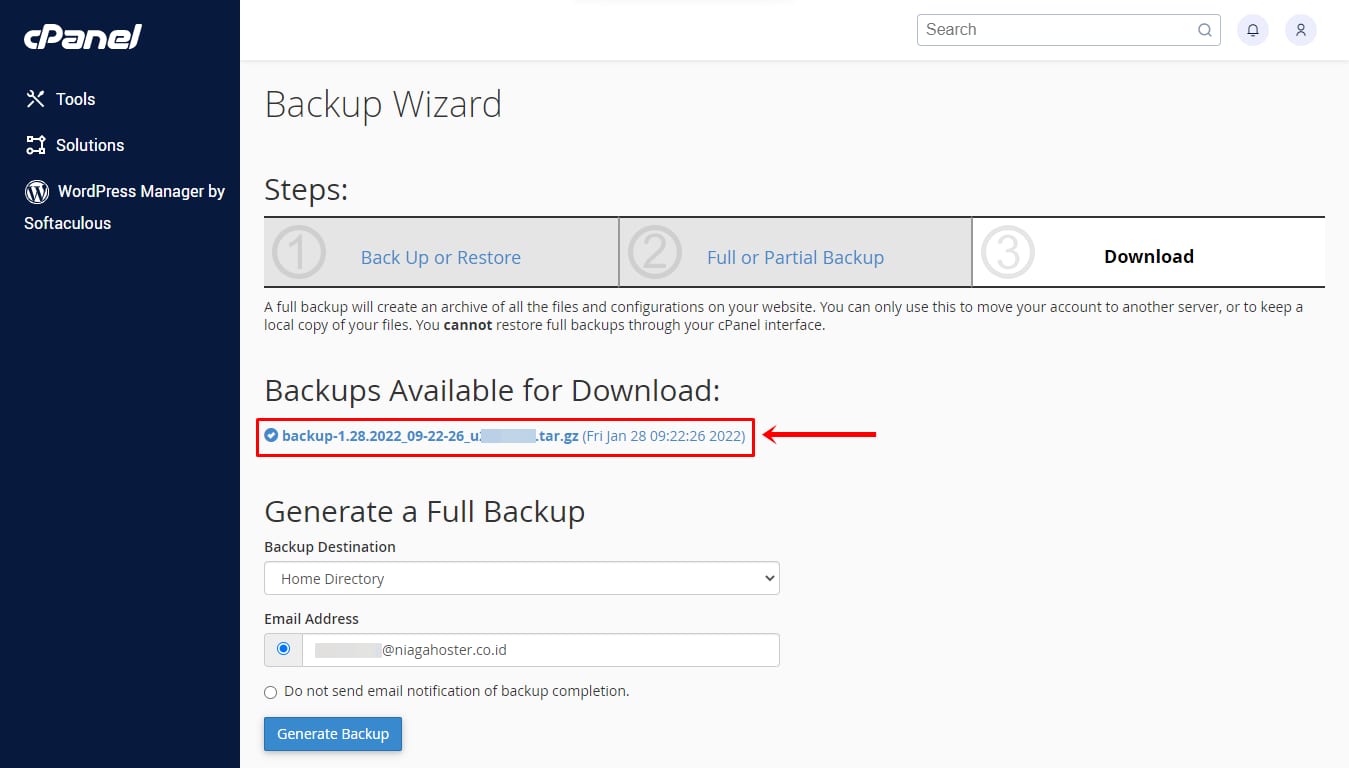
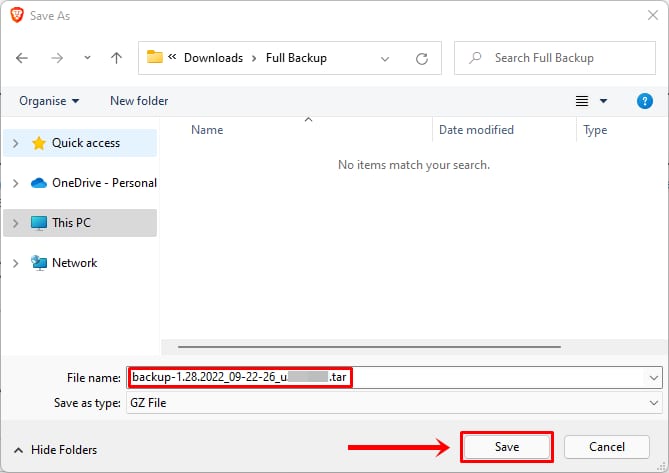
7. Congratulations! You can now download and save the backup file to your local storage.