Preventing some specific IP addresses or a range of IP addresses from accessing your website is commonly used as a security measure to protect your site from unauthorized access, malicious activities, or unwanted traffic.
Block an IP Address
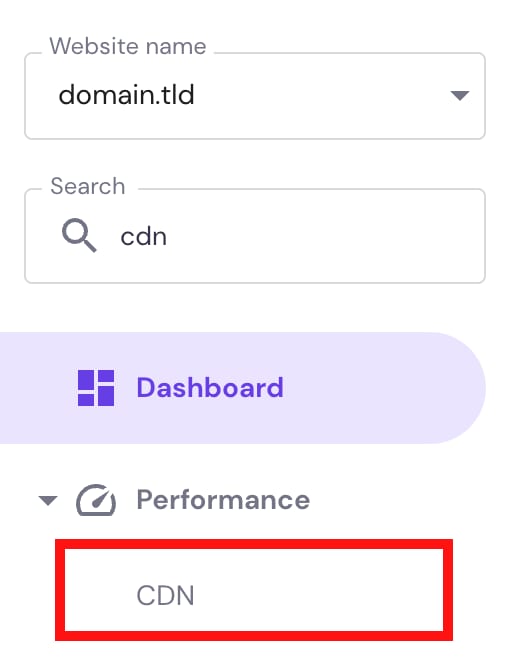
In hPanel → Websites, click on Manage next to the website in question. Then, on the sidebar search for CDN and open its settings:
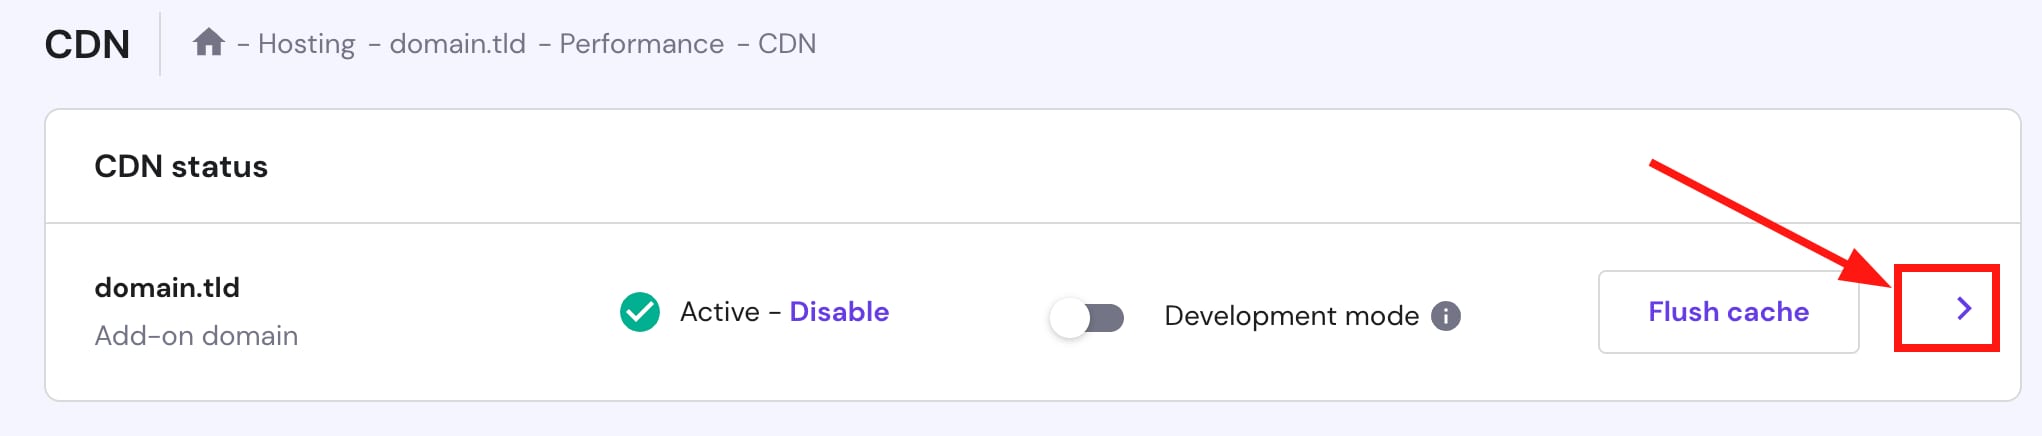
Click on the arrow > to access the CDN settings of the preferred website:

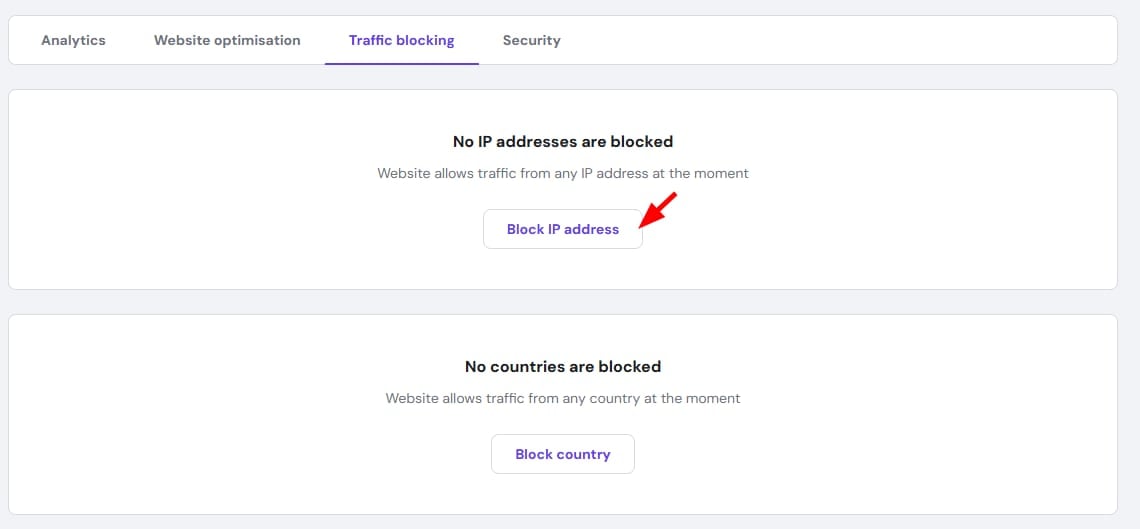
Now, open the section Traffic blocking, click on Block IP address, or Add IP block, select the IPs, or IP ranges you want to block, and click on Block to confirm:
And that’s it!
Remove the IP Block
To remove an IP block, in hPanel → Websites, click on Manage next to the website in question. Then, on the sidebar search for CDN and open its settings:
Click on the arrow > to access the CDN settings of the preferred website:
Now, open the section Traffic blocking, click on the trash bin icon, and then click on Delete to confirm:

Alternatively, you can also block countries 💡
Blocking multiple IPs at once (bulk upload)
Besides adding IPs one by one, you can also submit a list of IPs in a single action:
- In the Traffic blocking section, click Block IP address.
- In the input field, enter multiple IP addresses separated by commas or on separate lines — or upload a .csv or .txt file containing the IP values.
- Click Block to apply all entries at once.