At the moment, Hostinger Website Builder supports a Pinterest tag that would track page views for all of your website pages. Whilst this doesn’t allow you to use Pinterest to its fullest potential, it’s still a great way to increase the effectiveness of your Pinterest Ads and boost your website traffic.
Pinterest tag is available in these countries 🌍
To set up Pinterest tags, follow these steps:
1. Create a Pinterest Business account.
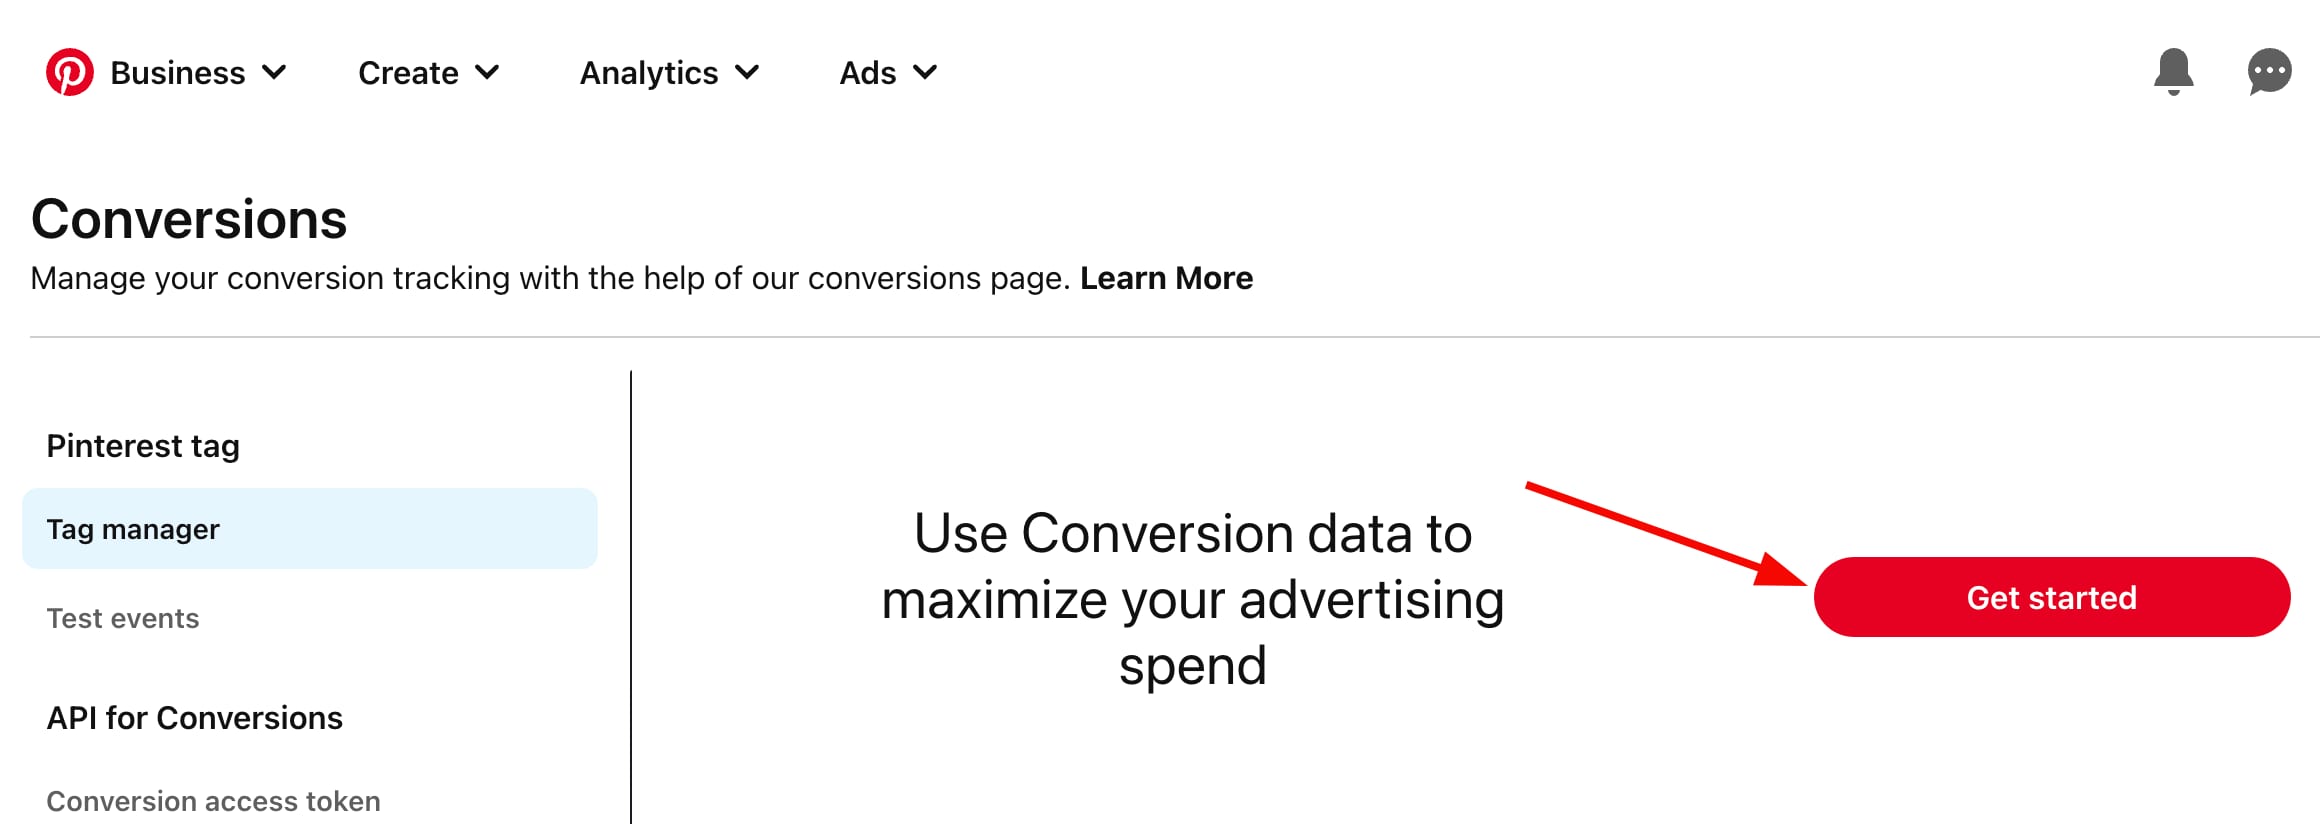
2. Then, follow this link to open the Pinterest tag manager and click Get started:
3. Enter your website’s address, click Check, and proceed with the manual setup of the tag:

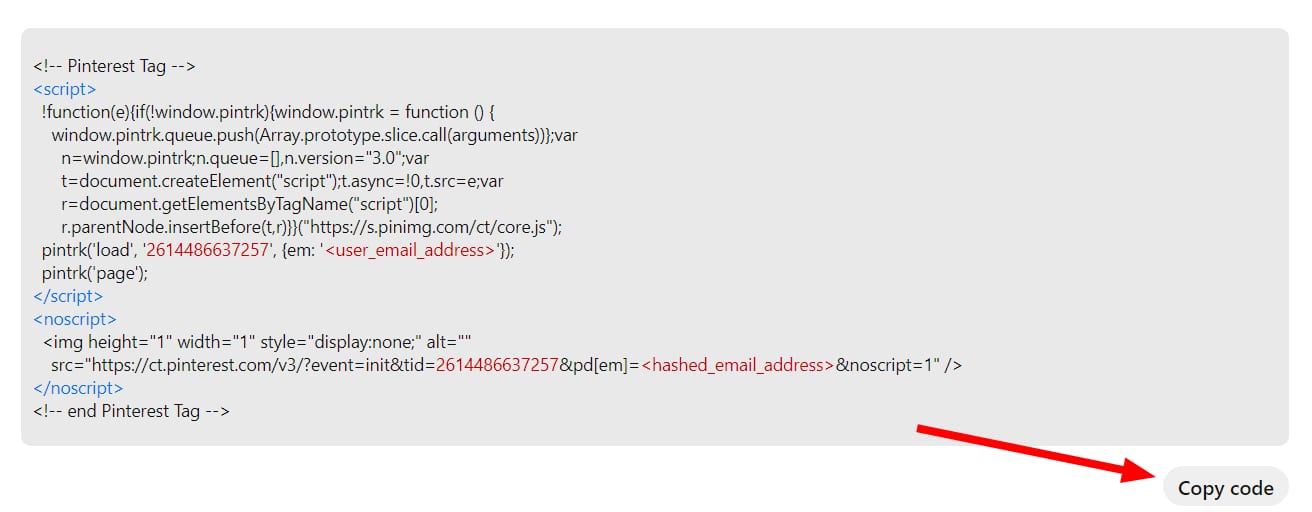
4. Then, copy the code provided by the platform:
5. Paste the code into the Custom code field that’s in your website’s integrations settings:
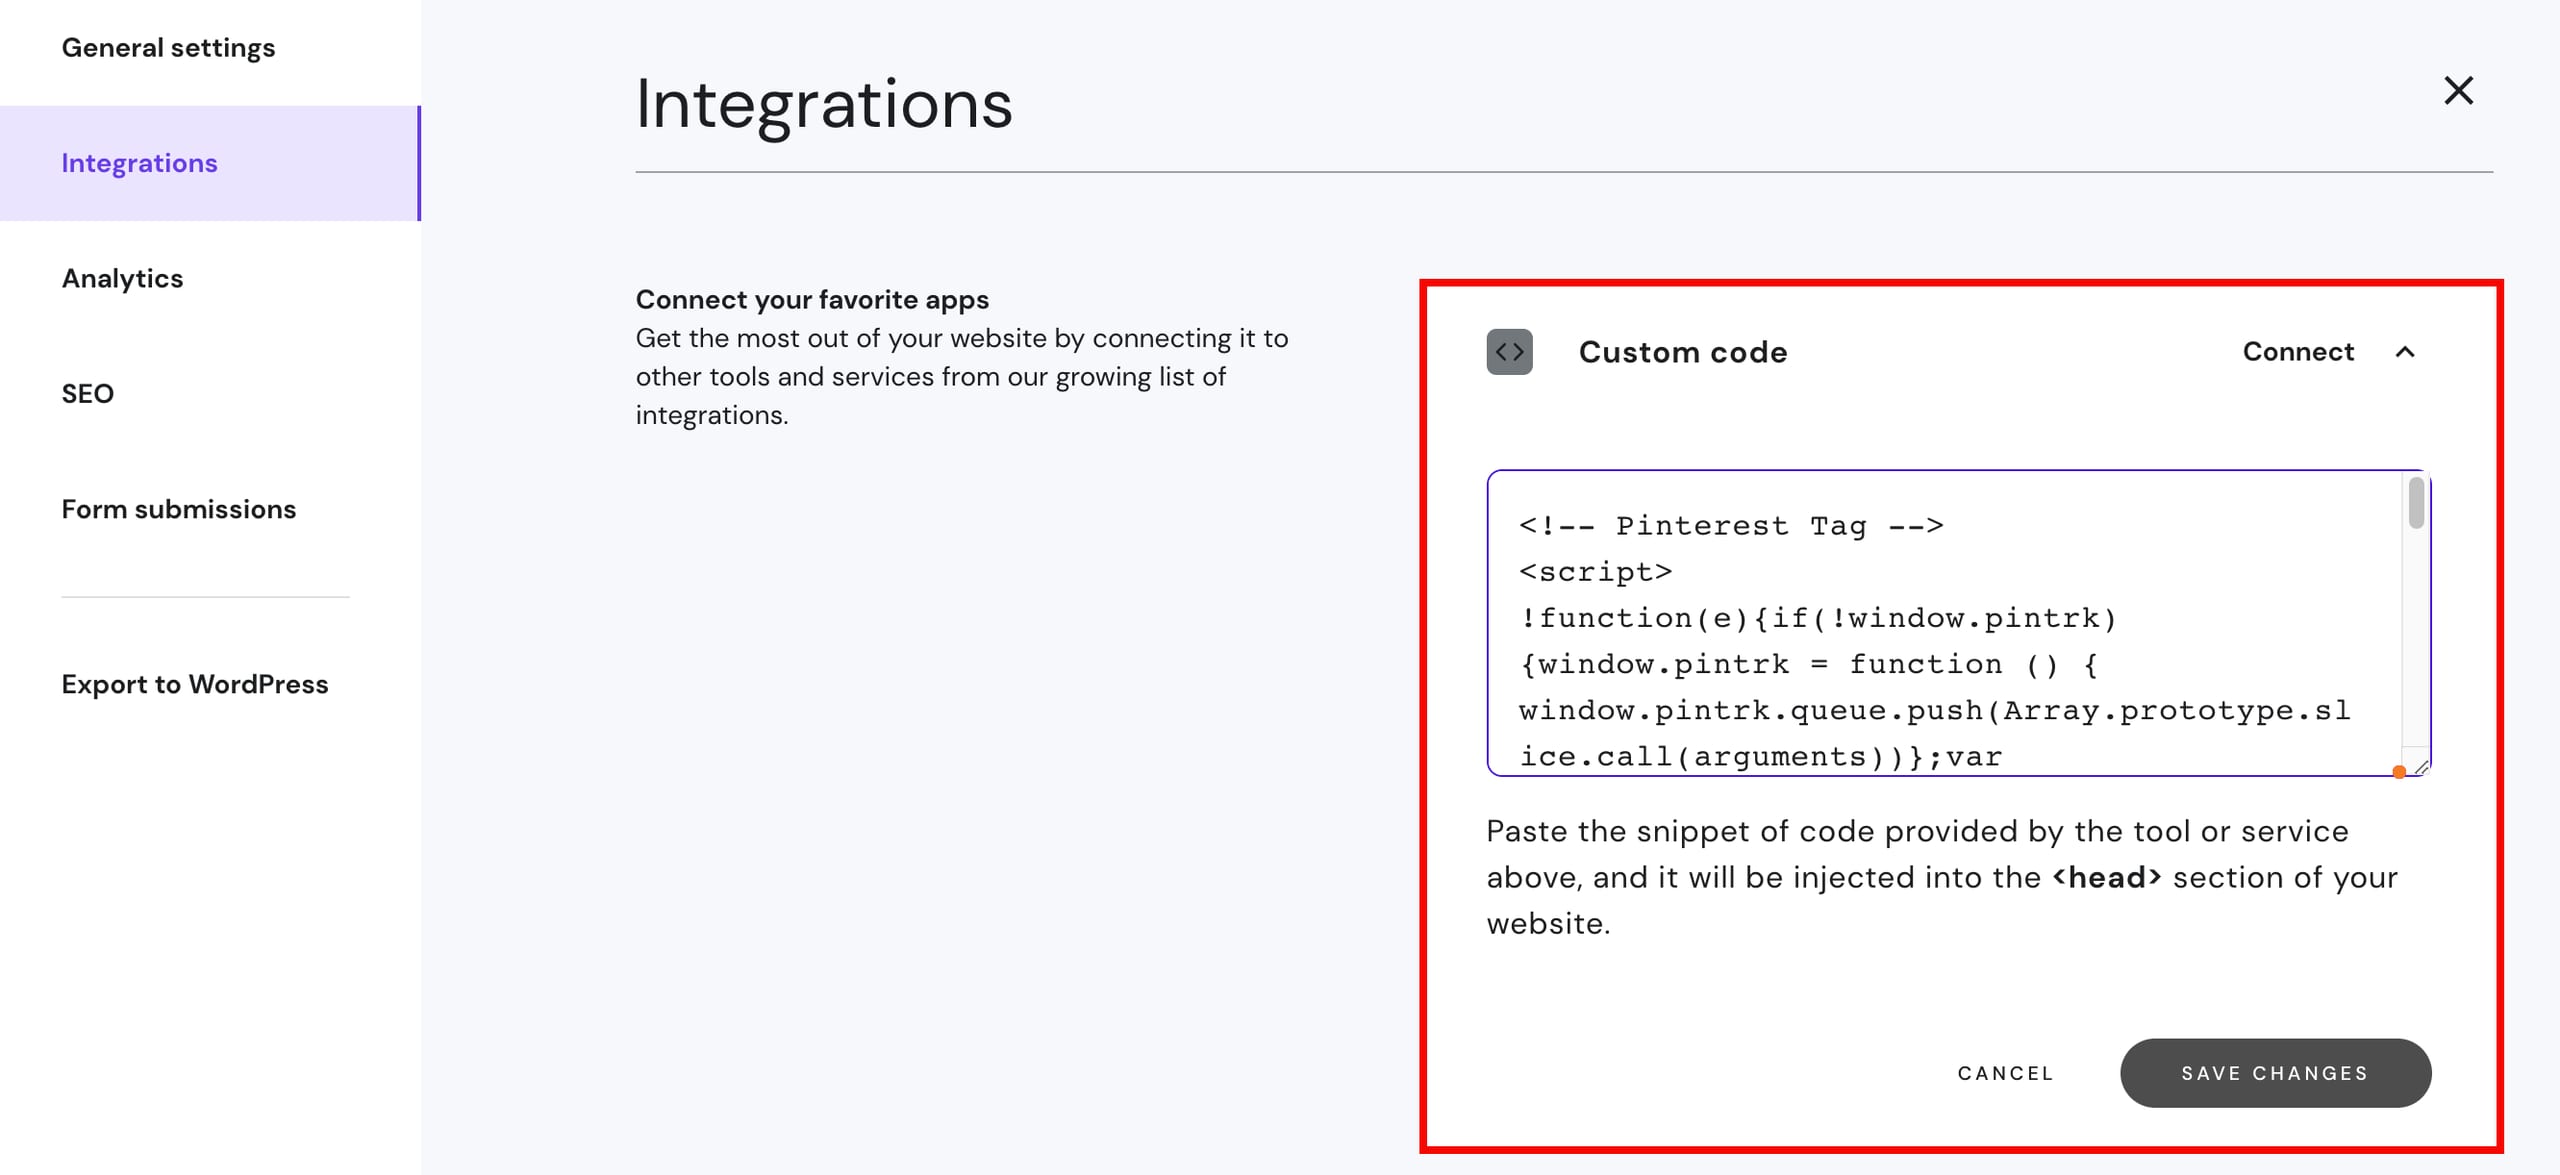
Save the changes and update your website.
6. Then, at Pinterest, click Continue until you reach the event setup and copy the PageVisit tag:
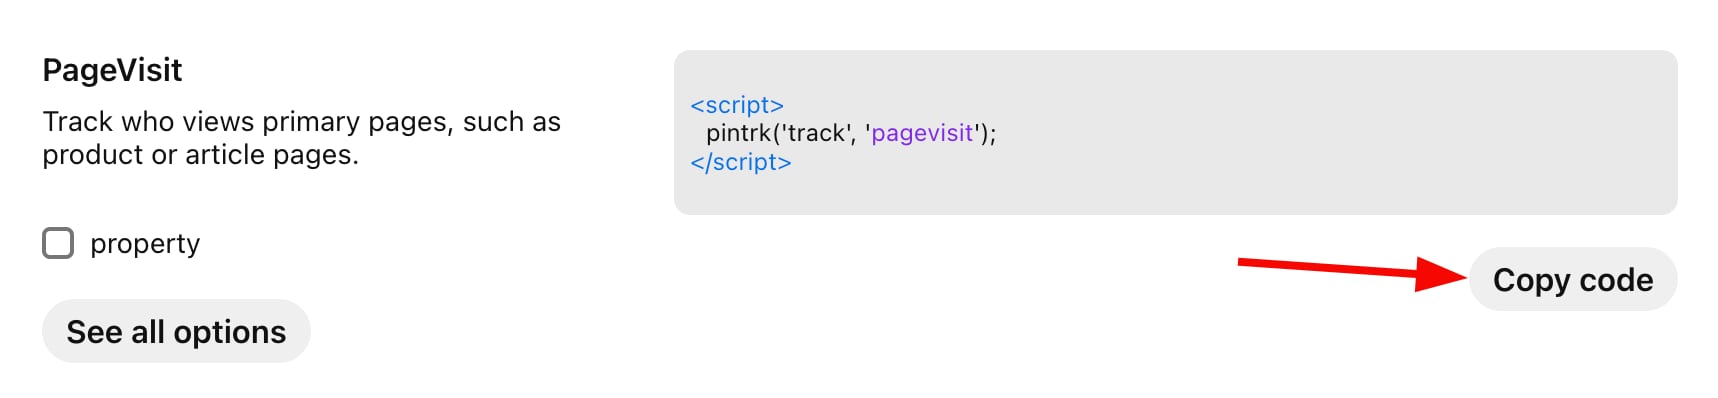
7. Then, add it below the code that you’ve previously added to your site.
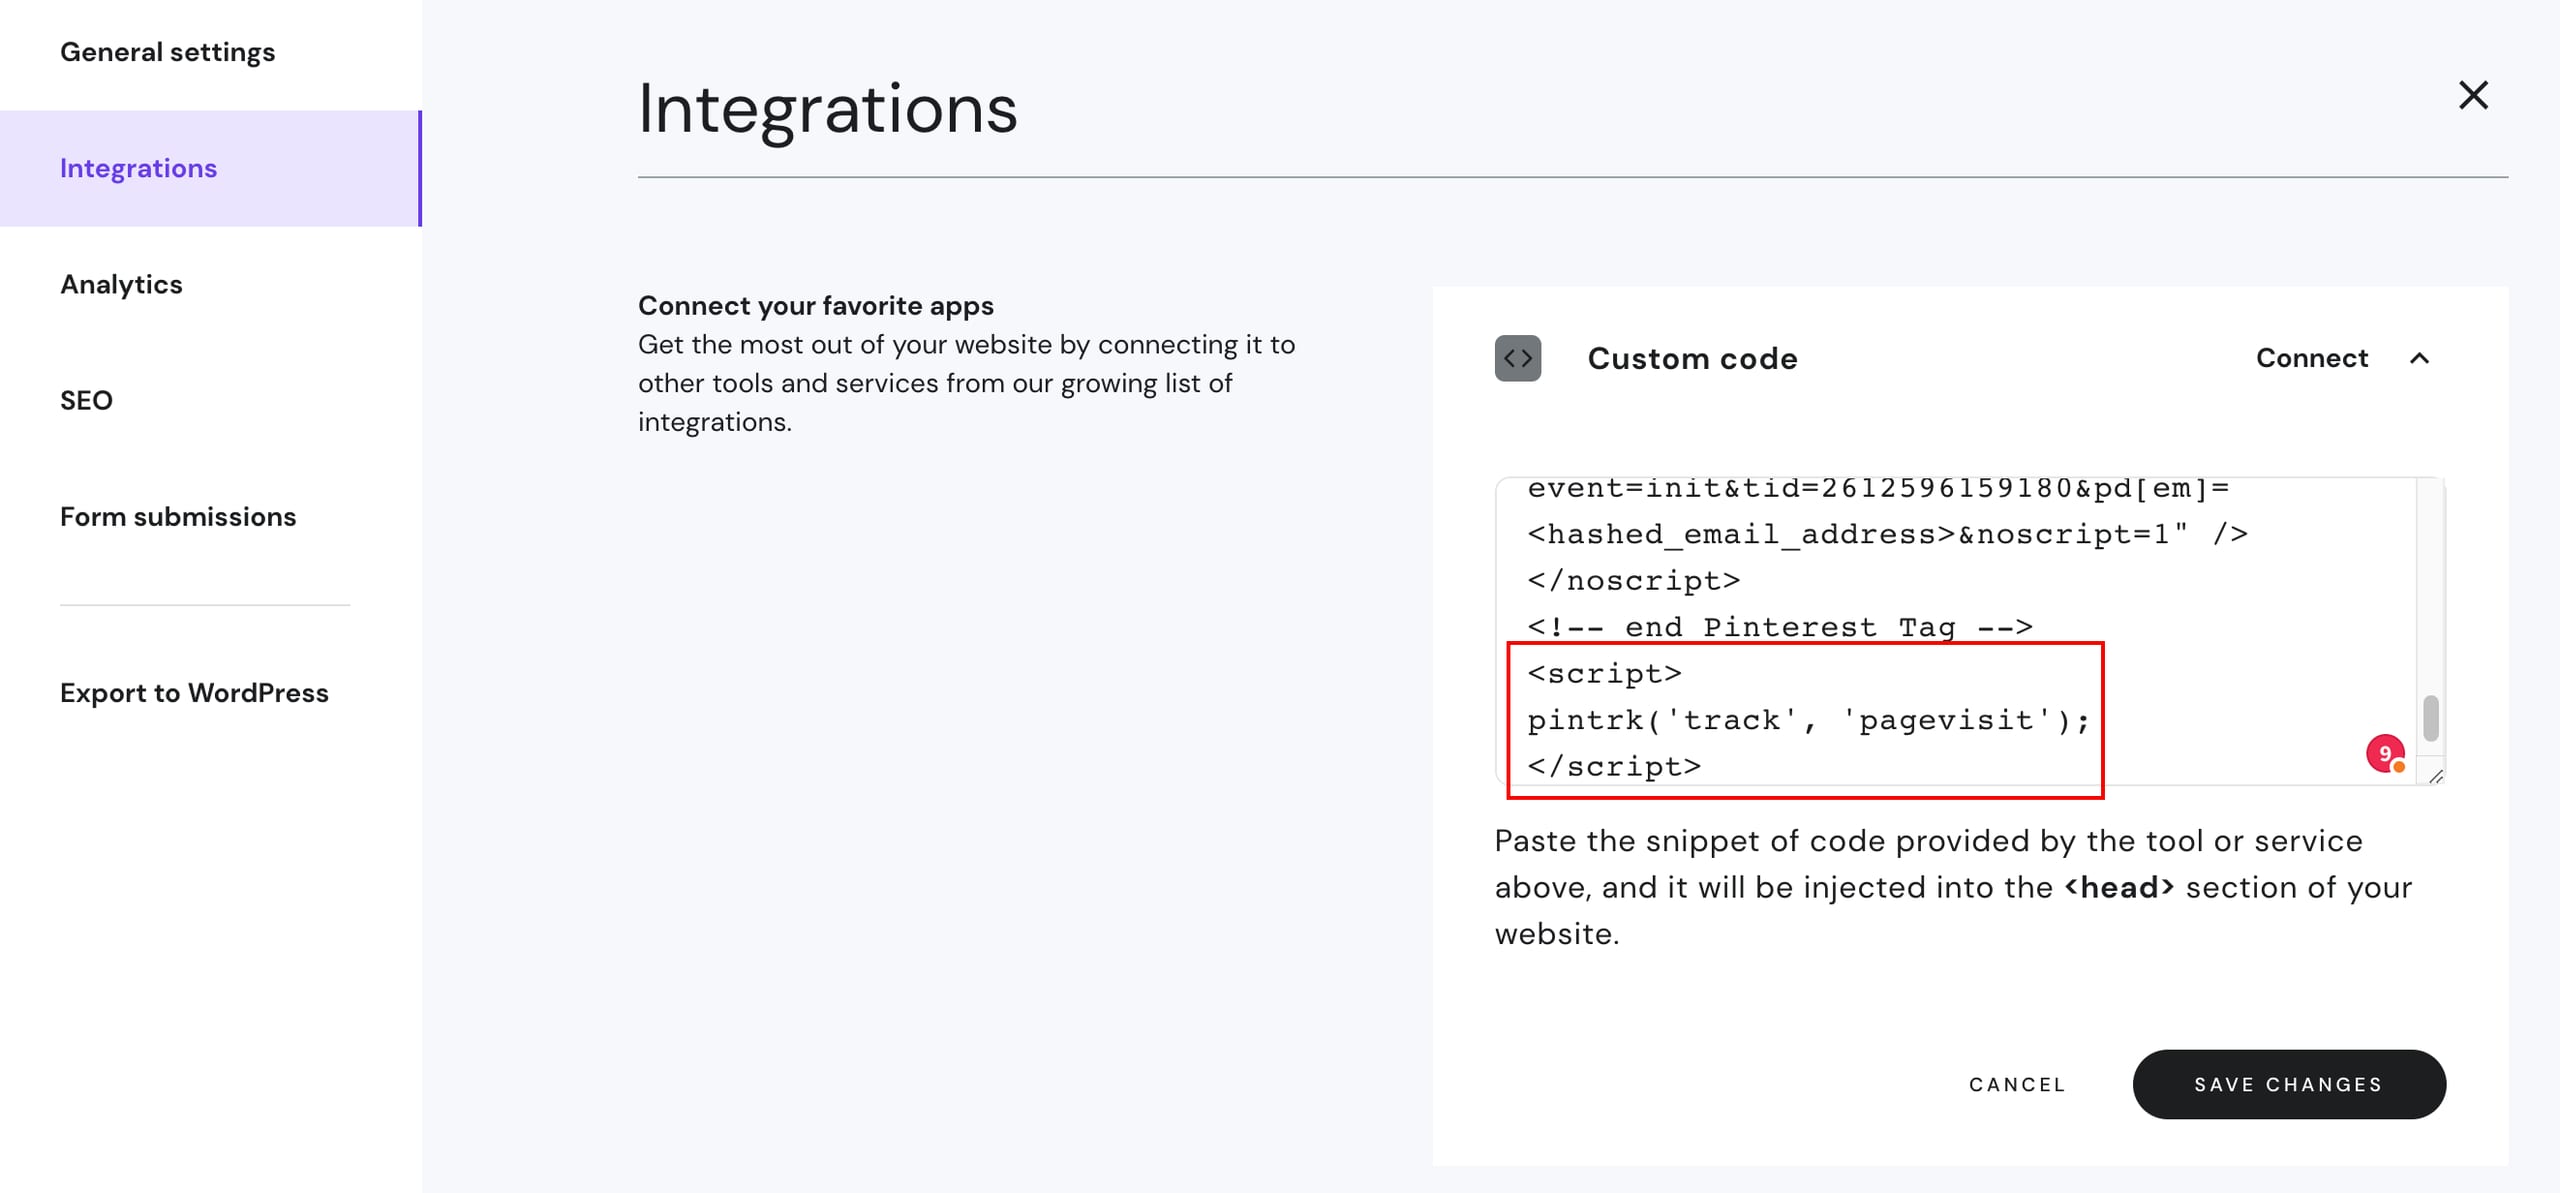
Save the changes and update your website again.
Your Pinterest tag is now fully set up to track visitors on your website!
Events will start reflecting inside your Pinterest Analytics in up to 24 hours and will be updated hourly afterward ✅