The Media Library in the Hostinger Website Builder is a centralized storage space where you can organize the images and documents used on your website. This tool allows you to keep your visual assets organized, helping you build and update your site efficiently without needing external storage. The Media Library is the primary way to manage content for your Hostinger Website Builder site, as the builder does not use a traditional File Manager.
How to Access the Media Library
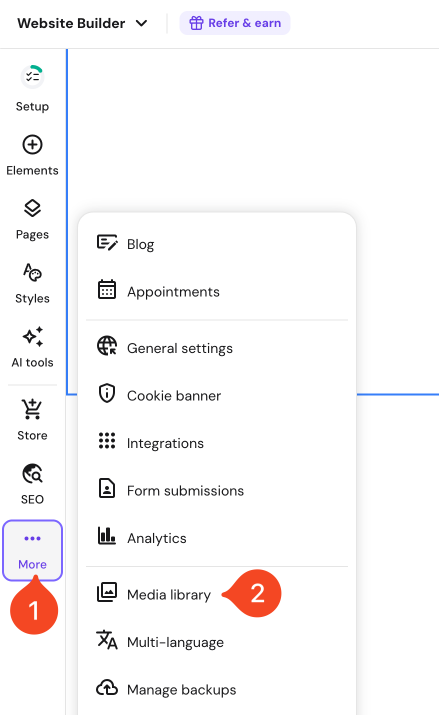
You can open the Media Library using two different methods.
- In the editor side menu, click More and select Media library.

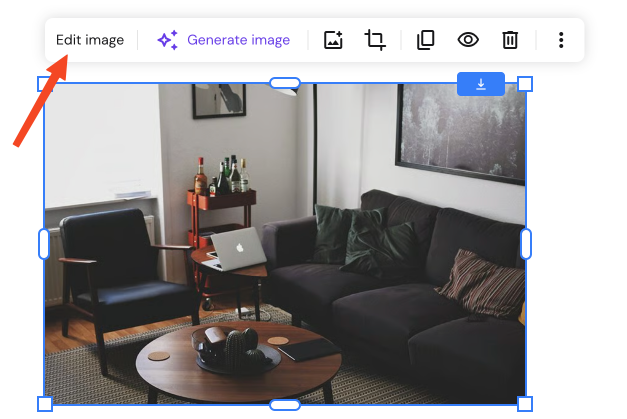
- Click on any image-related element (such as an image or logo) and select the option to Edit image.

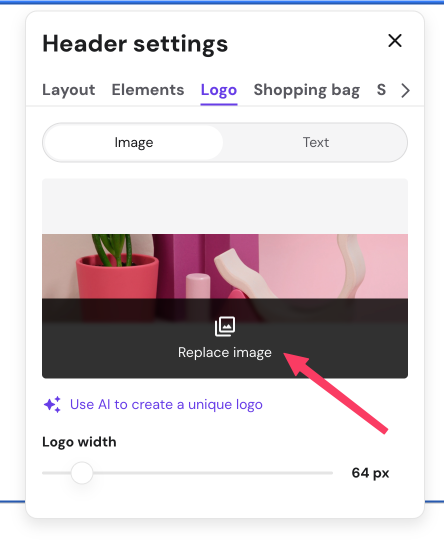
Or Replace image.

NOTE
- If you are using a browser translation extension and cannot see these options, try turning it off. To change the language natively, refer to this guide: How to change the hPanel language at Hostinger.
How to manage images and folders
- Upload files: Drag and drop files from your local device or click the Upload button.
- Create folders: Click Create folder to group related images or documents together.
- Manage folders: Click on the options button (⋮) next to a folder to rename or delete it.
- Manage files: Click on the options button (⋮) next on an image to move it to a folder, rename it or delete it.
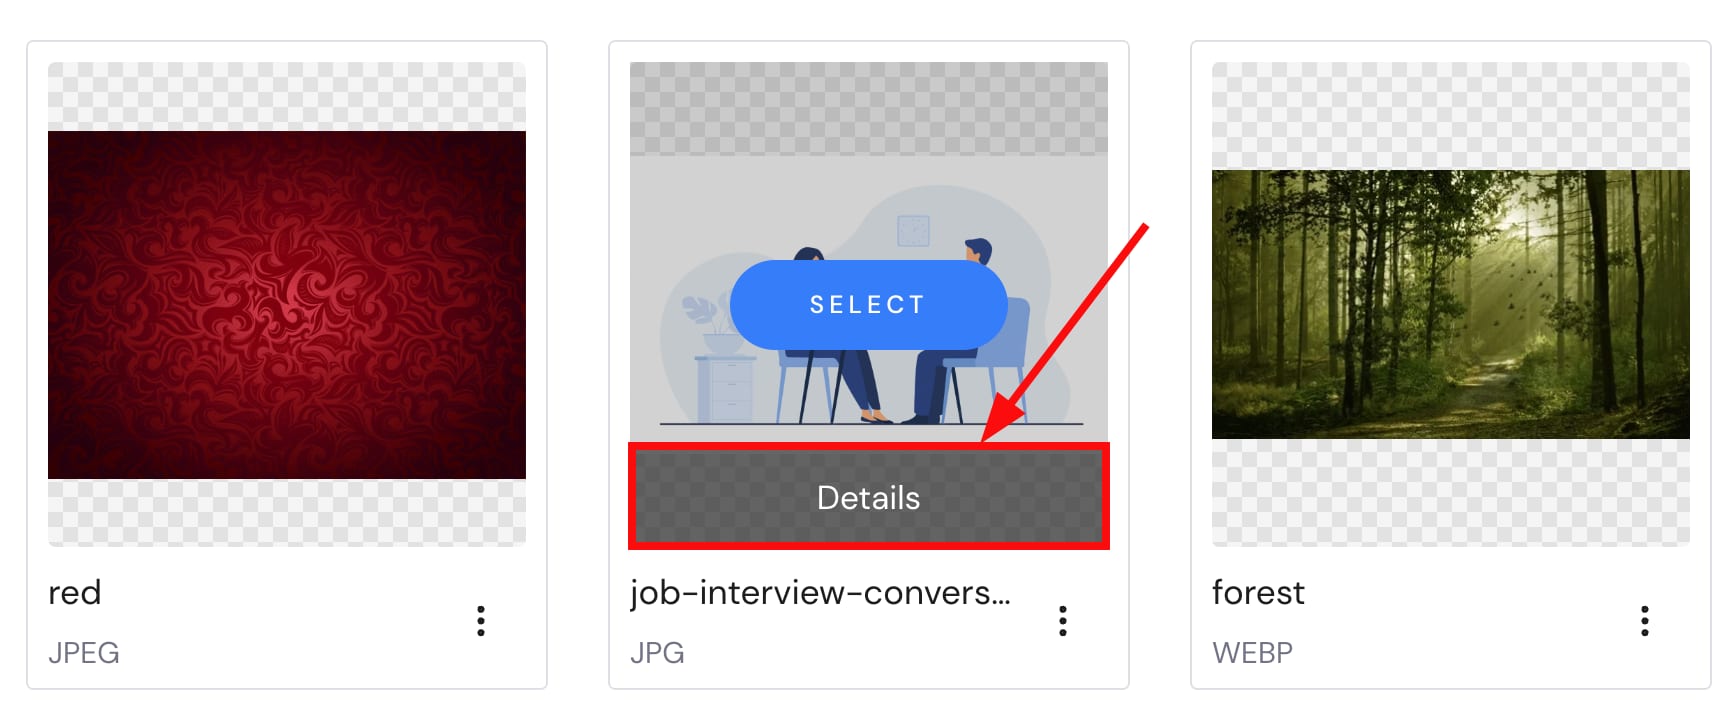
- Check image details: Hover over an image and click Details.
 The details view contains the file name, file type, file path, dimensions, the option to add Alt text and a button to delete the item.
 - Improve SEO: Within the Details view, add Alt text to describe your images for search engines and accessibility.
 The details view contains the file name, file type, file path, dimensions, the option to add Alt text and a button to delete the item.
Deleting an item is a permanent action and cannot be reverted.
Supported file types
You can upload various formats to the Media Library, including:
- Images: .JPG, .JPEG, .PNG, .GIF, .SVG, .WEBP.
- Audio: .WAV, .MP3, .FLAC, .OGG.
- Video: .MP4, .AVI, .MOV, .WMV, .FLV.
- Documents: .DOC, .DOCX, .XLS, .XLSX, .PPT, .PPTX, .ODT, .ODP, .PDF, .EPUB, .TXT, .RTF.
For further file management options, check the available alternative methods.
By organizing your assets into folders and using descriptive alt text, you ensure your website remains easy to manage and optimized for visitors.