There are several ways to show or hide the publication date of your blog posts:
To edit the publication date, take a look here: How to Schedule a Blog Post.
Show or Hide the Publication Date of a Particular Blog Post
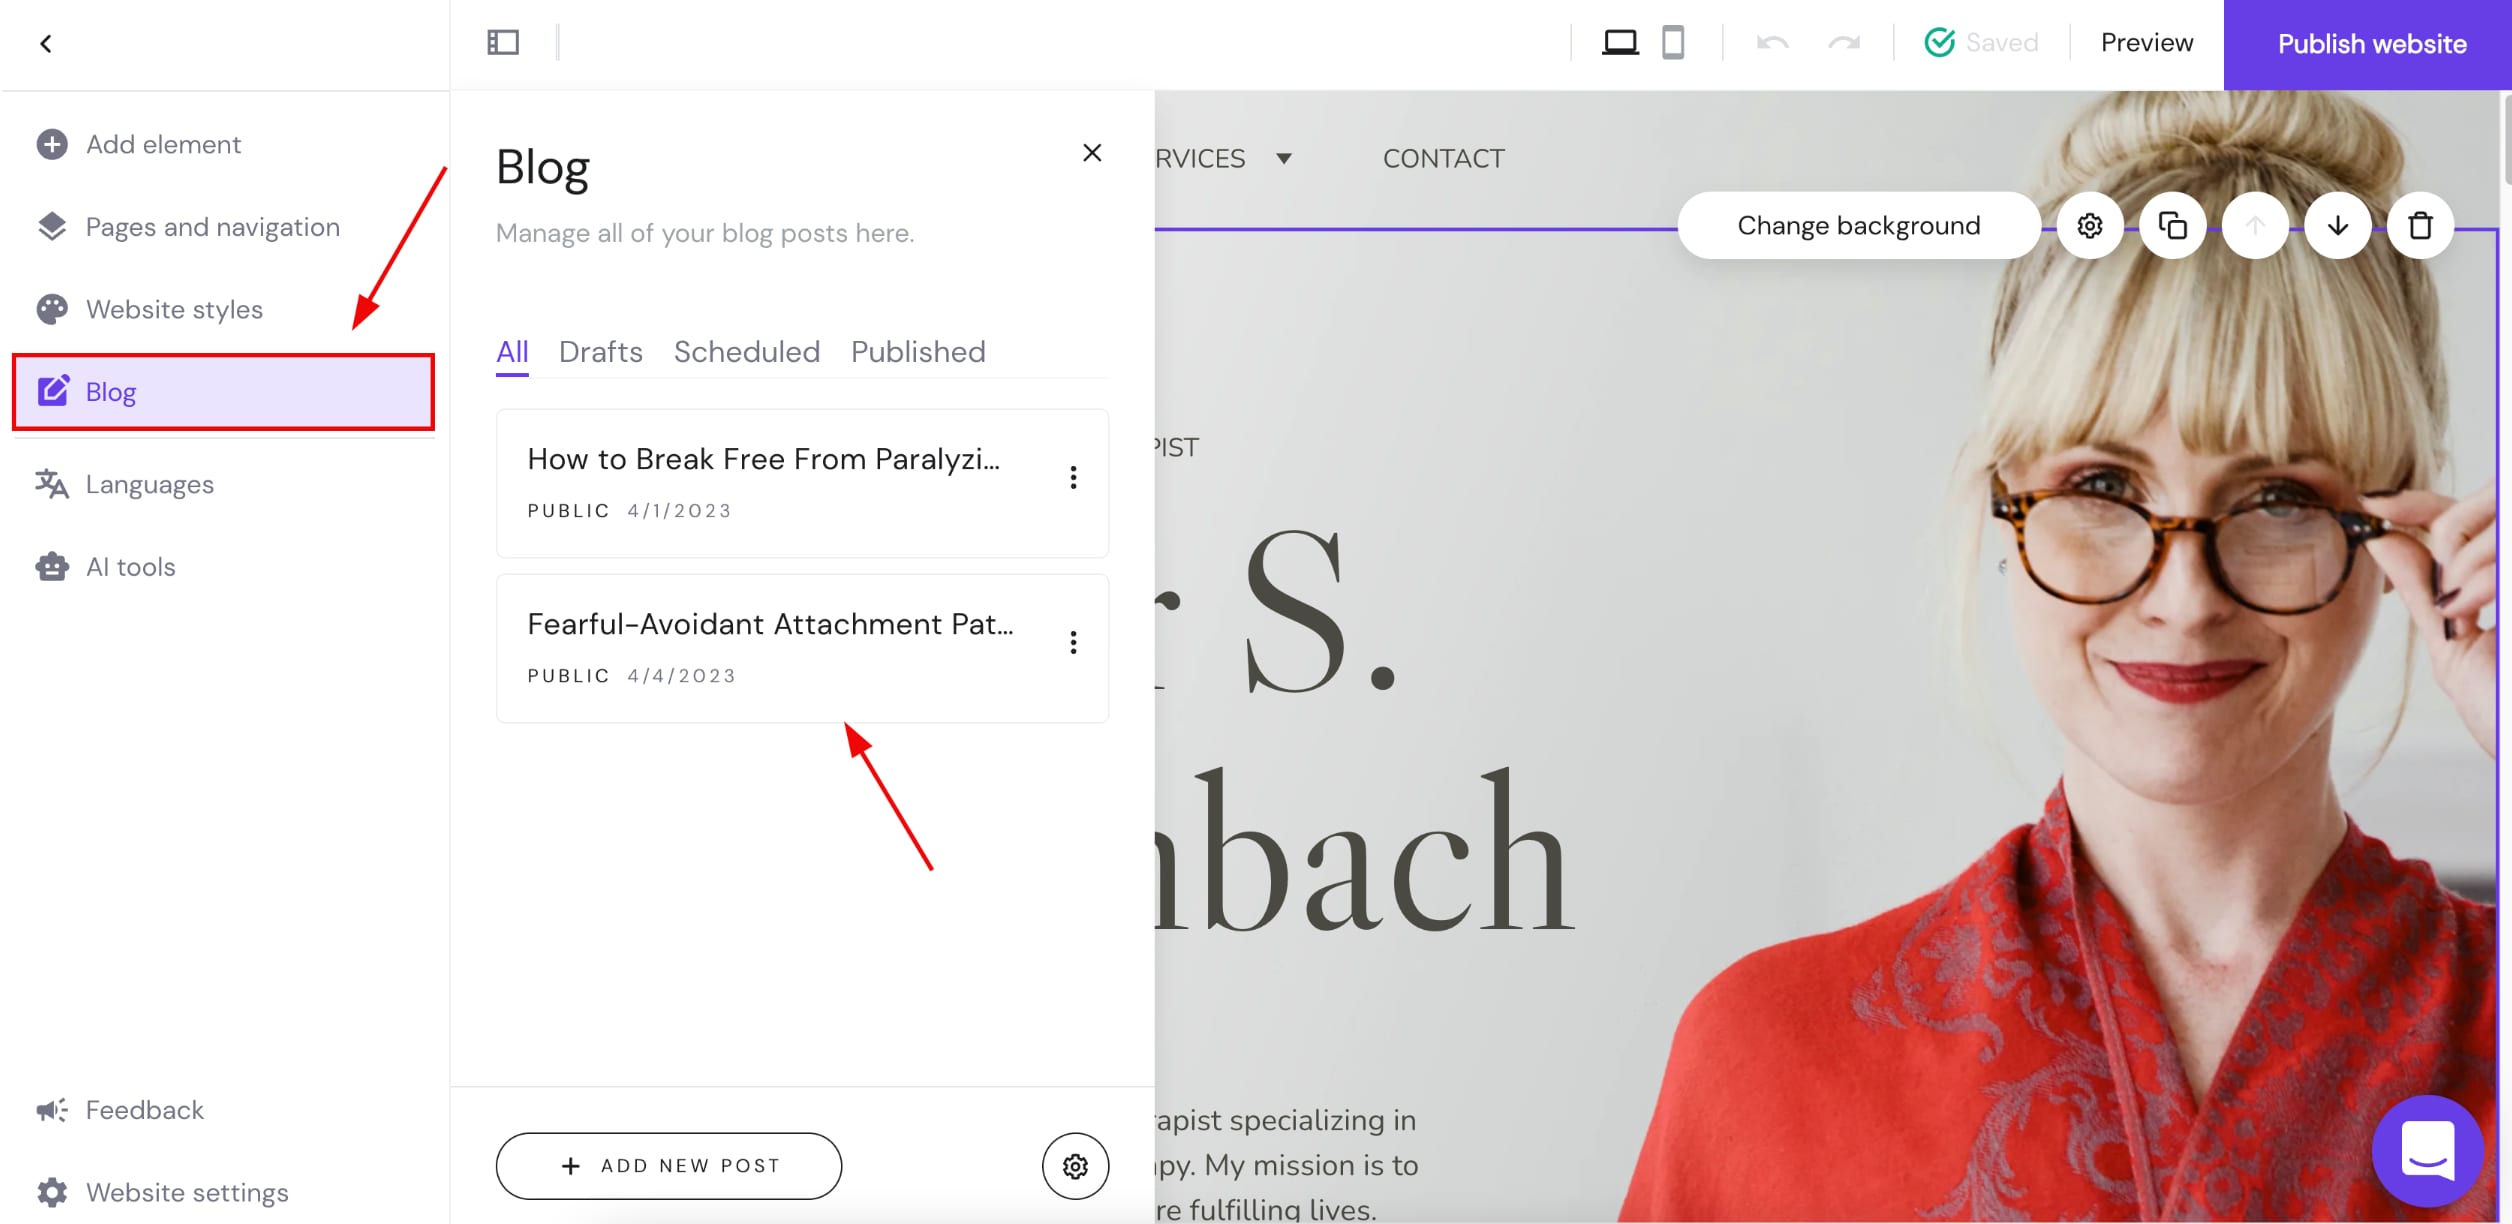
1. Within the editor, open the blog management panel on the left. Find the blog post in question and click on it:
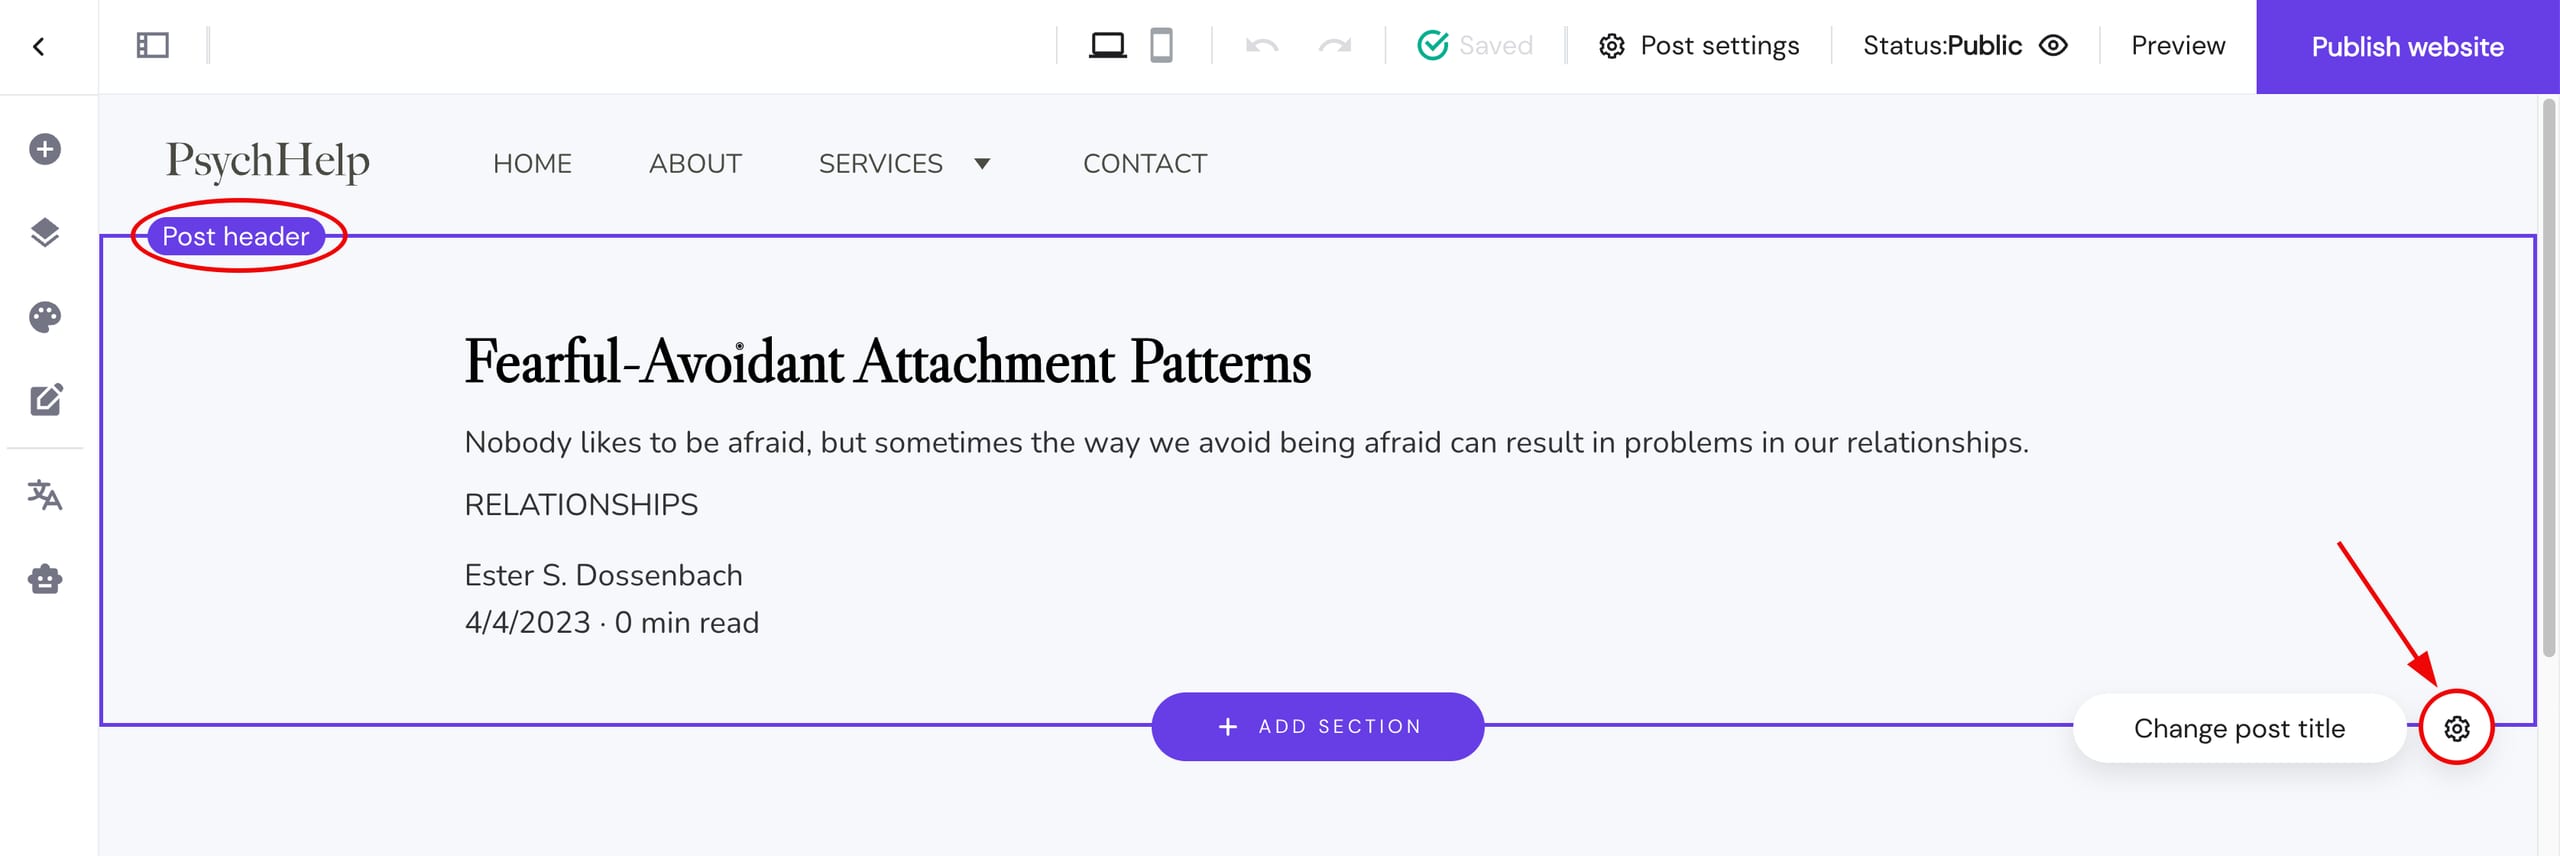
2. Click on the blog post’s header section and open its settings:
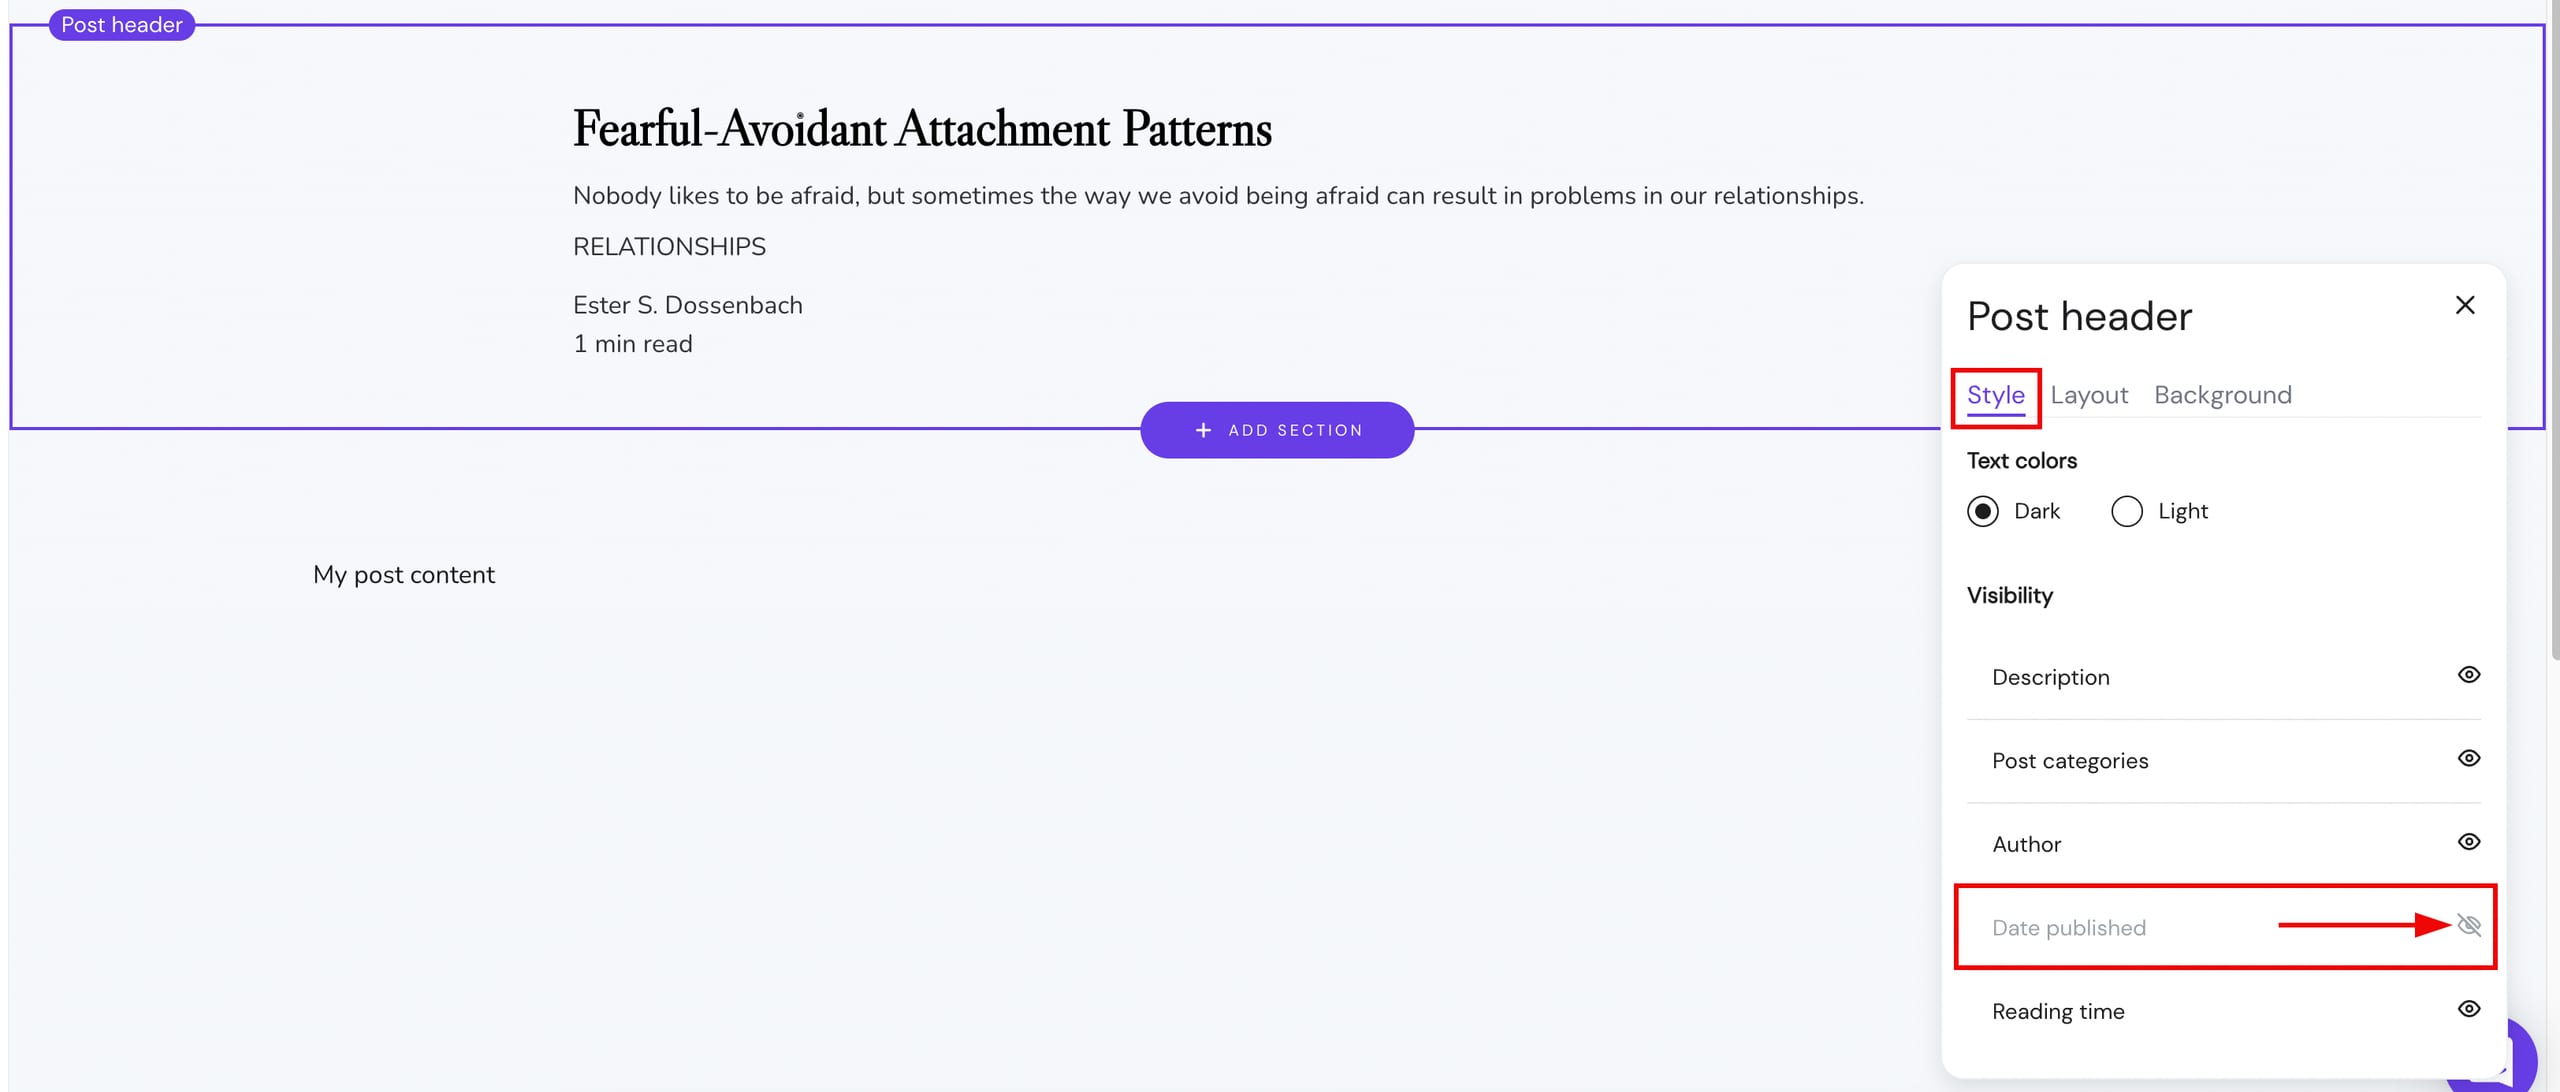
3. In the Style tab, show or hide the Date published by clicking on the eye icon:
4. Finally, update your website.
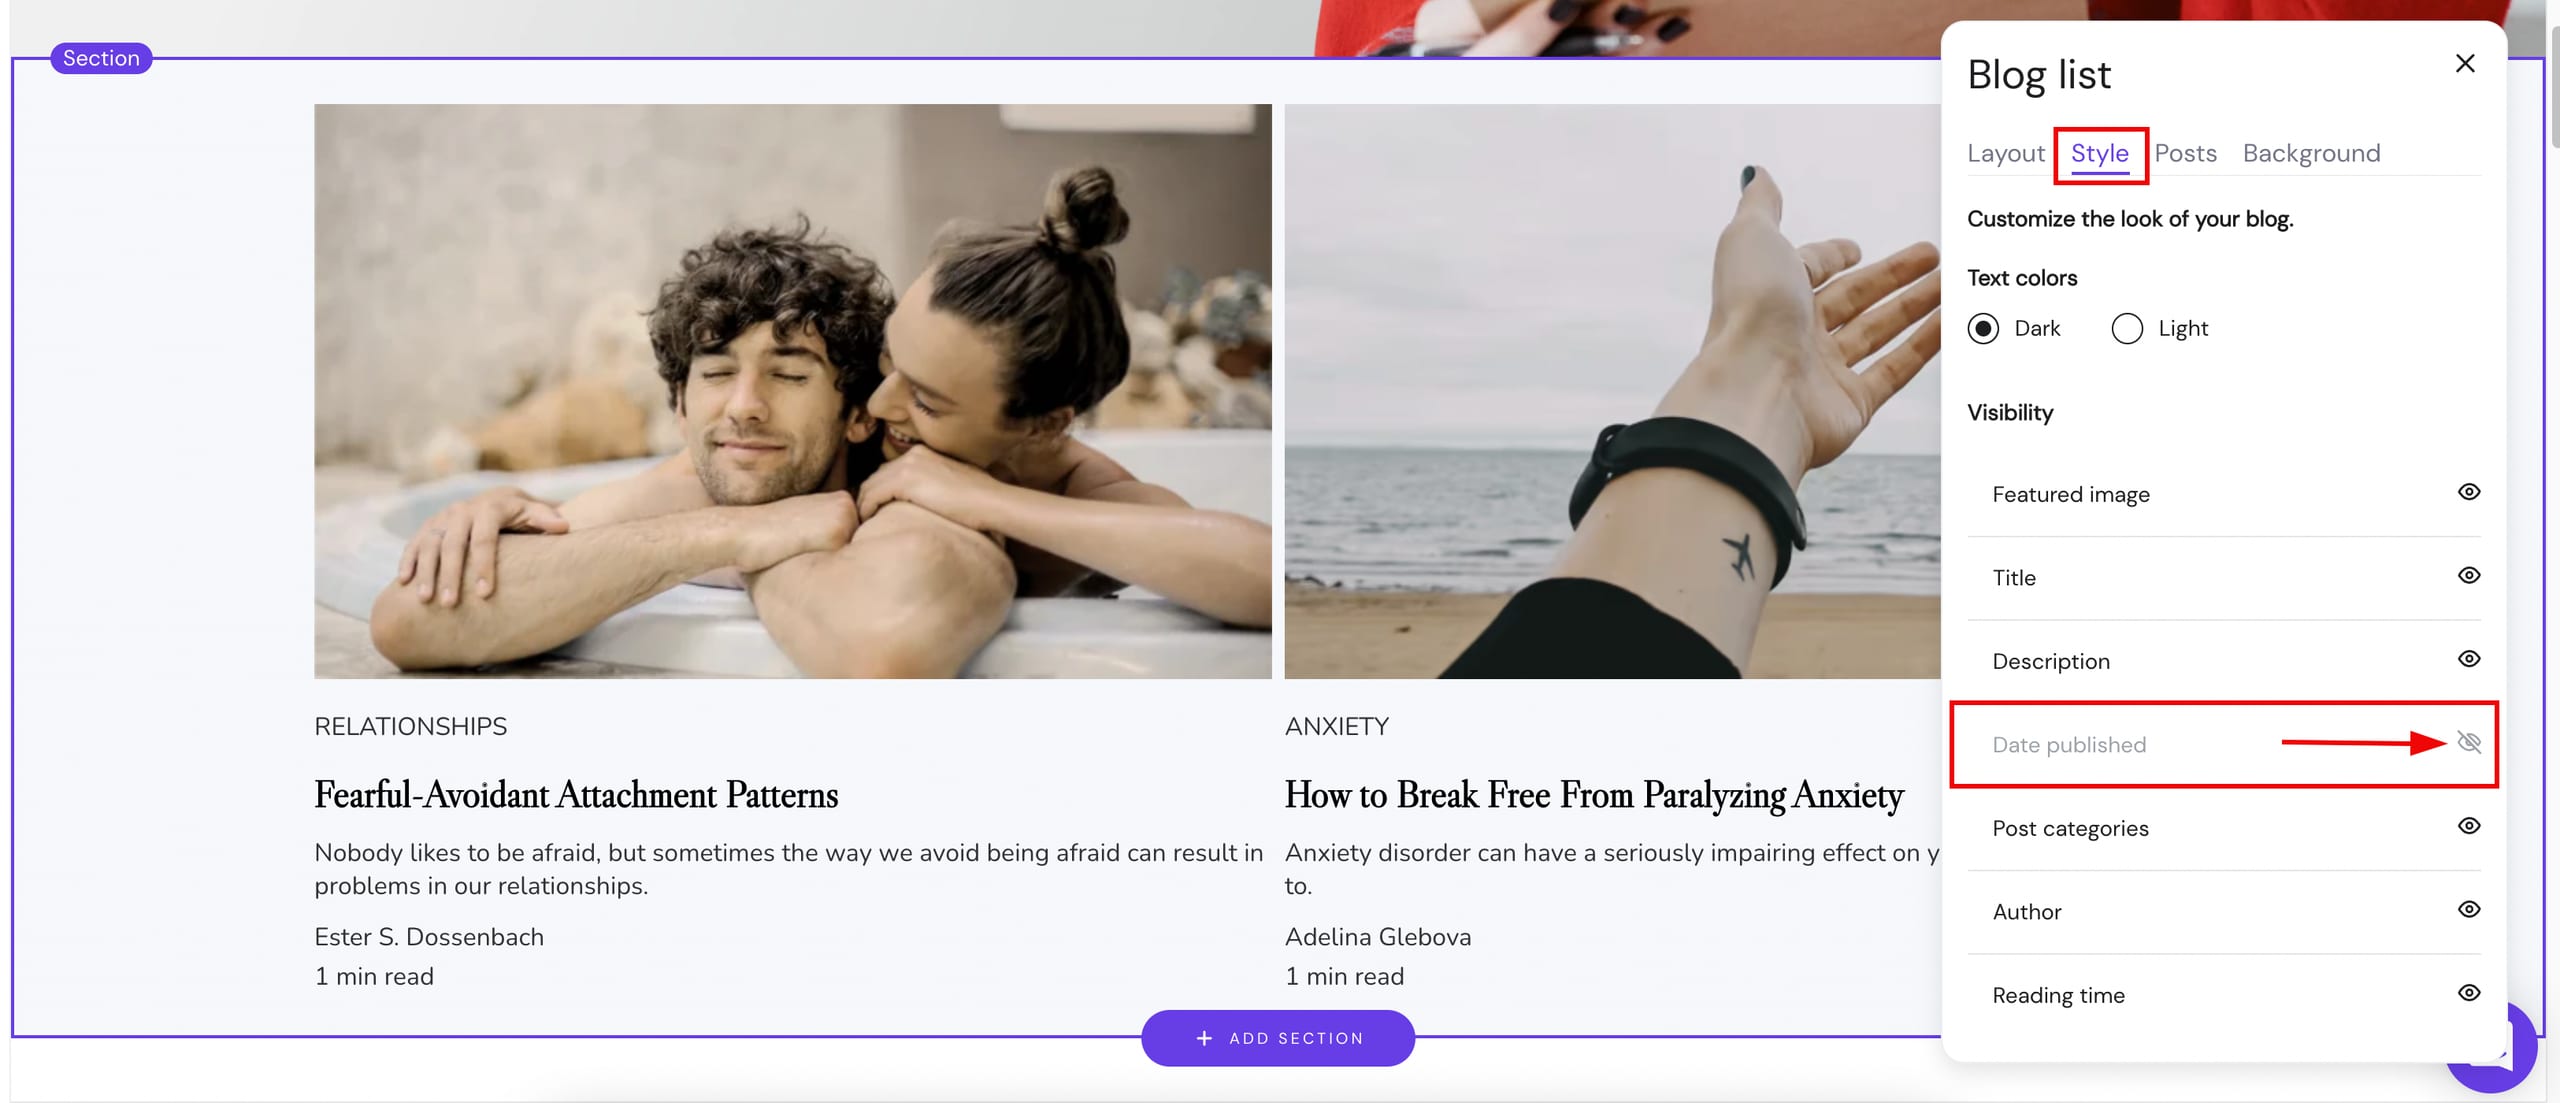
Show or Hide the Publication Dates of All Blog Posts at Once (Within a Particular Blog Section)
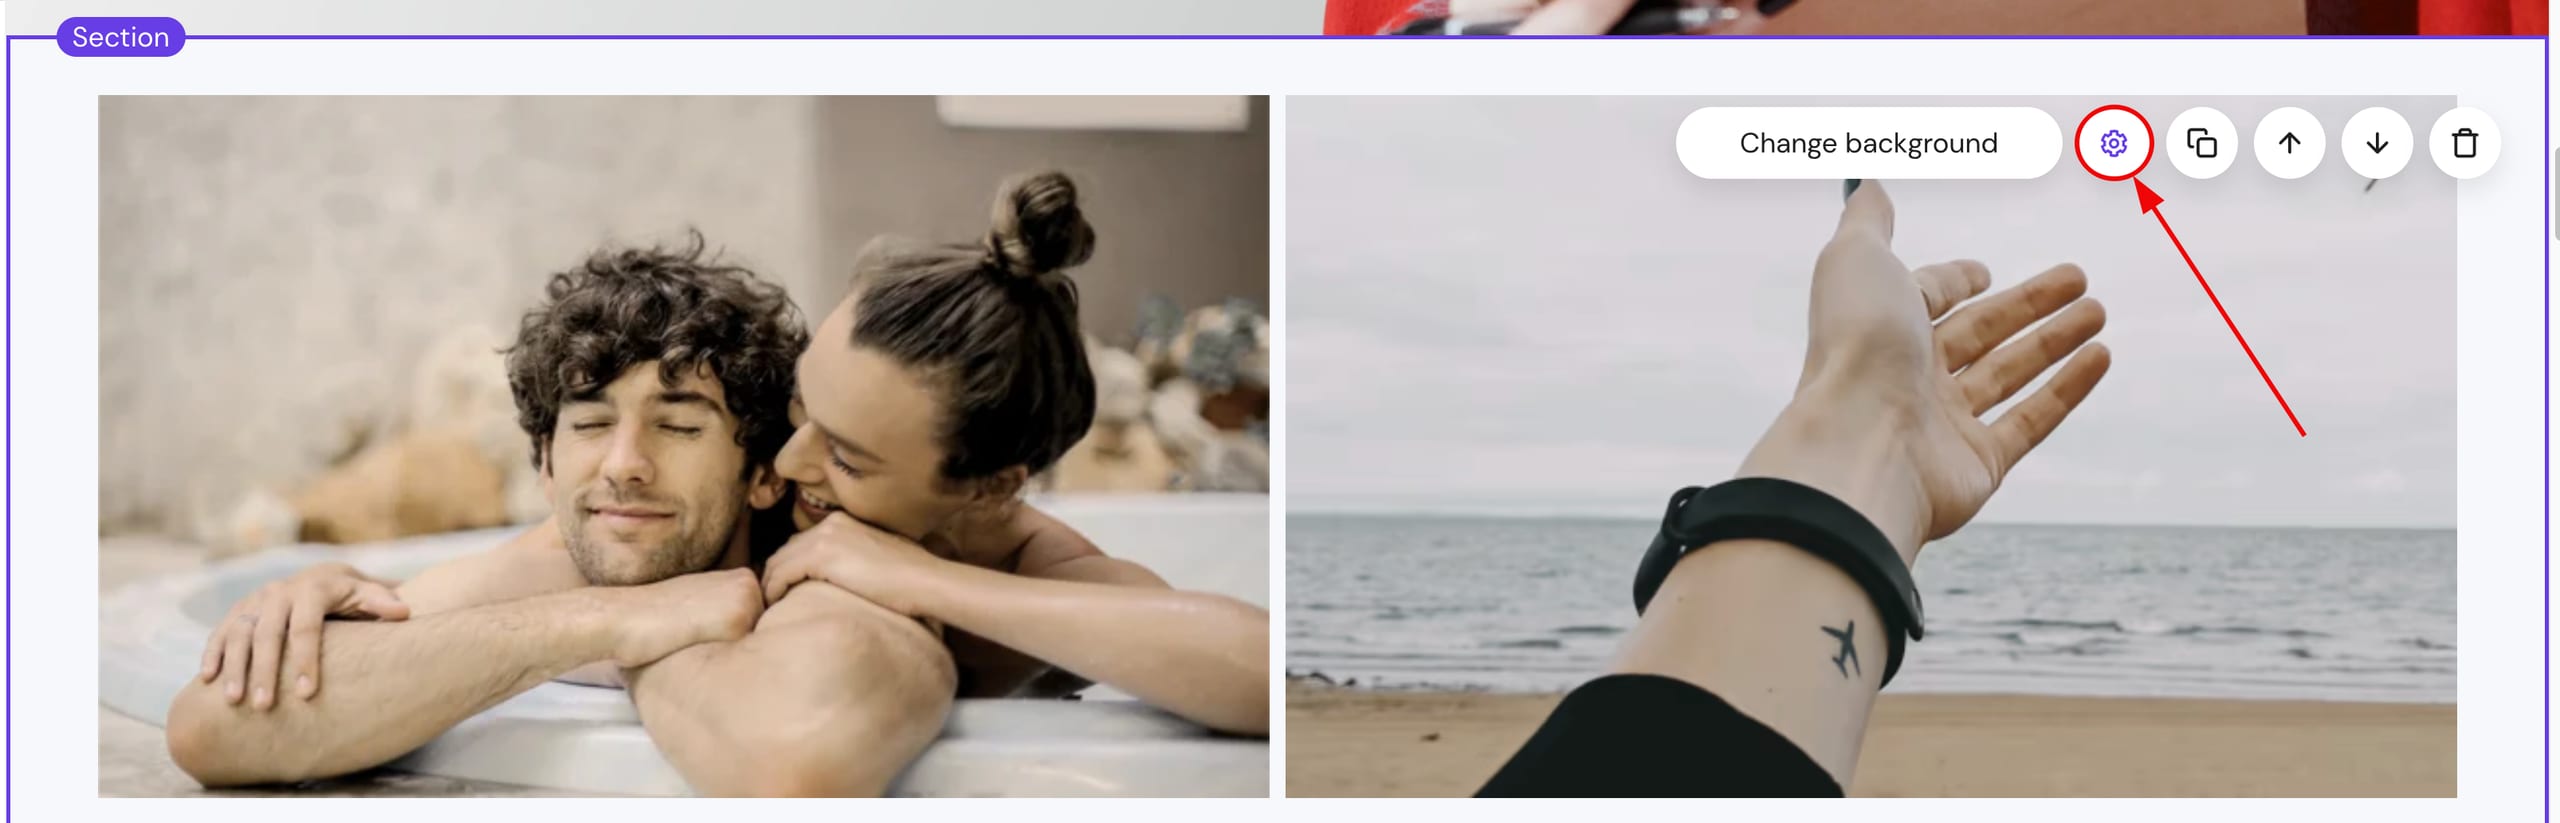
1. Within the editor, find the blog section, click on it, and open its settings:
2. In the Style tab, show or hide the Date published by clicking on the eye icon:
3. Finally, update your website.