Your username is set as the blog author by default. You can either change it or hide the author’s name completely:
Changing the Blog Post Author
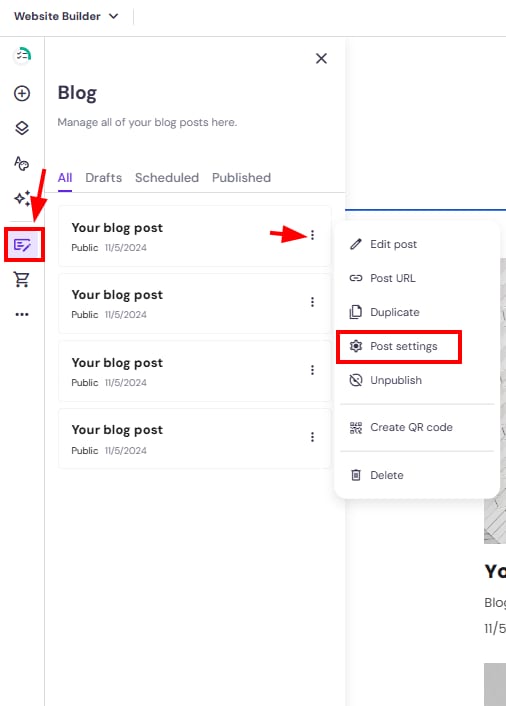
1. Within the editor, expand the blog management panel on the left and find a post that you want to edit. Click on the ellipsis button ⋮ and open the settings:
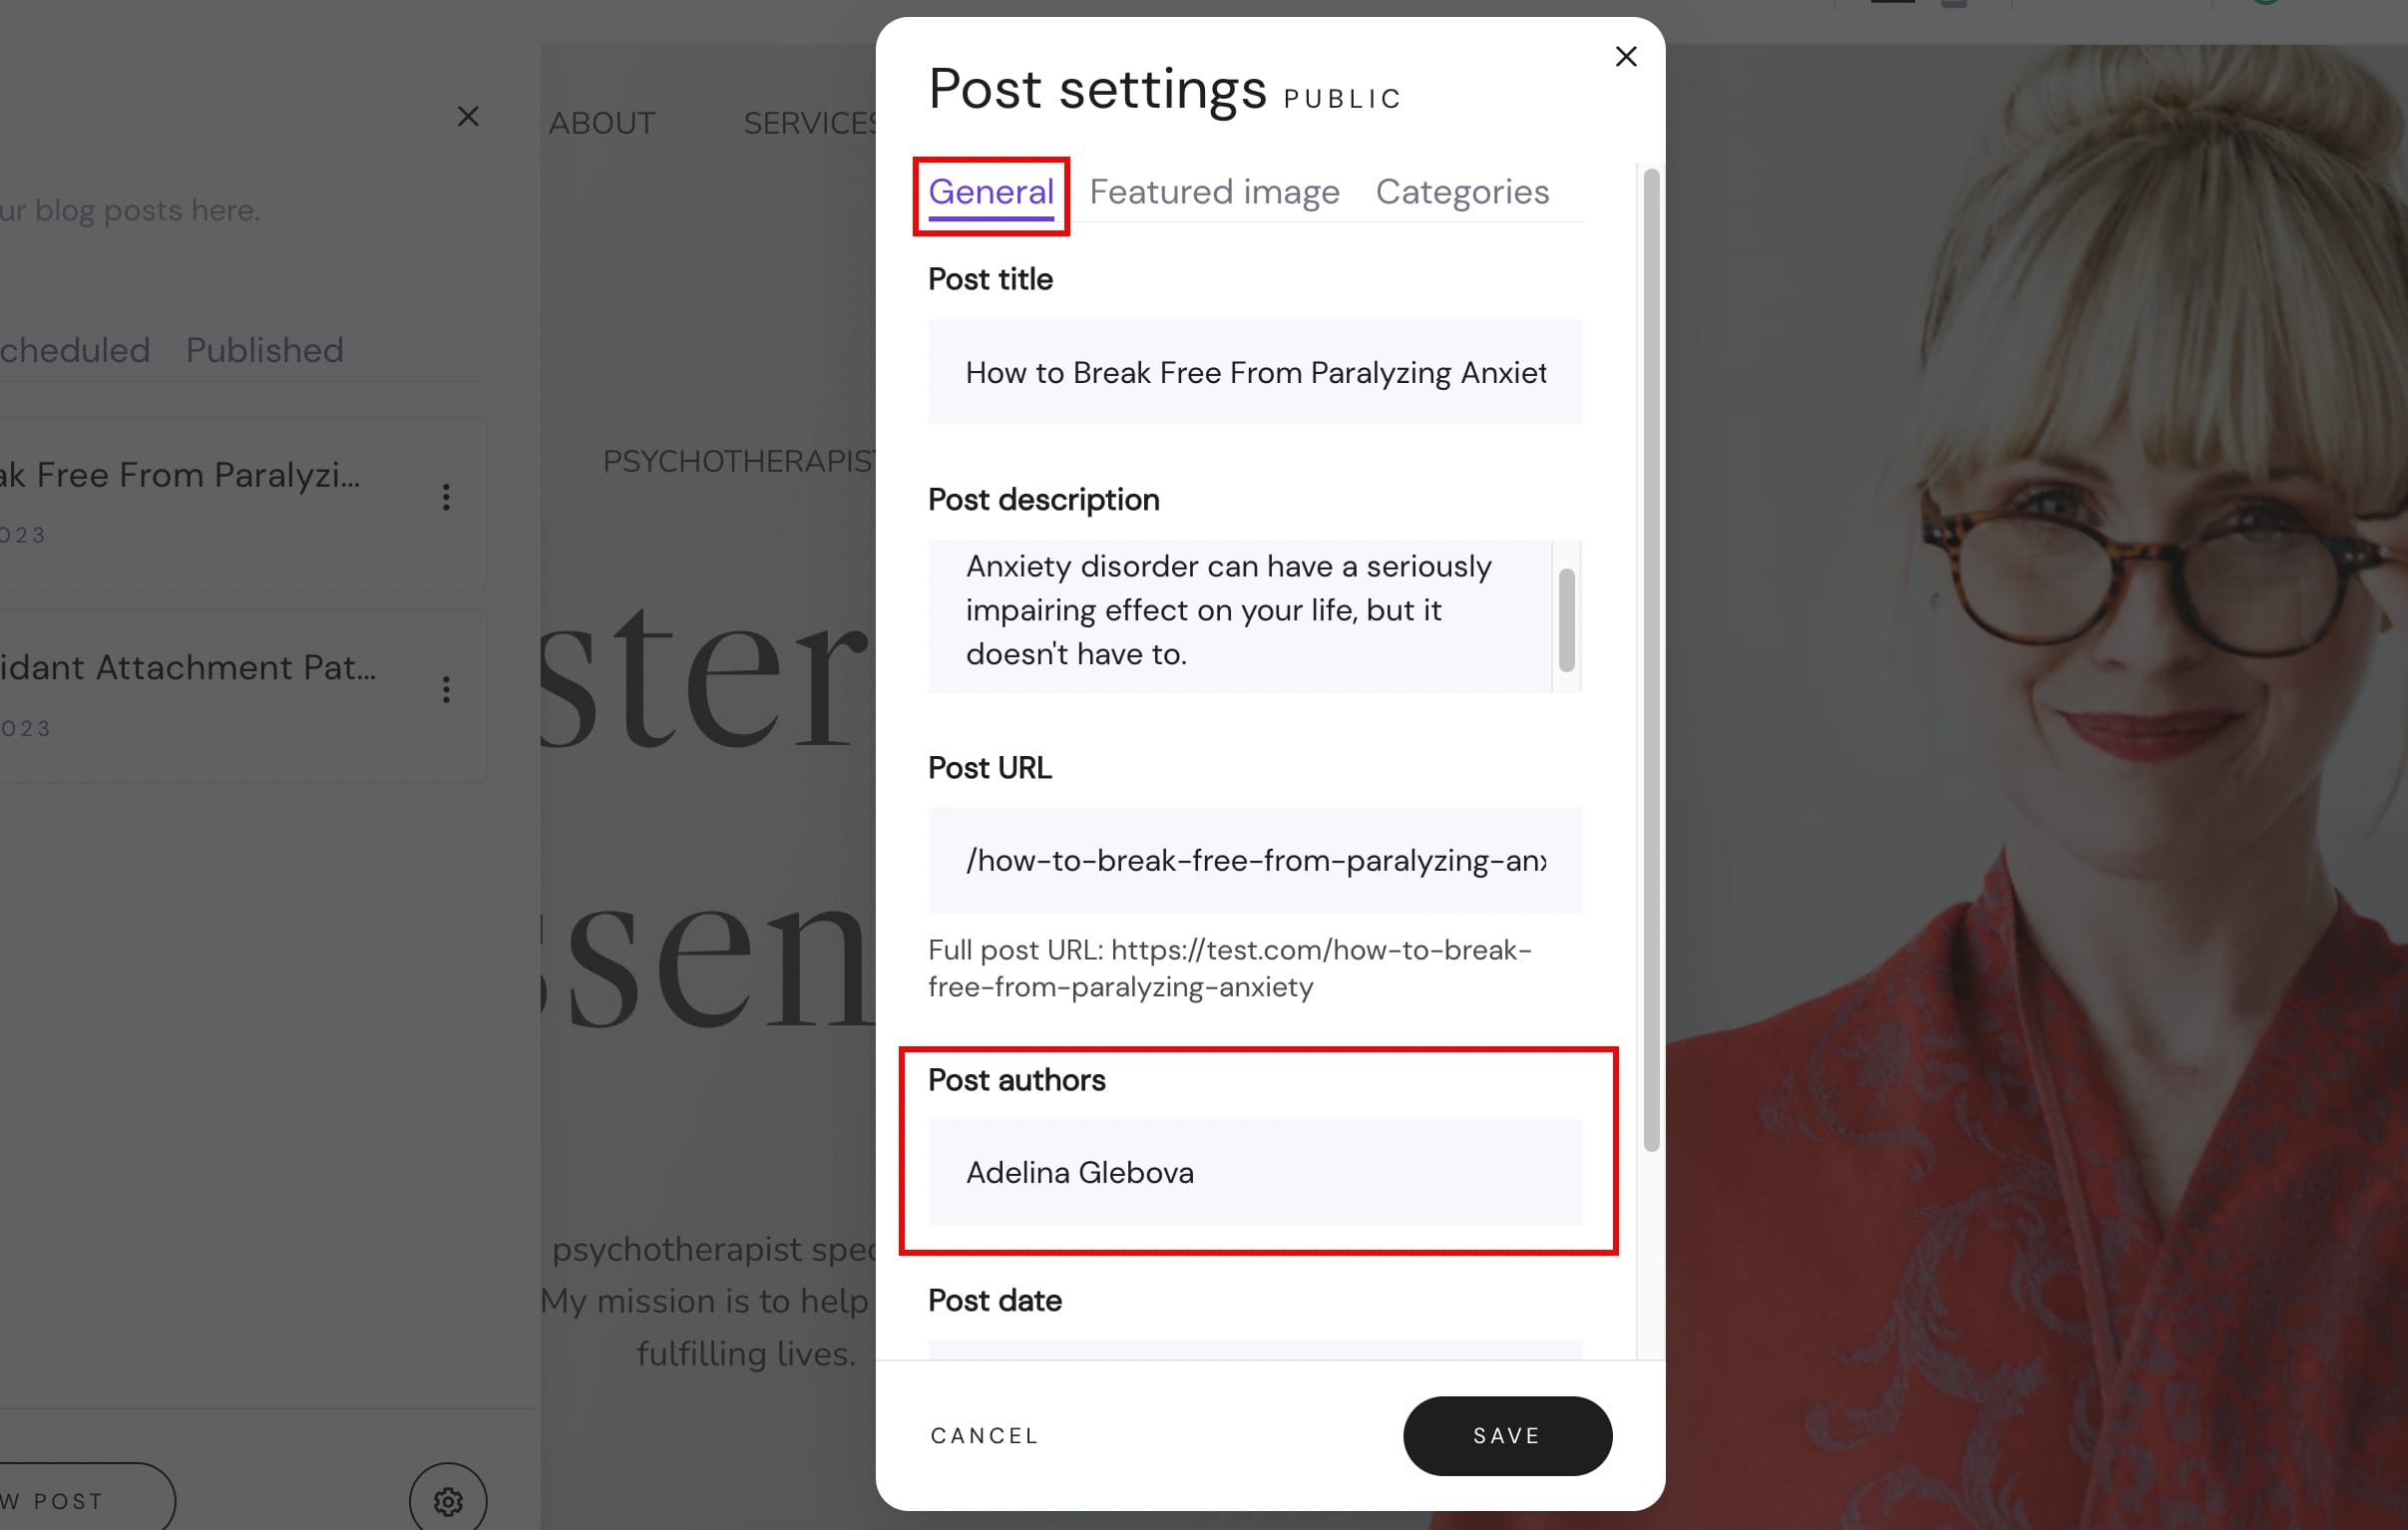
2. In the General tab, insert the name(s) under Post authors:
3. Save the changes and update your website.
Hiding the Author of a Particular Blog Post
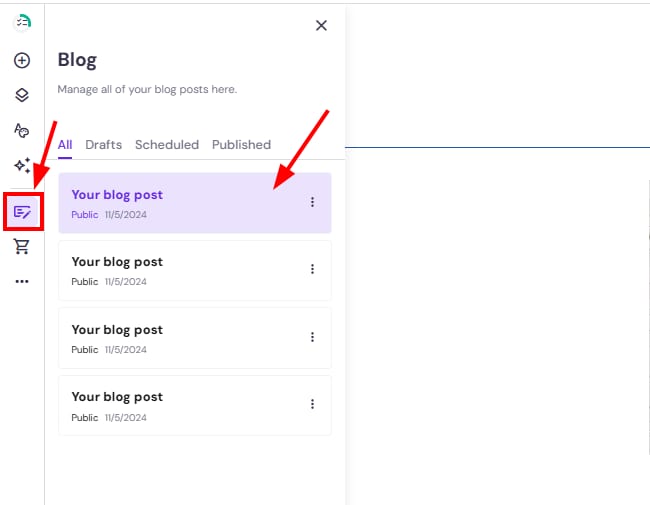
1. Within the editor, expand the blog management panel on the left and click on the blog post in question to open it:
2. Open the post header settings:

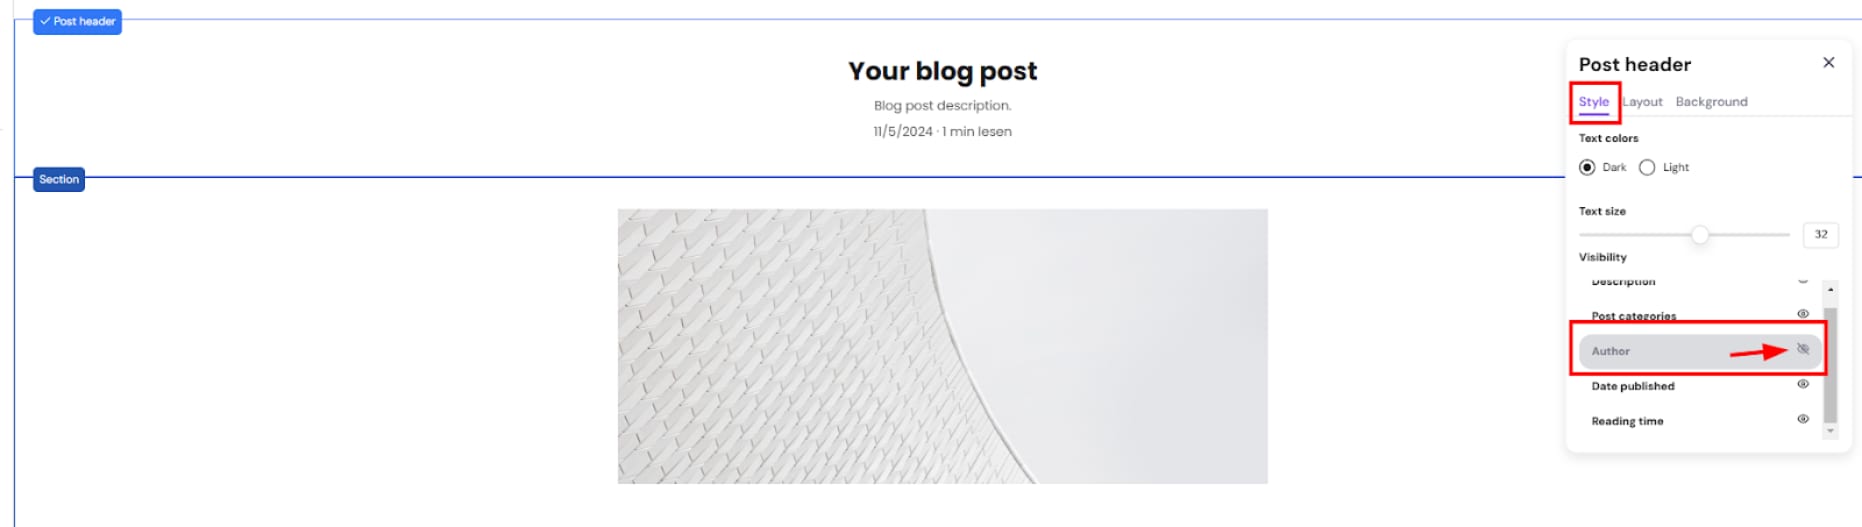
3. In the Style tab, hide the author by clicking on the eye icon:
4. Finally, update your website.
Hiding the Author for All Blog Posts at Once
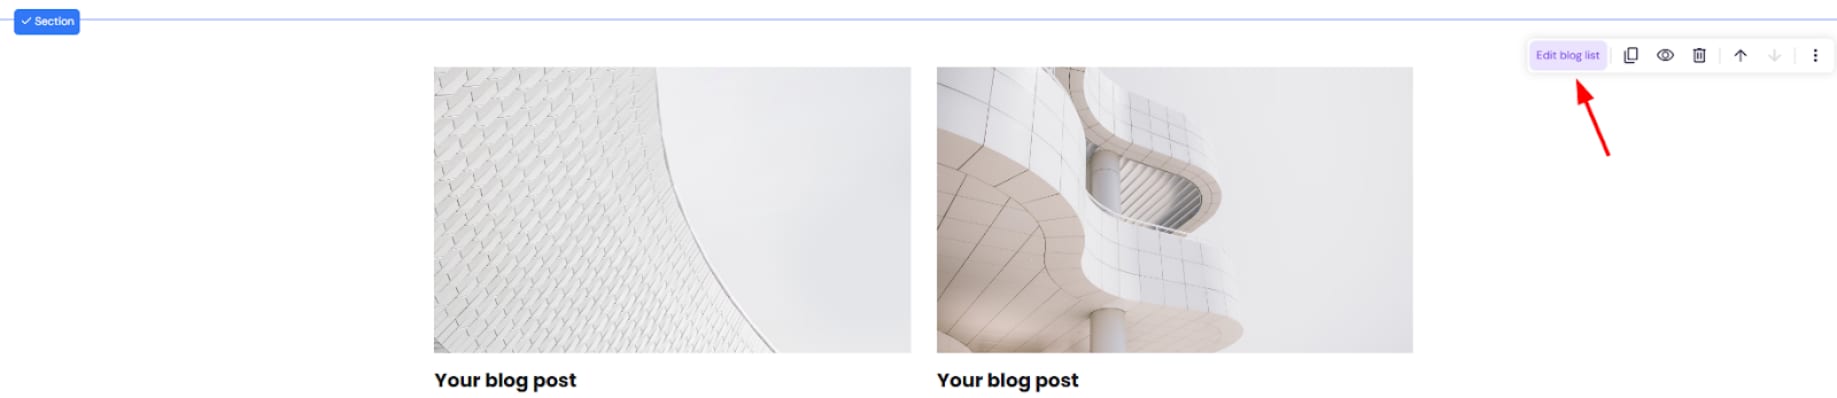
1. Find the blog section on your website, click on it, and open its settings:
2. In the Style tab, hide the author by clicking on the eye icon:
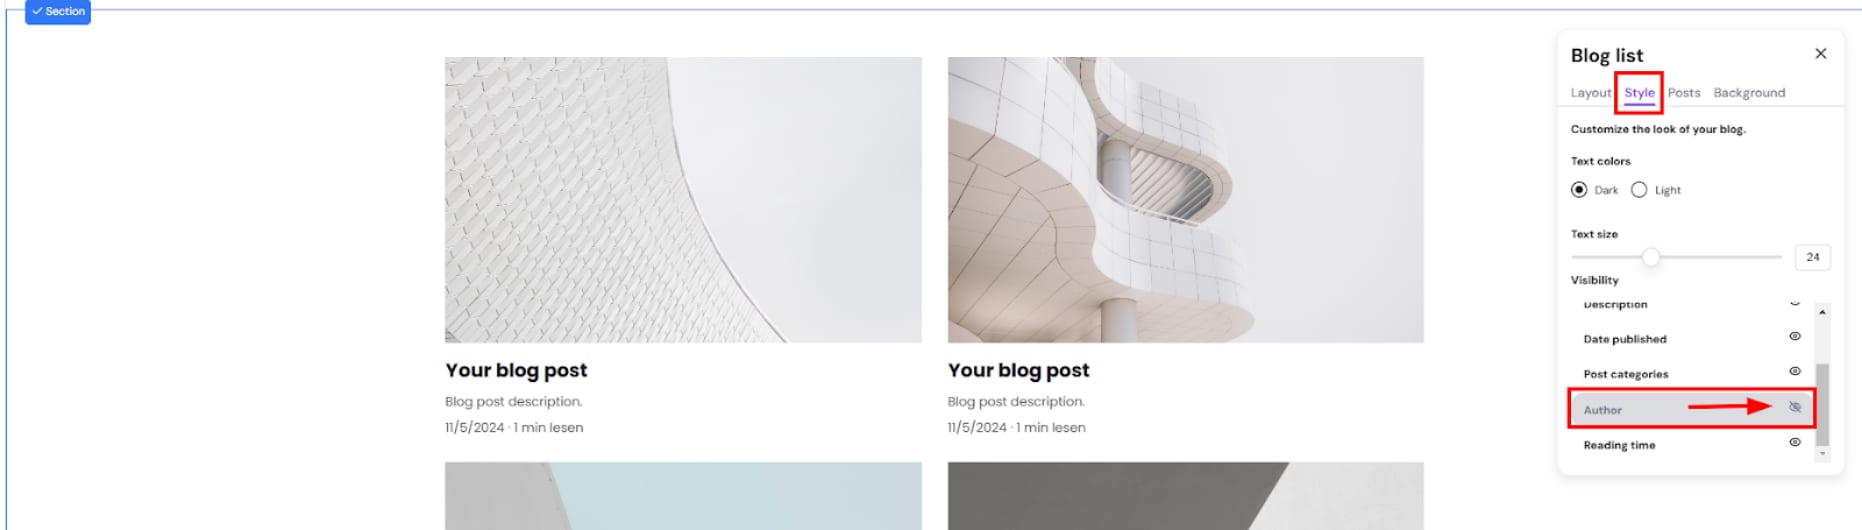
3. Finally, update your website.