Together with the blog post title and description, the featured image is visible when sharing your article on social media.
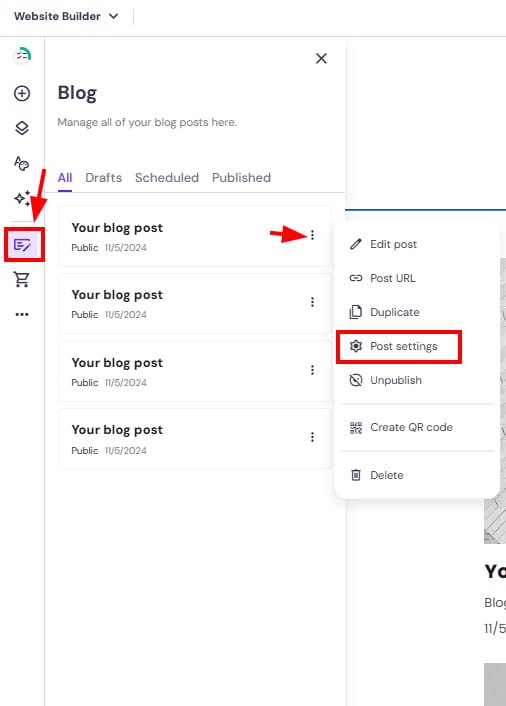
1. Within the editor, expand the blog management panel on the left and find the blog post you want to edit. Click on the ellipsis button ⋮ and open the settings:
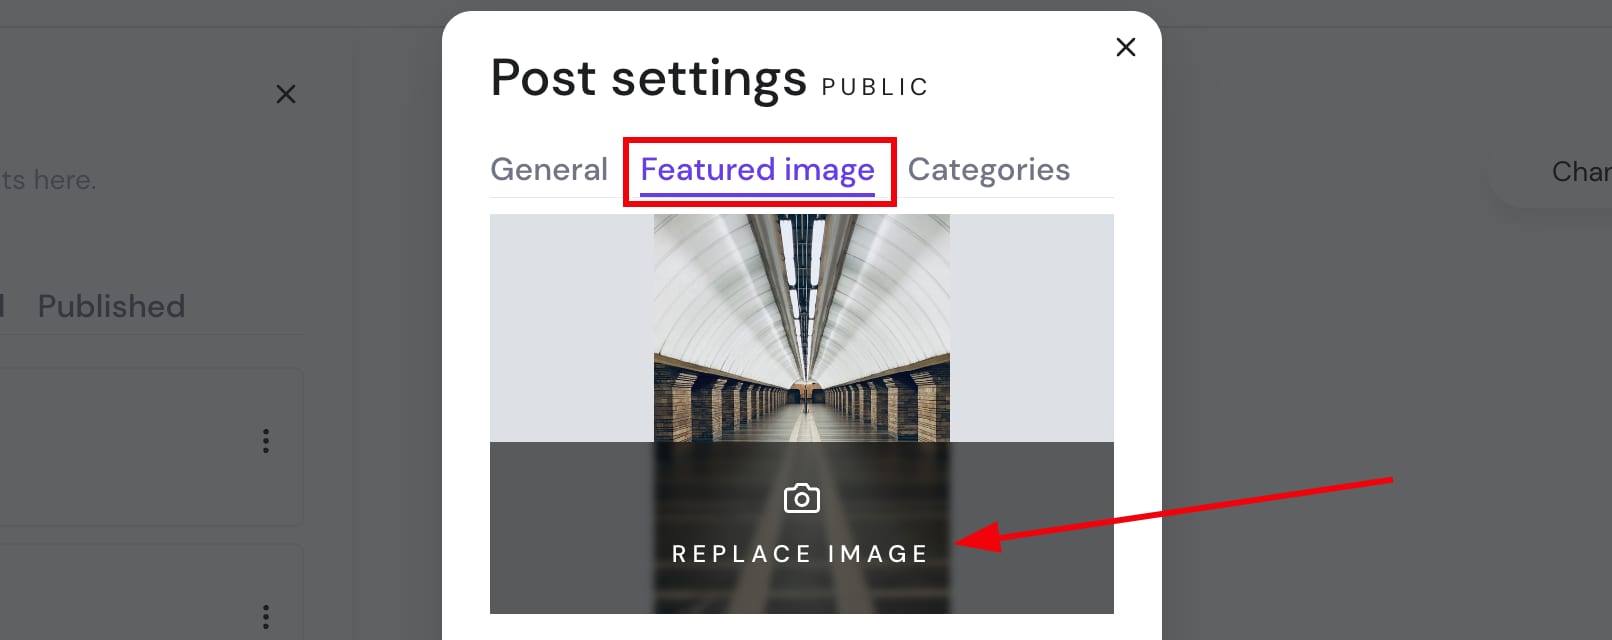
2. Open the Featured image tab and click Replace image:
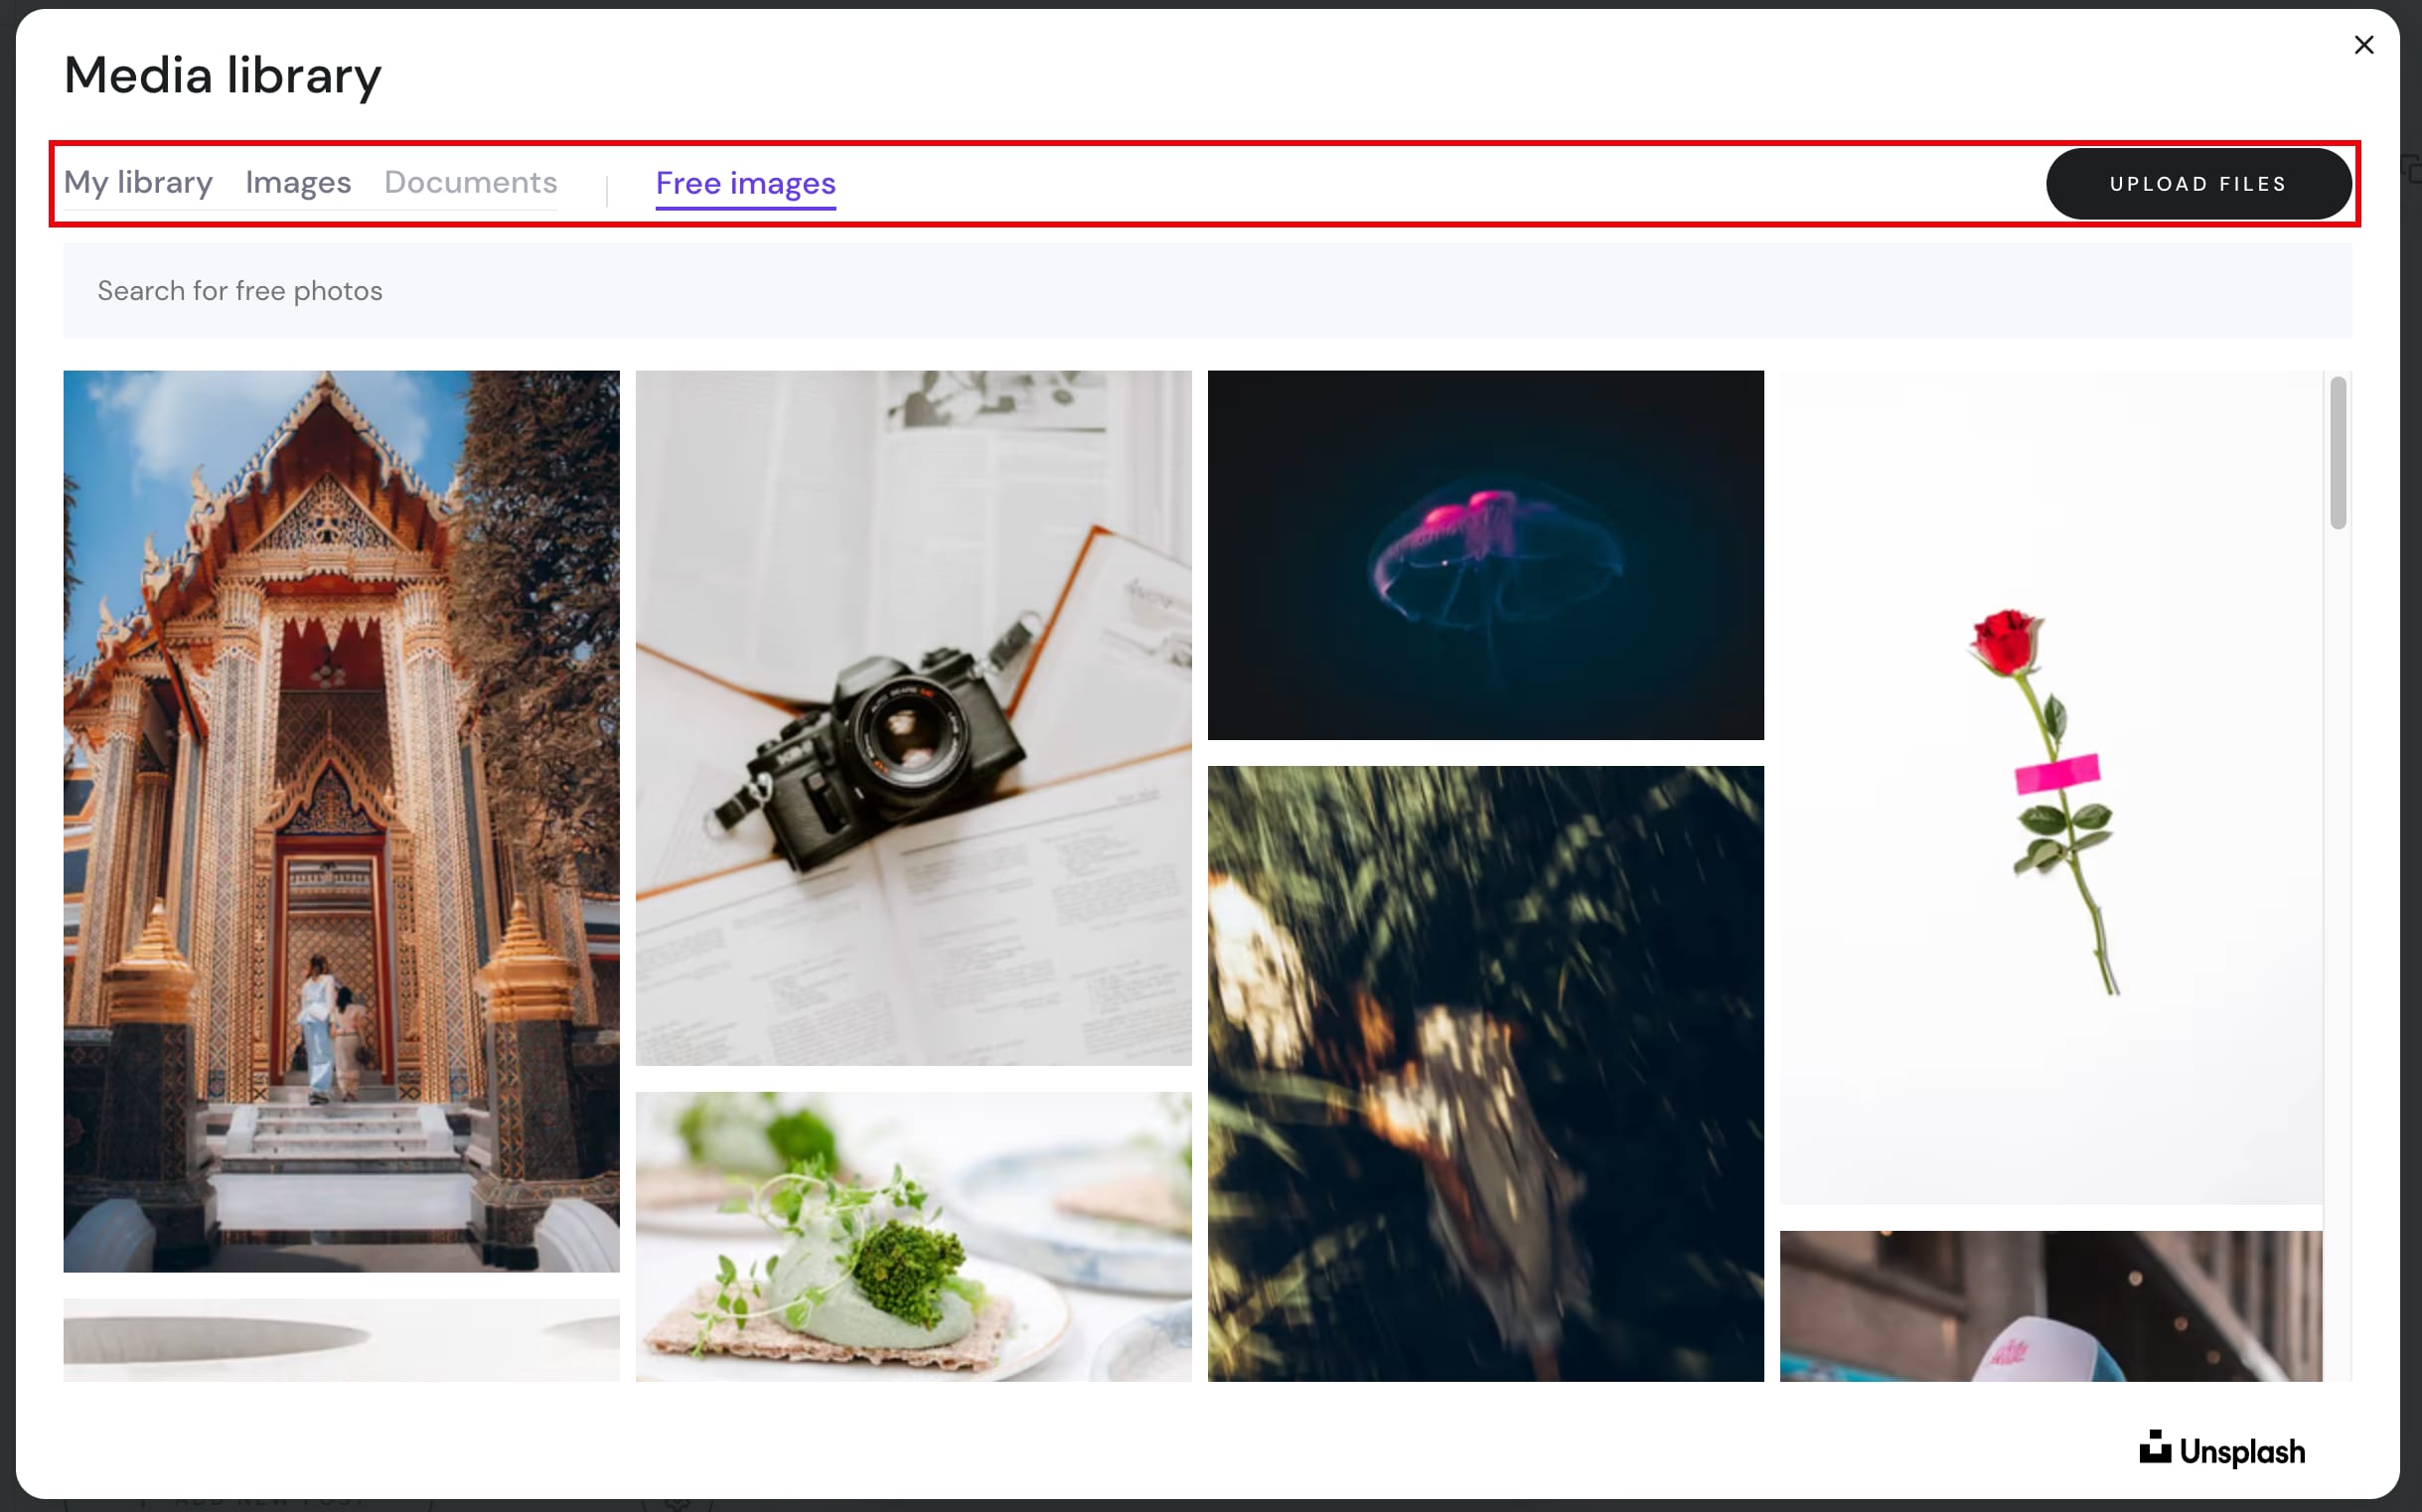
3. Select an image from your media library, browse free images or upload your own:
4. Finally, save the changes and update your website.
NOTES:
-
The recommended aspect ratio for a blog post cover image is 5·3 (width·height)
-
Learn more about managing blog settings