You can write multiple blog posts in advance and easily schedule them to be published at particular times.
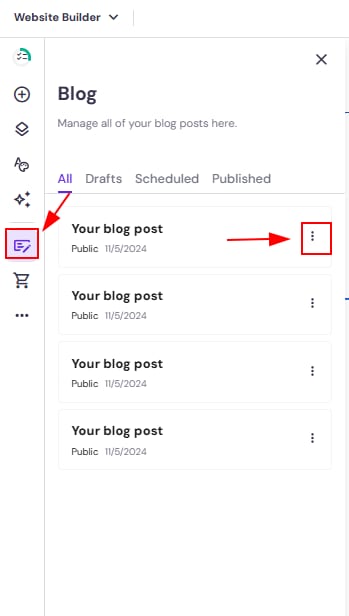
Within the editor, open the blog management panel on the left and find a post that you want to schedule. Click on the ellipsis button ⋮ next to its title:
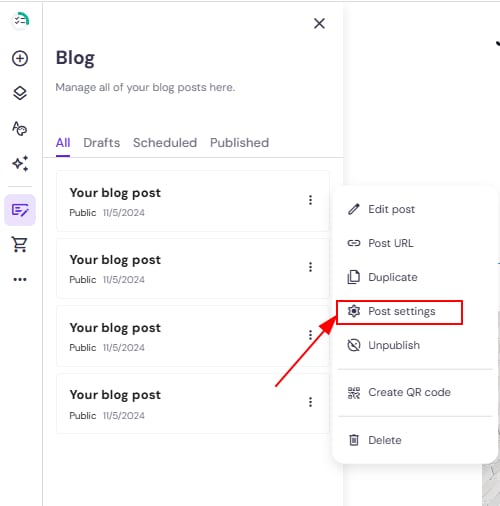
Open the blog post settings:
In the General tab, scroll down a bit and toggle the Schedule post button. Then, select the preferred date:
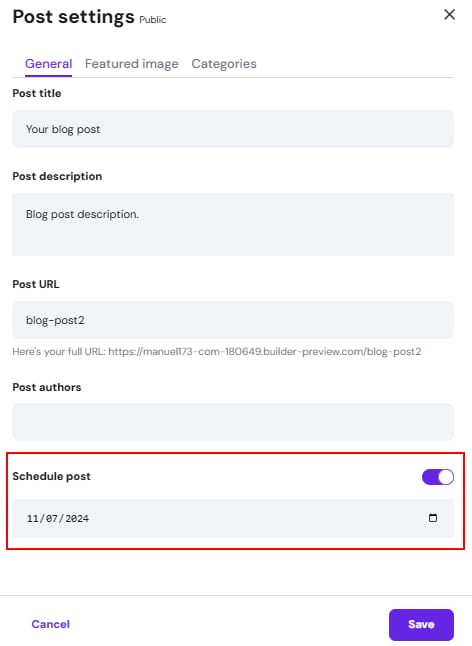
Finally, save the changes, and update your website.
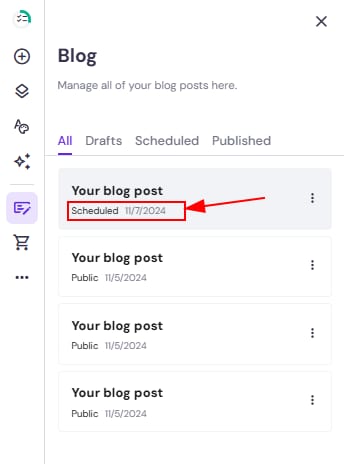
You can find all scheduled blog posts in the blog management panel’s section Scheduled: