Your pixel may be receiving data not only from your main but also secondary domains (e.g., builder.hostinger.com because you set up the pixel using our in-built integration). It’s easy to manage which domains are the most relevant for you by creating an allow list or a block list.
NOTES:
-
You can’t create both allow and block lists
-
It is recommended to create an allow list, as it provides more control over your pixel traffic: if you add your preferred domain to an allow list, the traffic from all other domains will be automatically blocked, so you would not need to block irrelevant domains one by one
-
However, if you have already set up a Facebook pixel, and if it already tracks data from irrelevant domains, create a block list
Create an Allow List in Facebook Events Manager
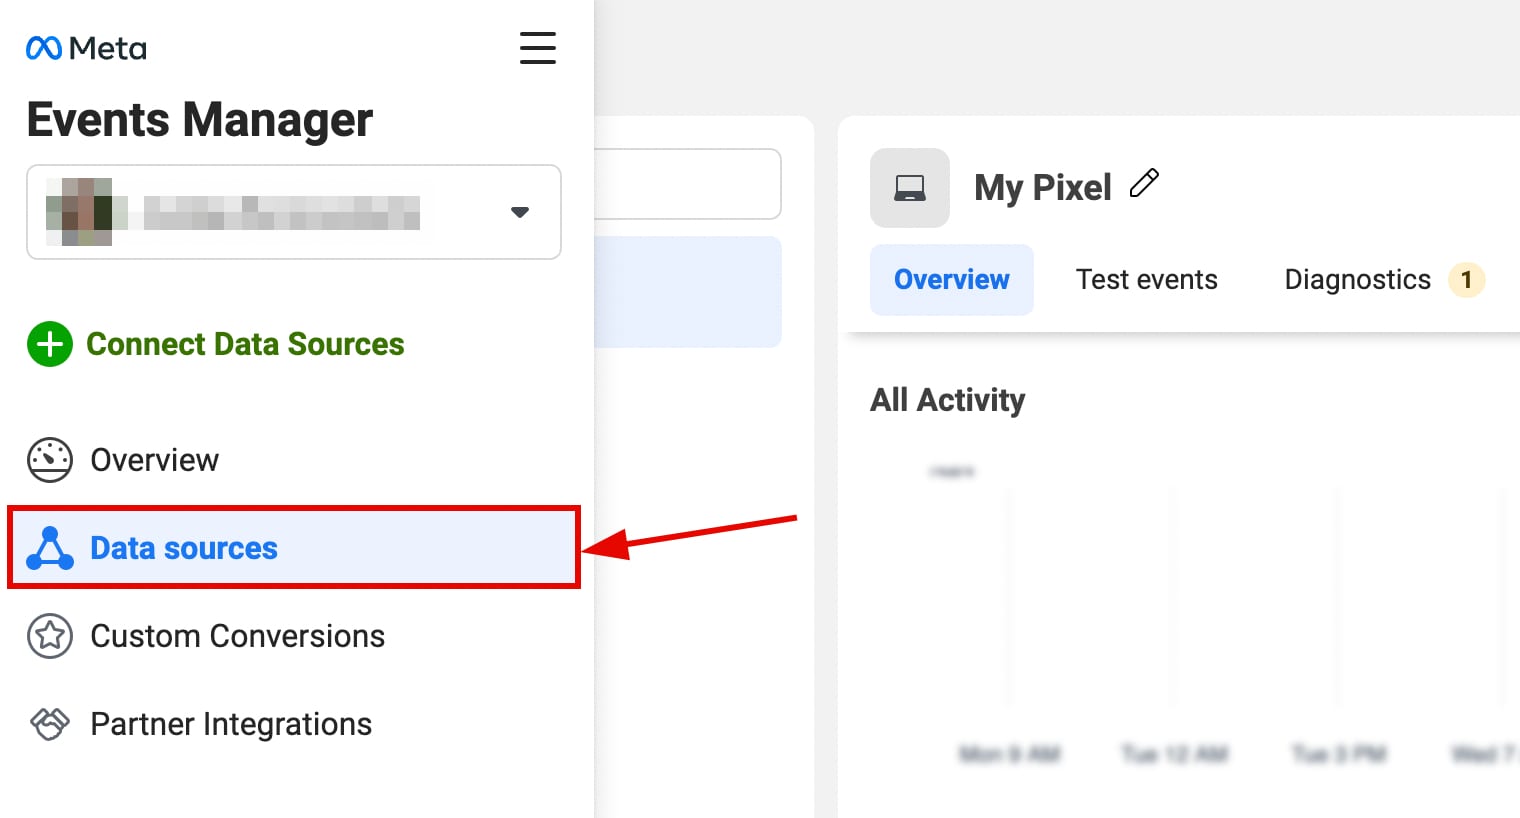
1. Go to your Facebook Events Manager, and open the Data sources on the left:
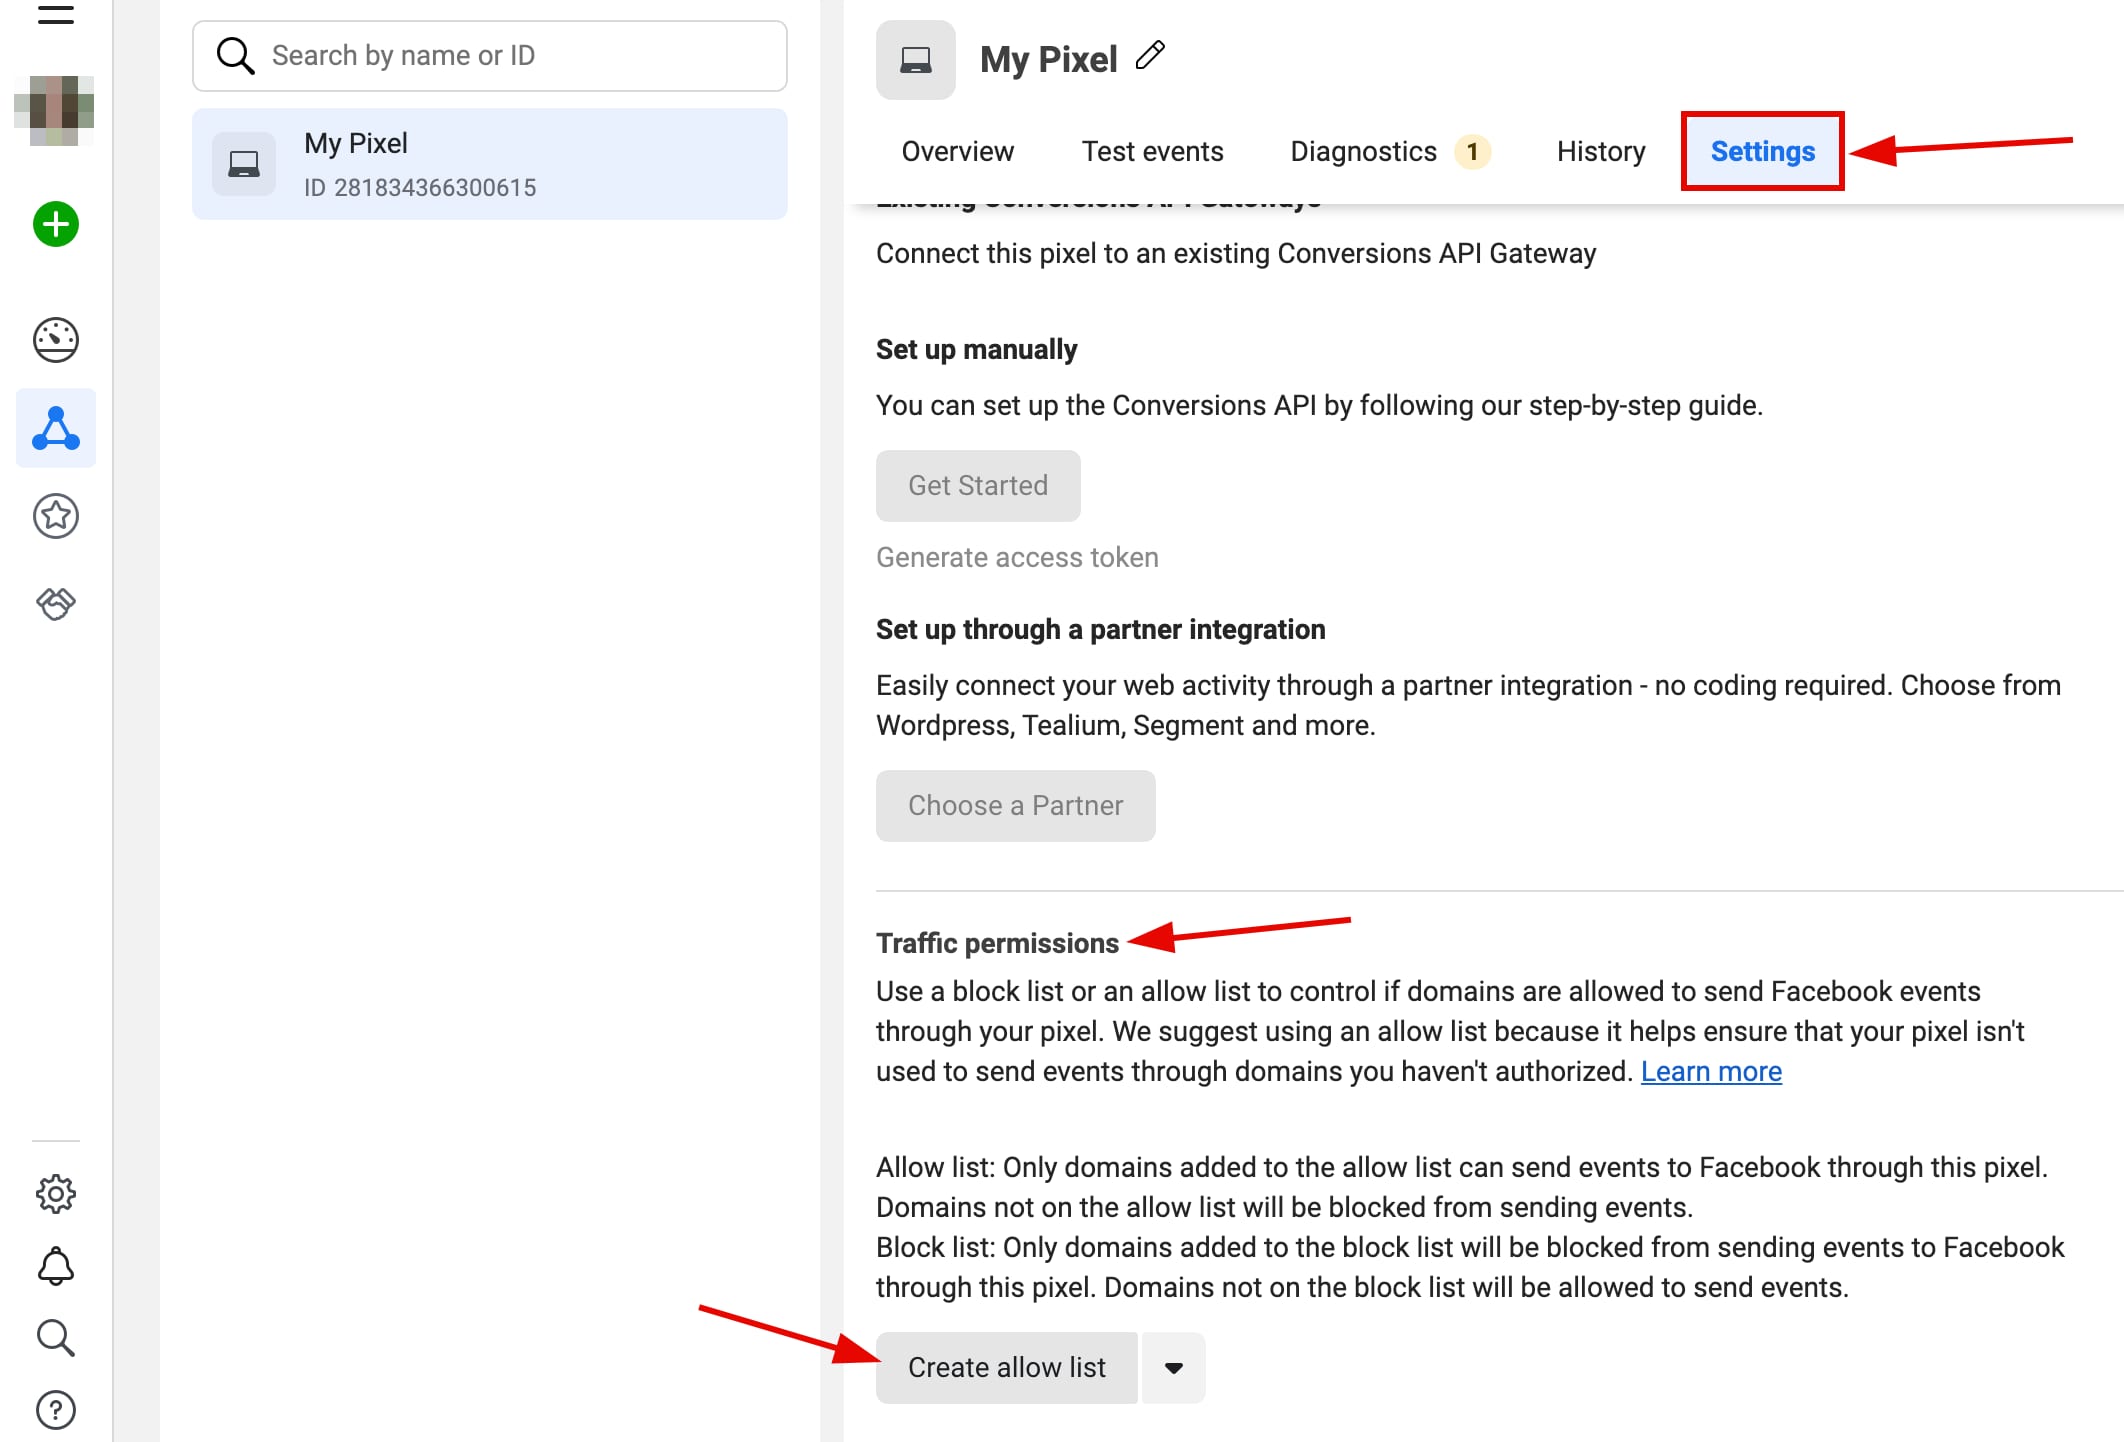
2. Select your pixel, open its Settings, and scroll down to the Traffic permissions section. Then, click on the Create allow list:
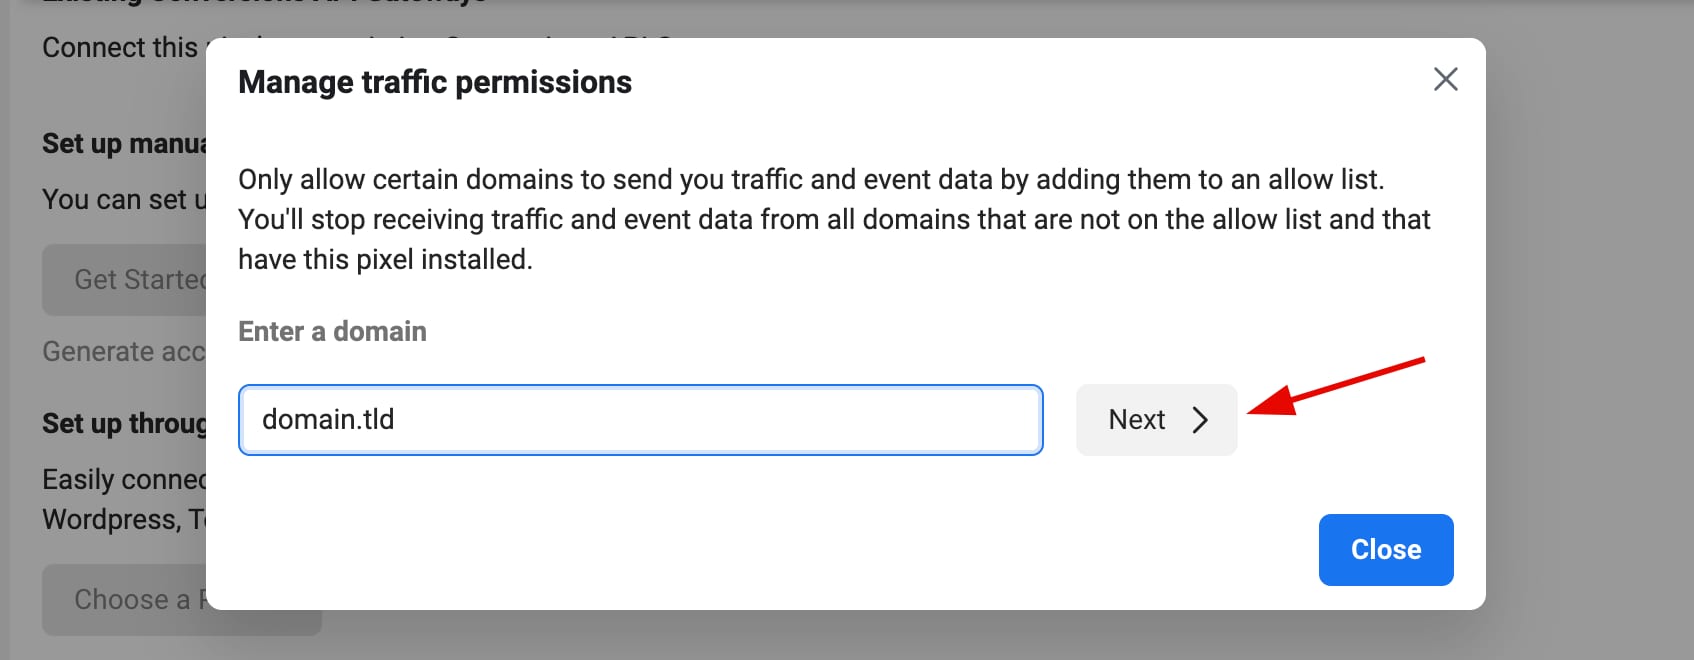
3. Enter the domain you want to add to your allow list and click Next:
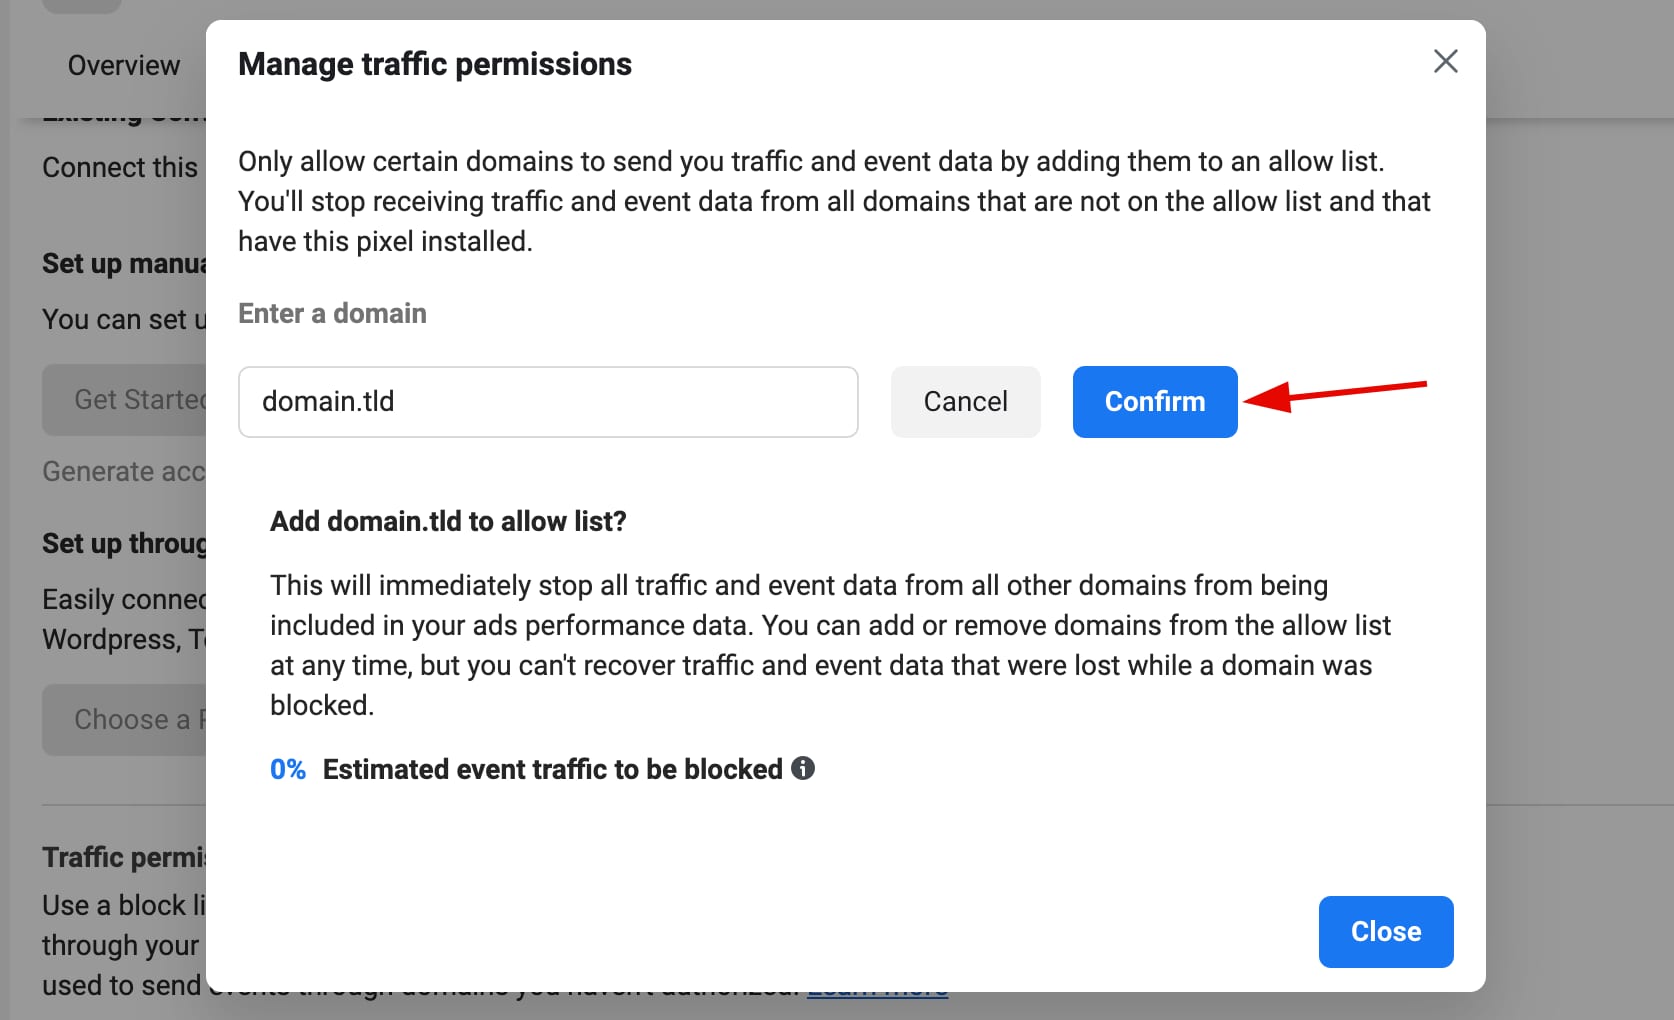
4. Click Confirm:
Repeat these steps for any other domains you want to add to your list.
You can now view and edit domains in the Traffic Permissions section of your pixel settings (e.g., to remove a domain from the list).
Create a Block List in Facebook Events Manager
1. Go to your Facebook Events Manager, and open the Data sources on the left:
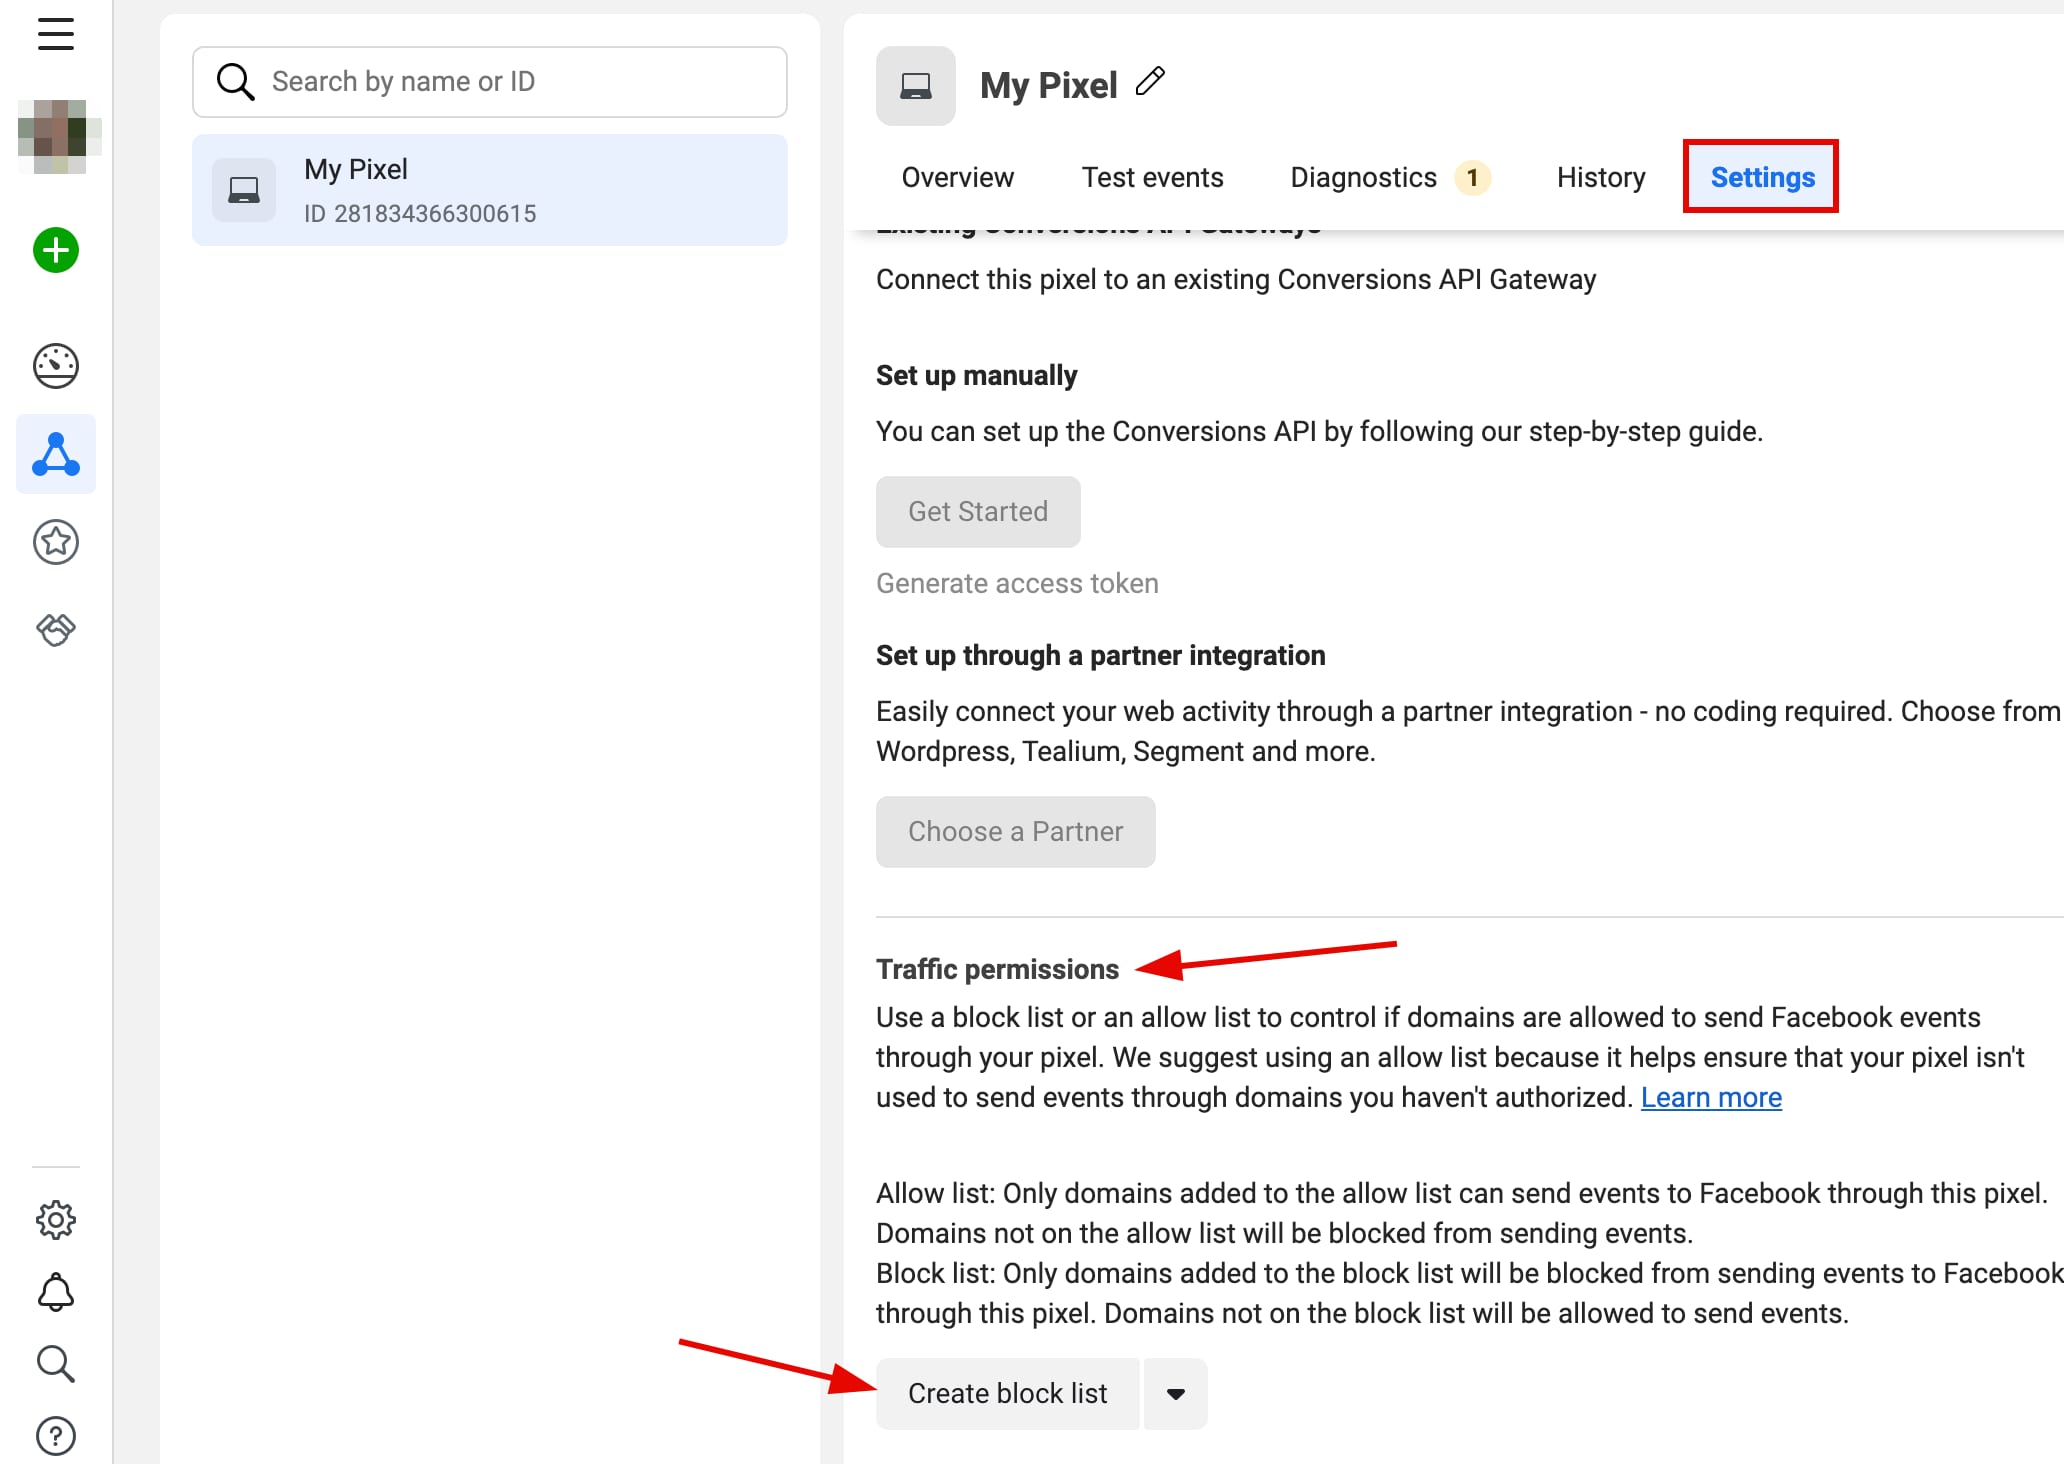
2. Open the Pixel settings, and scroll down to Traffic permissions. From the dropdown, choose the Create block list option and click on it:
3. Next to irrelevant domains, click Add to block list:

And that’s it! Now, the Facebook pixel will only receive data from the domain that’s connected to your website.