You can easily create and manage Titan email accounts from the Emails section of hPanel:
-
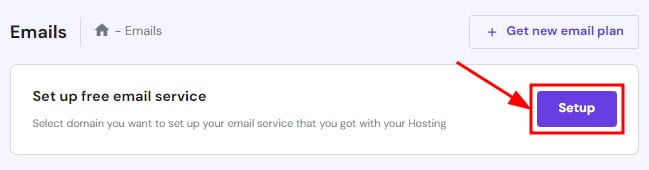
If it’s the first time you’ll be creating email accounts for a domain or subdomain on the Titan Free email included with your hosting plan, click on Setup next to Set up free email service:
-
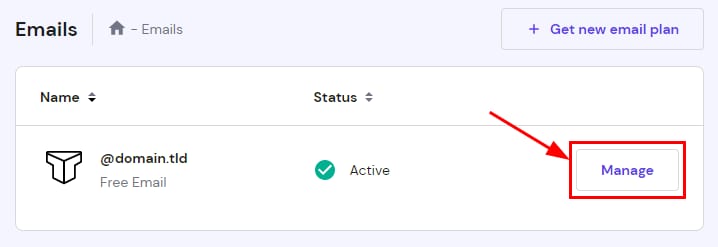
For domains or subdomains that already have email accounts, open and click on Manage next to the domain or subdomain:
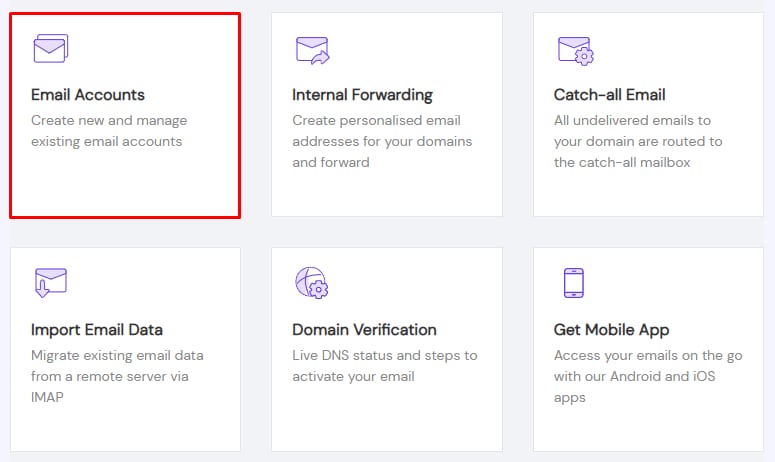
Creating Email Accounts
Click on Email Accounts:
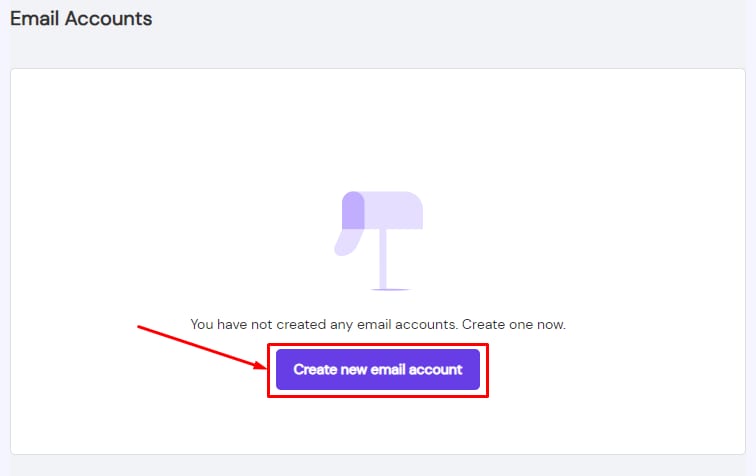
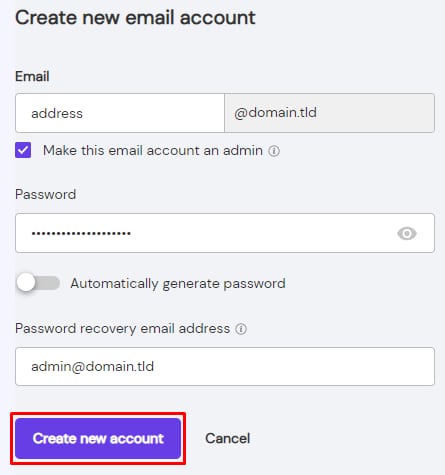
There, you can create an email account by clicking on Create new email account:
Insert the email address and choose if you want to make the account an admin. Create a password, add a password recovery email address, and click on Create new account:
Managing Email Accounts
To find email account management options, click on the ellipsis button ⋮ in the Email Accounts section:
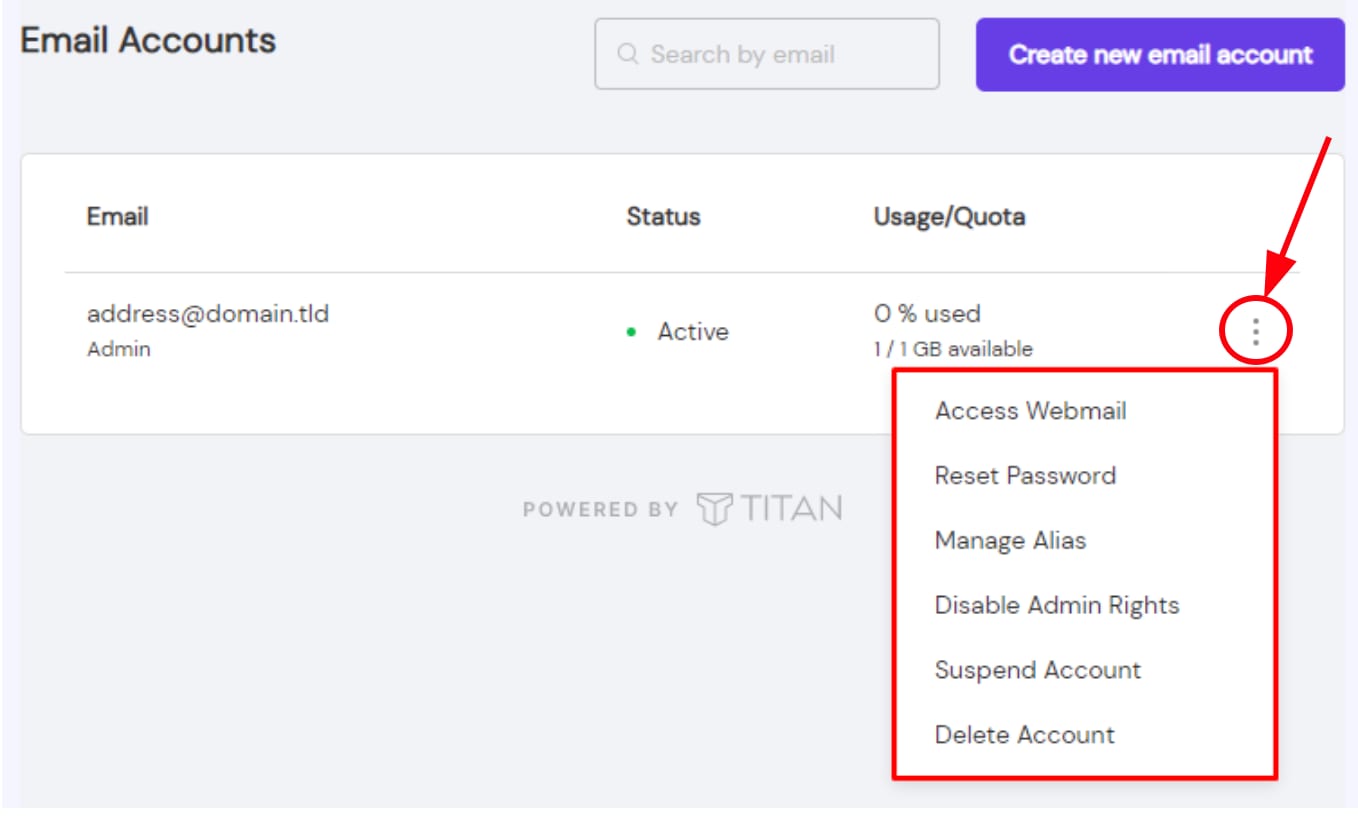
There, you’ll find the following options:
-
Disable Admin Rights – this option is available if the email account is set as admin
-
Suspend Account – prevent the account from sending/receiving emails while keeping the existing messages
-
Delete Account
NOTE
-
Deleting an email account is not reversible; once you delete an email account, all the messages stored in the account are permanently deleted as well