After installing PrestaShop using the Auto Installer, follow these steps to set up LiteSpeed Cache:
Step 1 – Install LiteSpeed Cache
-
Download the LiteSpeed cache module and save it on your computer
-
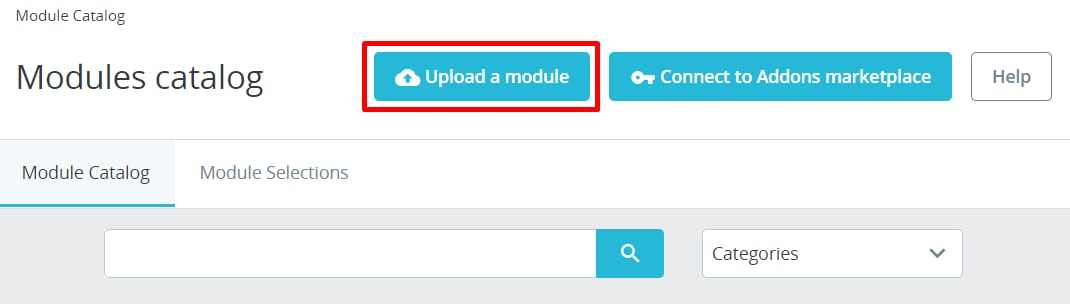
Navigate to Modules → Module Catalog, click on Upload a module and select the zip file on your computer:
-
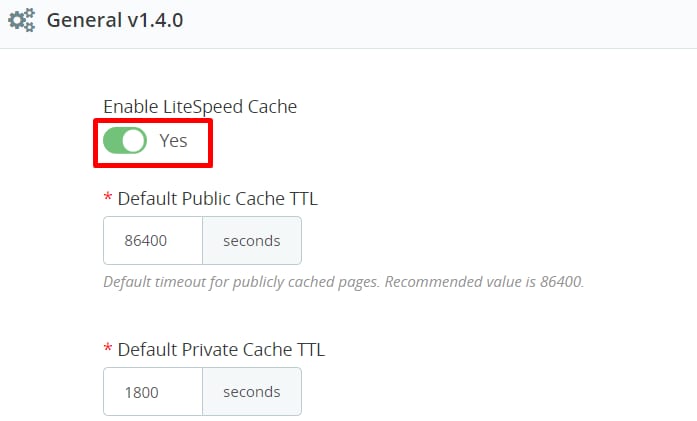
Once installation is complete, activate it by navigating to Configure and setting Enable LiteSpeed Cache to Yes:
Step 2 – Set Up LiteSpeed Cache
Navigate to the Advanced Parameters → Performance tab in your PrestaShop administration area and check for the following settings, leaving the current values in any other sections. Remember to save the changes:
-
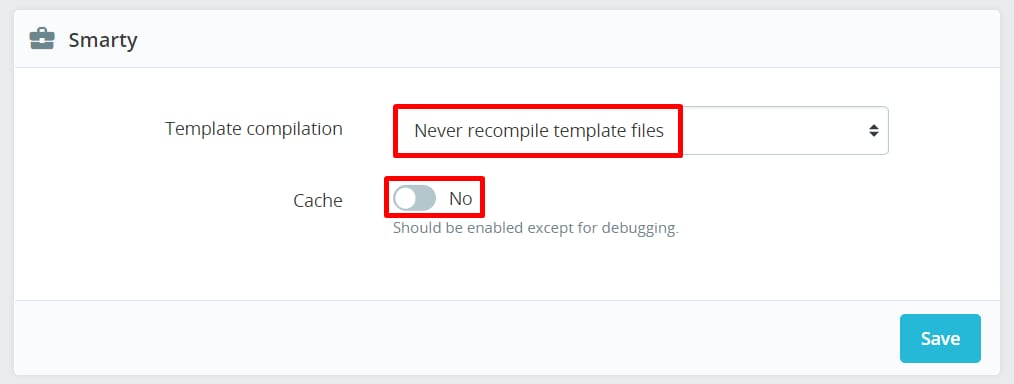
Smarty – Never recompile template files and set Cache to No:
-
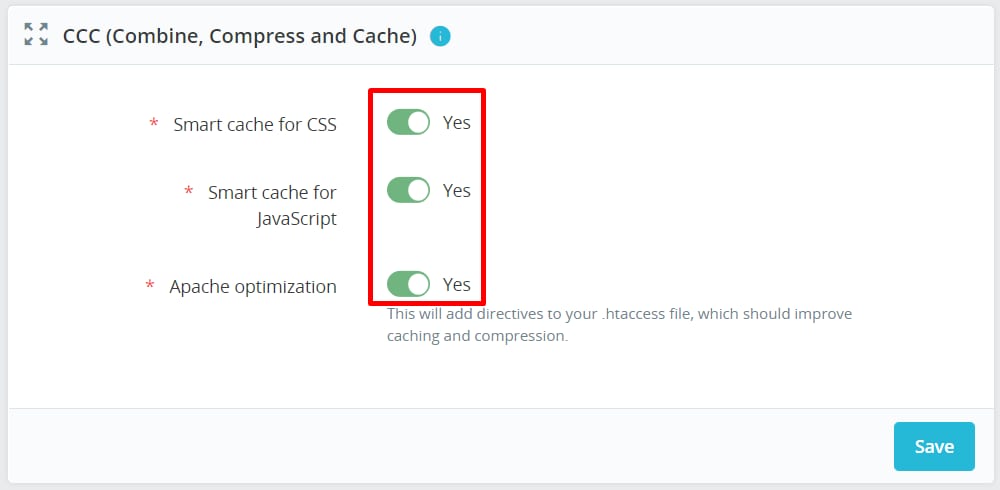
CCC (Combine, Compress and Cache) – Enable all available options:
-
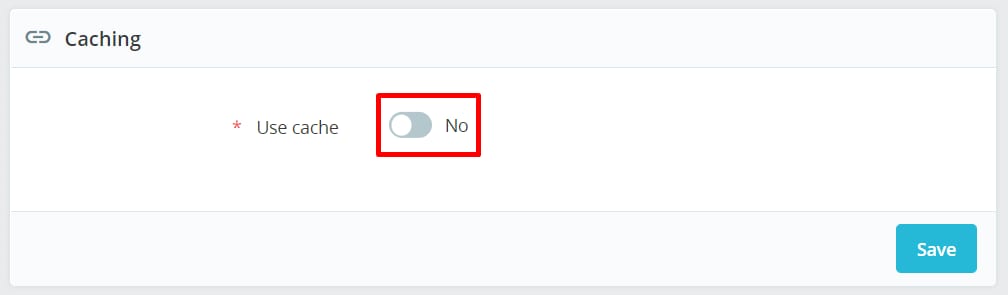
Caching – Set to No:
Optional – Set up a Content Delivery Network
After your caching is sorted out, you can think about enabling a CDN. This way, your PrestaShop website will have stored copies in the CDN server network around the world, which will make it load even faster.
If you also want to take advantage of the crawling capabilities of LiteSpeed Cache to refresh the pages that may have expired in the cache, you can use the LSCache Crawler Script. Learn more: Enable LS Cache Crawler engine