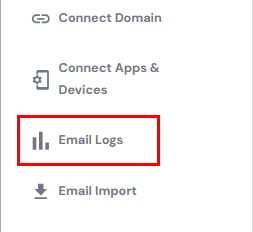
With the Access Logs feature for Hostinger Email, you can easily get detailed information about the time and location where your email accounts are accessed. Navigate to the Email Accounts section and choose Email Logs on the left sidebar:
You’ll reach the Access tab:
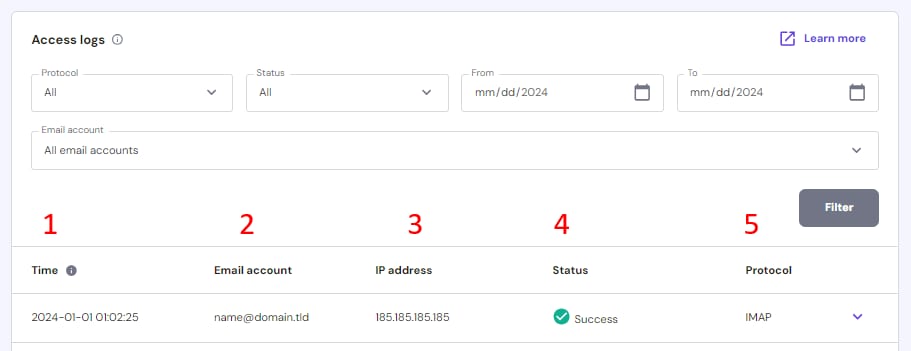
There, you will find a table showing where your email accounts were accessed, when it happened and if the connection was successful.
Logs are available for 30 days and you can filter them by protocol, status (successful, failed, or if emails were deleted in that session), email accounts as well as date range.
-
Time – when your email account was accessed, based on your current location
-
Email account – email account in question
-
IP address – IP address from which the email account was accesssed
-
Status – indicates whether the action succeeded or not
-
Protocol – shows the protocol used (it will be either SMTP, IMAP, or POP3)
In case you find an entry under Status with Incorrect password – we highly recommend double-checking your password and changing it if needed.
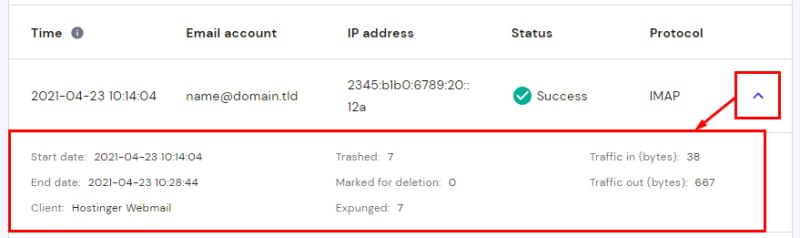
You can also click on the downward arrow next to any entry for additional details, including session duration, mail client used, traffic, and deleted messages.
Some email clients create subsequent requests after opening the email. This can result in the log showing multiple accesses from the same location in a short period of time.
That’s it, now you know how to check all the information on your email access logs!