How to Add a Tax Code During Purchase
If your company is registered in the European Union / Northern Ireland and you have a valid VAT code for cross-border transactions within the EU and UK, or registered in India and have a GST code, you can add it along with your company details when you first purchase any of our services by following the steps below:
If you have an Indonesian NPWP number, make sure to check this guide: Request Tax Invoice💡
Step 1 — Select Country
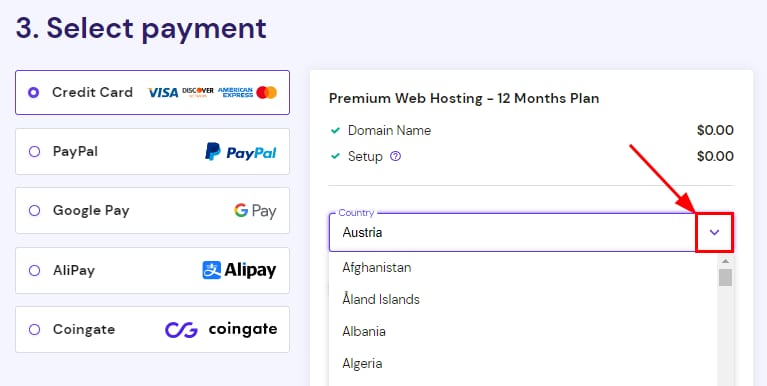
Once you have chosen a period and created your account, you will be asked to select a payment method. Before submitting the payment, select your country from the dropdown list:
Step 2 — Add Your Company Details
Next, check the box next to Add company details and enter your company information:

After entering a valid VAT number for cross-border transactions within the EU and UK, VAT will be deducted from your invoice, and you can proceed with the payment 😊
NOTES
-
You may enter a VAT number that is not enabled for cross-border transactions within the EU and UK. In that case, VAT will not be deducted.
-
Due to taxes being forwarded automatically, the VAT already applied to an invoice cannot be refunded.
-
If your country of residence is the United States, you will be required to provide a valid address.
How to Add a Tax Code After Purchase
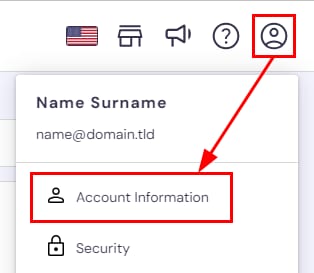
If you didn’t add your tax identification code during the purchasing process and would like it to appear on your invoices in the future, or if you need to update your current data, you can do so by clicking on the profile icon and choosing Account Information:
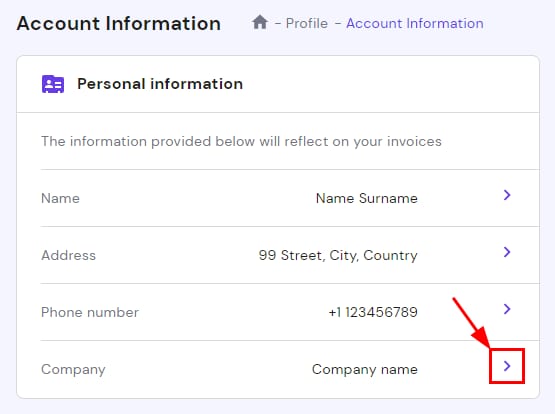
Once there, click on Company:
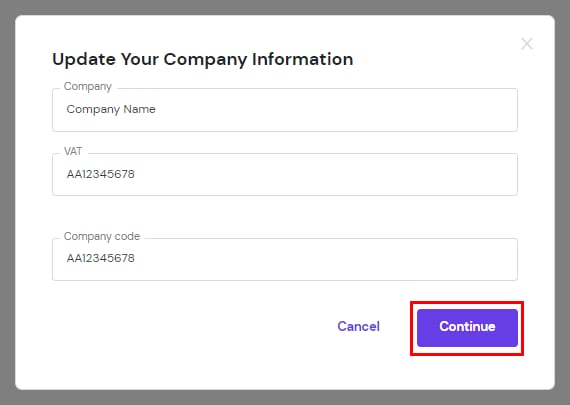
Enter your company name, VAT or GST code, and company code. If you do not have a separate company code, you can either enter the VAT/GST code once more or leave it empty. Alternatively, you may use the Company code field to enter other additional details.
When all is good to go, click on Continue to save the changes:
The new information will appear on your future invoices. Invoices already issued will remain unchanged.