To set up your mailbox on the default Mail application on your Mac or iOS devices, make sure that:
-
You have created an email account with Hostinger Email
-
Your domain is pointed to Hostinger
-
The correct Hostinger Email MX records are added to your domain’s DNS zone
Then, proceed with the steps below.
Step 1 – Download and install the configuration profile
-
Log in to your Hostinger account using the Safari browser (if you use another browser, the profile will not download properly)
-
Go to the Emails section and click on Manage next to the domain name
-
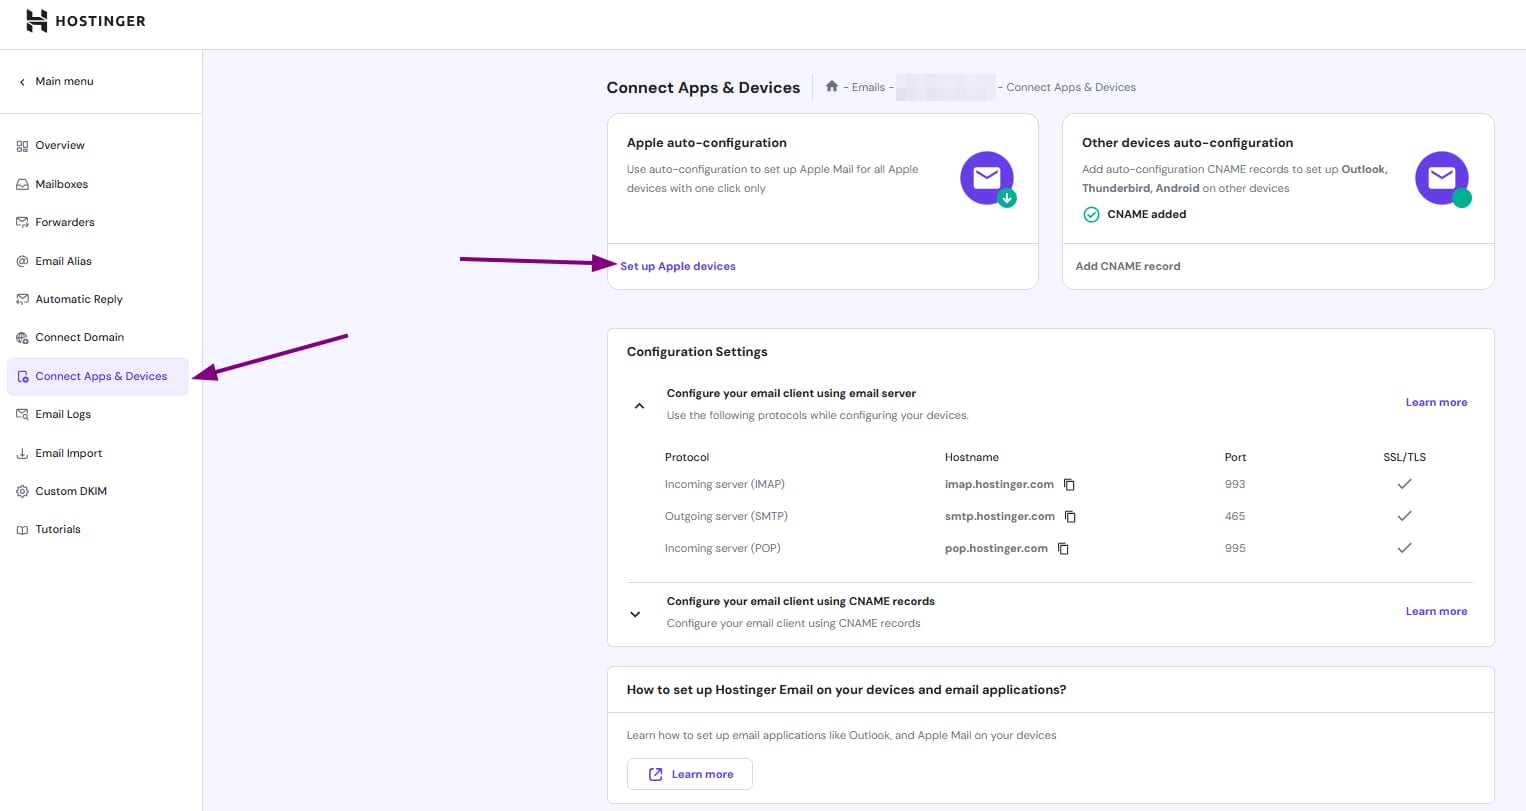
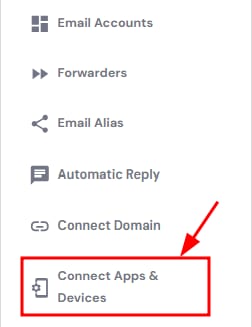
Select Connect Apps & Devices from the sidebar:


-
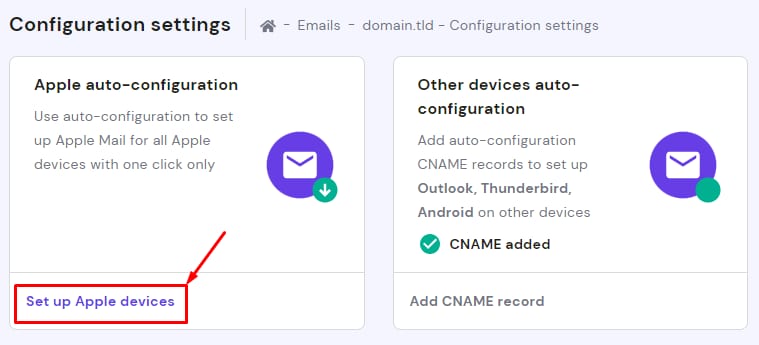
Click on Set up Apple devices:

-
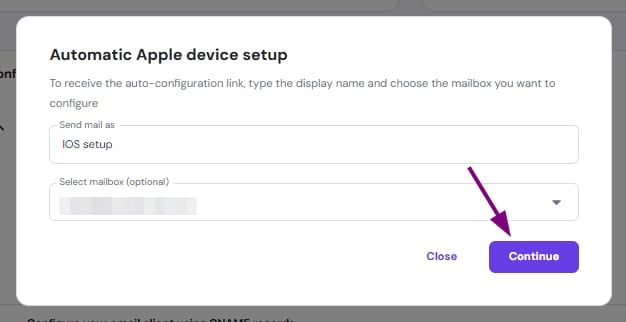
Enter the display name (name and surname) that you wish to use for emails, and select the email address to which you want to connect. When all is good to go, click on Continue to reach the downloading options.

-
Scan the QR code or click on the Download profile button below:

-
Your device will most likely ask to approve the profile you will be downloading; be sure to confirm it.
-
If you are setting up an email account on Mac, go to the next step. For iPad or iPhone devices, you will get a message similar to this:

-
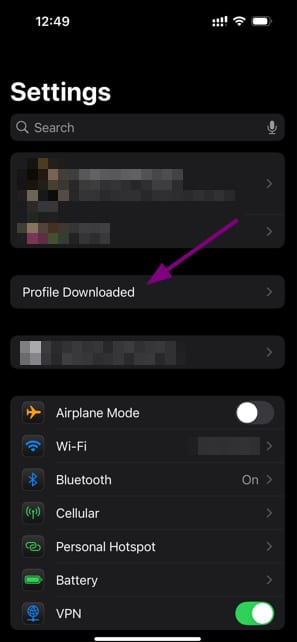
Go to your device’s Settings application. If you used the Safari browser, you will find the Profile Downloaded option. Click on it:

-
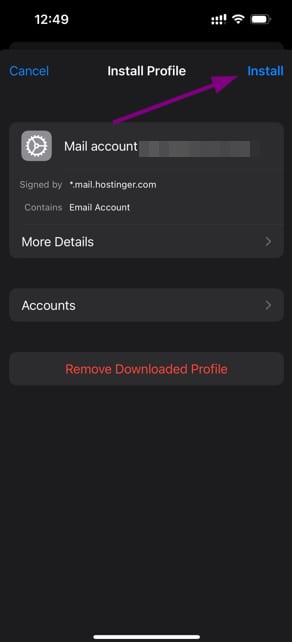
In the pop-up window, click on Install:


Step 2 – Connect to your account
Now, you will need to enter your name and your email account’s password. Your device’s password might be required as well.
After it is done, your email profile is successfully installed 😊
Step 3 – Open the Mail application
Open the default email application. Most likely, you will be asked to insert your email account’s password one more time; please do it. If everything is done correctly, you will be automatically connected to your email account at Hostinger!
Synchronizing all emails might take some time, so give it a few minutes to complete the process.