Automatic backups are created of your cPanel files and databases at Hostinger. To download them to your local device, follow these steps:
Step 1 – Downloading Files
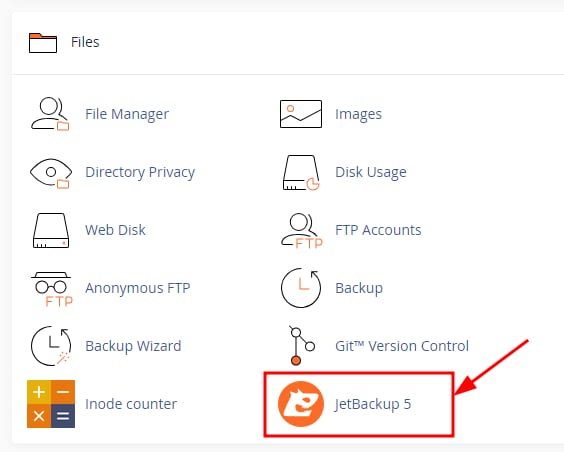
Login to your cPanel and select JetBackup 5:
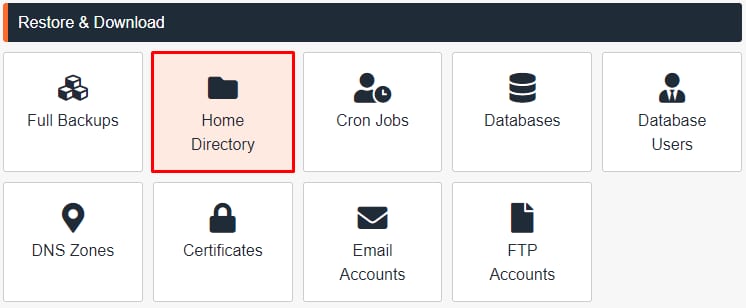
Next, select Home directory:
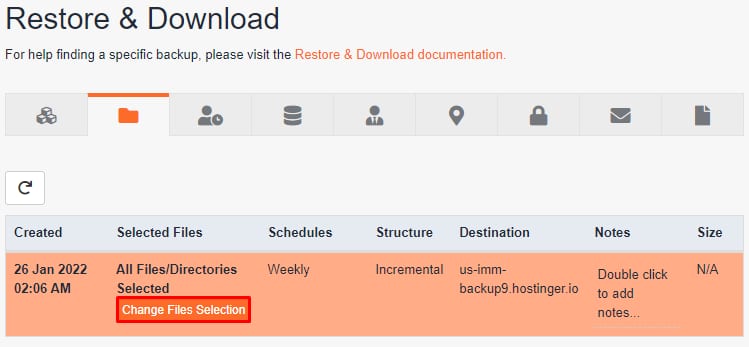
From there, select the date of Backup that you want to download and click on Change Files Selection:
Select all the files that you wish to download and click on Download:

Step 2 – Downloading your database
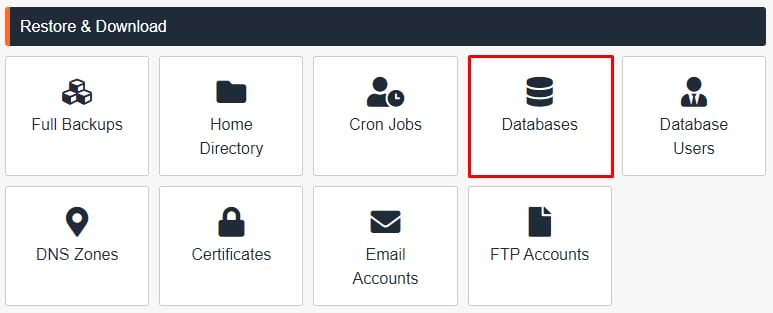
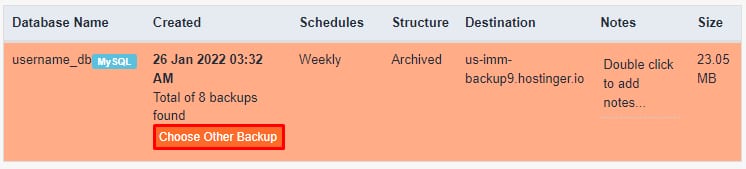
Access your cPanel, click on JetBackup 5, and select Databases:
Once there, select the desired database by clicking on Choose Other Backup:
Once it’s good to go, click on Download:

NOTE
-
If the amount of storage used in your cPanel plan is larger than 10GB, new backups will not be generated automatically. In that case, the recommendation is to manually back up your website using the File Manager via FTP