The information below doesn’t apply to websites created with Hostinger Website Builder 💡
To manage your website’s PHP extensions and options, go to the Websites section and click on Dashboard next to the website in question. Then, search for PHP Configuration on the sidebar and click on the given result to access those settings:

On the PHP Configuration page, open the preferred tab – PHP extensions or PHP options:

PHP Extensions
At the top of the page, you’ll find a list of Built-in Extensions that come with your current PHP version. These extensions cannot be disabled. Below, you’ll find a list of all the installed extensions and be able to enable or disable them according to your needs:
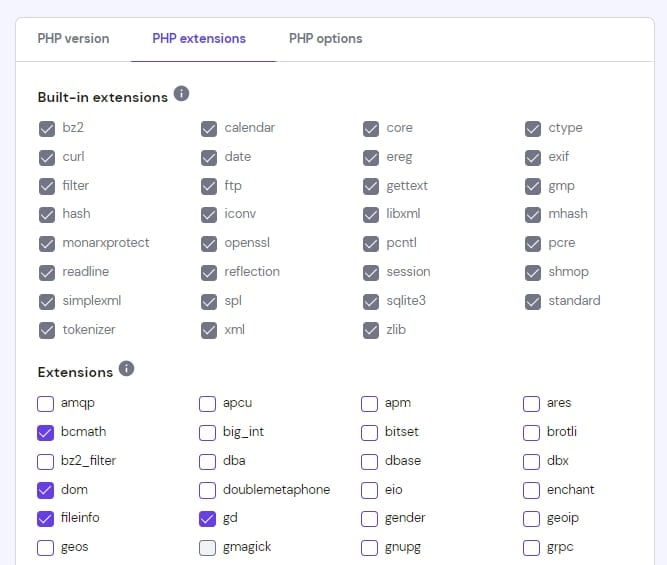
Available PHP extensions depend on the current PHP version of your website 💡
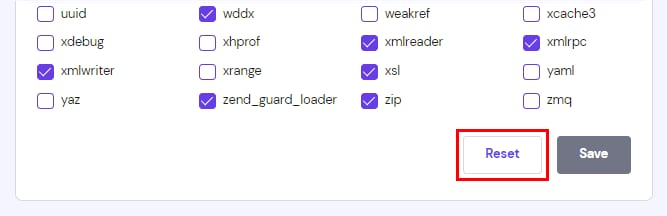
After making any changes, remember to save them by clicking on Save at the bottom of the page.
To set all the values to default, click on Reset, which can be found at the bottom of the page:
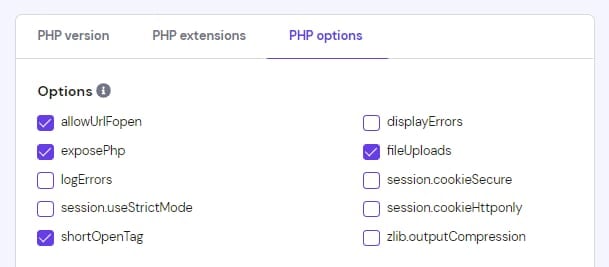
PHP Options
At the top of the page, you’ll find a list of basic options that you can enable or disable depending on your needs:
Below, you’ll find parameters that you can edit. For instance, a list of disabled functions. There, you can change values of some limits which by default are set to the maximum value available for your hosting plan.