Hostinger File Manager is a web-based tool for managing website files and folders directly from your browser. It serves as an alternative to third-party FTP clients for uploading content and managing storage space.
Before you start
Hostinger File Manager is available on web, cloud and Agency hosting plans for websites built with custom PHP/HTML, Node.js, or CMS platforms like WordPress.
- Hostinger Website Builder: File Manager is not available for the Hostinger Website Builder. Instead, use the Media Library.
- Hostinger Horizons: File storage in Hostinger Horizons is managed through the integrated backend.
Try the Hostinger File Manager
Click below to try the interactive demo:
How to access Hostinger File Manager
- Go to hPanel → Websites
- Select Dashboard next to the domain.
- Click the File Manager button. The file manager will open in a new browser tab.


Hostinger File Manager layout
The interface is divided into three main sections to help you navigate your hosting plan files.
Section 1 – Left menu
This menu provides quick navigation and management shortcuts.

- My files: A shortcut to return to the root directory.
- New folder: Creates a new directory in your current location.
- New file: Creates a new file in your current location.
- Trash bin: Contains deleted files unless you chose to bypass the bin during deletion.
- Logout: close the session in the file manager.
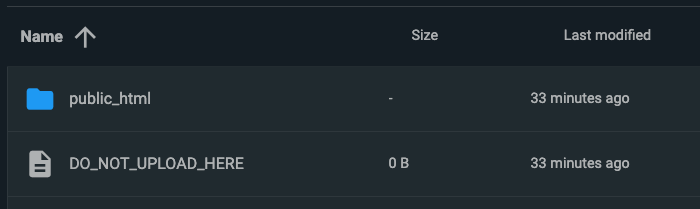
Section 2 – File managing area
The central area lists all files and folders. Can be sorted by name, size or last modified.
Right-clicking an item opens the following options:
- Edit: Open a text editor for files like
.htmlor.php. - Rename: Change the file or folder name.
- Copy: Create a duplicate of the file or directory in the desired location.
- Move: Move the selected item to the desired location.
- Delete: Remove the item. Permanent deletion is selected by default. To change this setting, uncheck it before deleting.
- Download: Download the selected files or folders. The number near the button will show how many separate items are currently selected.
- Info: Show the last modified date, file size, inodes for folders.
- Permissions: Set the read, write, and execute rights for files or folders.
- Archive: Compress selected items into formats like
.zipor.tar.gz.
Section 3 – Top menu
The top bar contains a search bar and action buttons that change based on your selection.

If no items are selected:
- Change view: alternate between list, small and large grid.
- Download: Download all the items in the current view
- Upload: Upload from your device.
- Calculate directory sizes: Displays the total size and inode count in the current view.
- Info: Shows information of the current view.
- Select multiple: Enables a selection mode for performing bulk actions. Alternatively, you can press Ctrl (or the Command key on Mac) while selecting items.
When items are selected, the following additional buttons appear: Edit, Copy, Move, Permissions, Archive, and Delete. For compressed files, the Extract option also becomes available to unpack content into a specified folder.
You can now use the Hostinger File Manager to efficiently organize and modify your data.
NOTES
- For security, File Manager sessions expire after a period of inactivity. If you encounter an error, refresh the page or restart the session from hPanel.
- Agency hosting plans have restricted access to core WordPress files for security; however, you retain full access to the wp-
config.phpfile and thewp-contentdirectory.