You can easily manage MX records in the Zone Editor section, which can be found in your control panel.
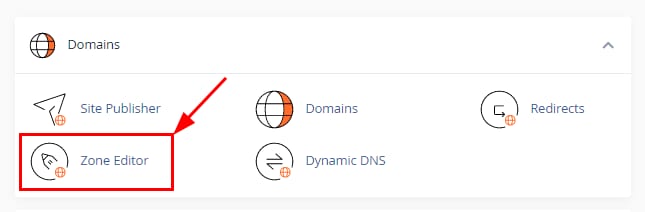
Log in to your cPanel and head to Domains → Zone Editor:
Next, click on the button + MX RECORD:

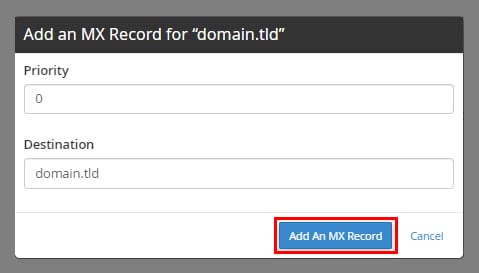
Enter the required values given by your email provider. For example, to use your cPanel email, they are the following:
|
Priority |
Destination |
|
0 |
your domain name |
Finally, click on Add An MX Record:
Edit or Delete MX Records
To edit or remove existing MX records, access the Zone Editor section and find the following Modify and Delete buttons:

NOTE
-
After making any changes to your domain’s DNS zone, DNS propagation starts; give it some time to complete, and your email service will be up and running soon