Managing your DNS records is now easier than ever. DNS has been added directly to the Domains sidebar in hPanel, so you can reach your DNS settings in just a few clicks.
To manage DNS records:
1. Go to hPanel
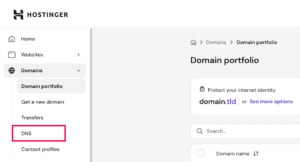
2. In the left sidebar, choose Domains and click DNS.
3. Select the domain you want to manage.
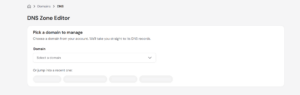
4. You’ll land directly on the DNS records page where you can add, edit, or delete records.
Note: Domains registered elsewhere but pointing to Hostinger nameservers will also appear here under External domains.
For domains pointing elsewhere by nameservers, use the DNS management tools provided by the respective platform.
Once on the domain management page, you can easily manage the DNS / Nameservers:
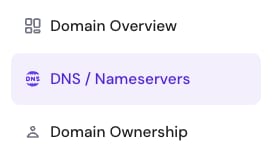
At the top of the DNS / Nameservers section, there are four main tabs: DNS records, Child nameservers, DNSSEC and DNS history:

The availability of child nameservers and DNSSEC settings may vary depending on the domain’s extension (TLD) 💡
Manage DNS records
Key Features of the DNS Editor
To make managing your domain easier, the DNS zone editor includes several smart tools:
- Bulk Creation: Customers can now add multiple DNS records at once instead of creating them one by one.
- Built-in Explanations: DNS record types now include built-in explanations directly in the selection dropdown, helping users quickly understand the purpose of each record before adding it.
- Contextual Guidance: We’ve added contextual guidance across the entire DNS management flow, including active field placeholders and helper texts that explain exactly what information is expected in each field.
The DNS records tab leads to the DNS zone management, where you can add, edit, and delete records:
Add a record
To create a new record, enter the values for type, name, content, TTL, and any other additional information required, depending on the record type. Once it’s done, click Add Record:
Here are some detailed guides for each record type:
Edit or delete records
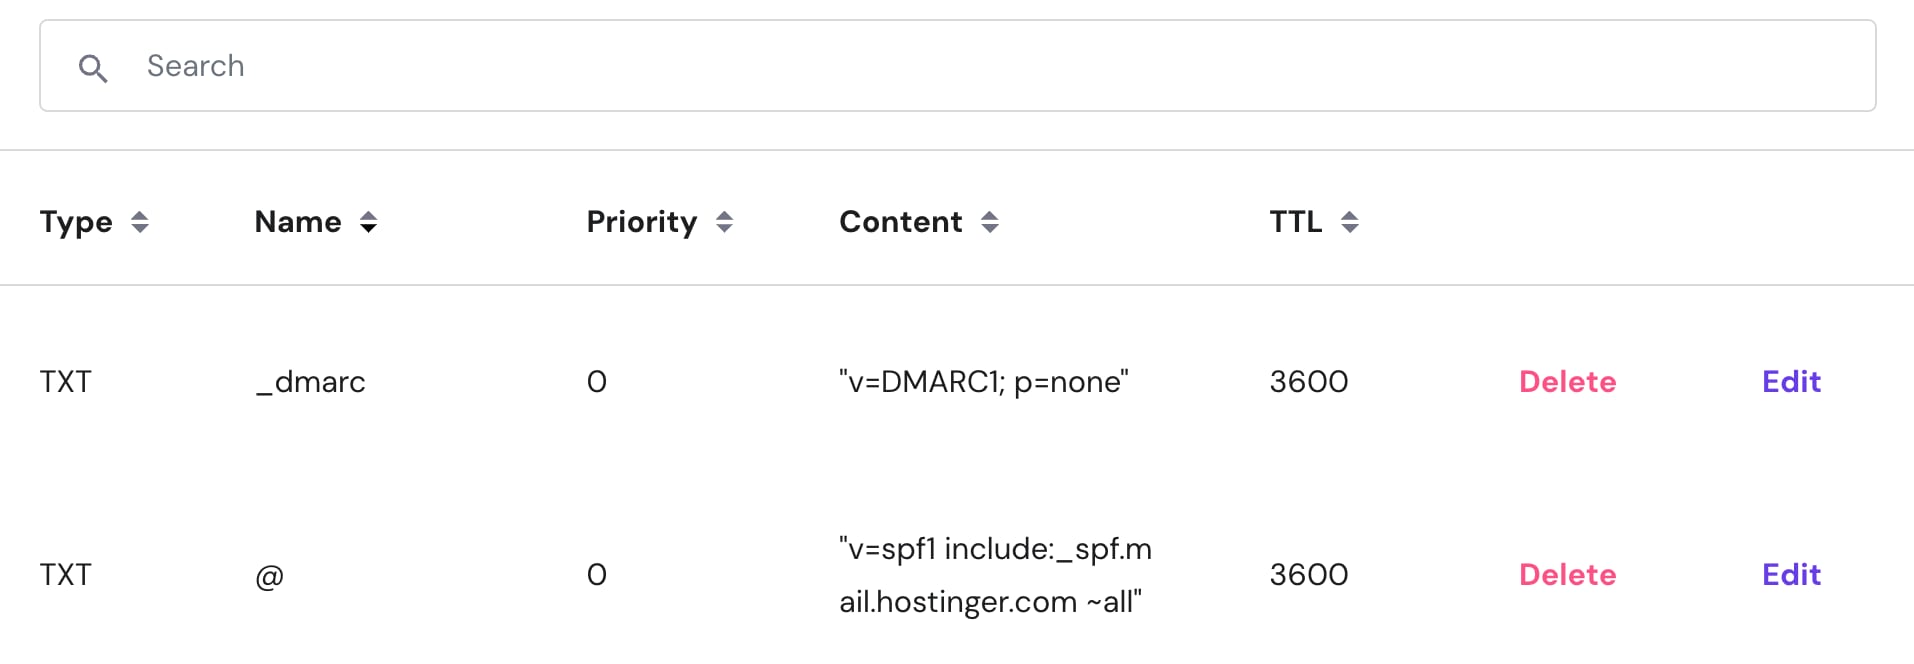
You can view the full list of DNS records for your domain below the Manage DNS Records section. Use the search bar to find a specific record.
You will have the option to delete or edit each record.
-
Delete: click the trash icon next to it. A confirmation prompt will appear — click Delete to confirm. This step helps prevent accidental removal of records.
-
Edit: enter the new type, name, target, and TTL values, then click on Update.
After changing your DNS records, wait up to 24 hours for them to propagate. Even if your domain’s nameservers point to an external provider, you can still proactively manage your DNS records in Hostinger hPanel. Changes made here will be ready to take effect as soon as you switch the nameservers back to Hostinger.
Restore records
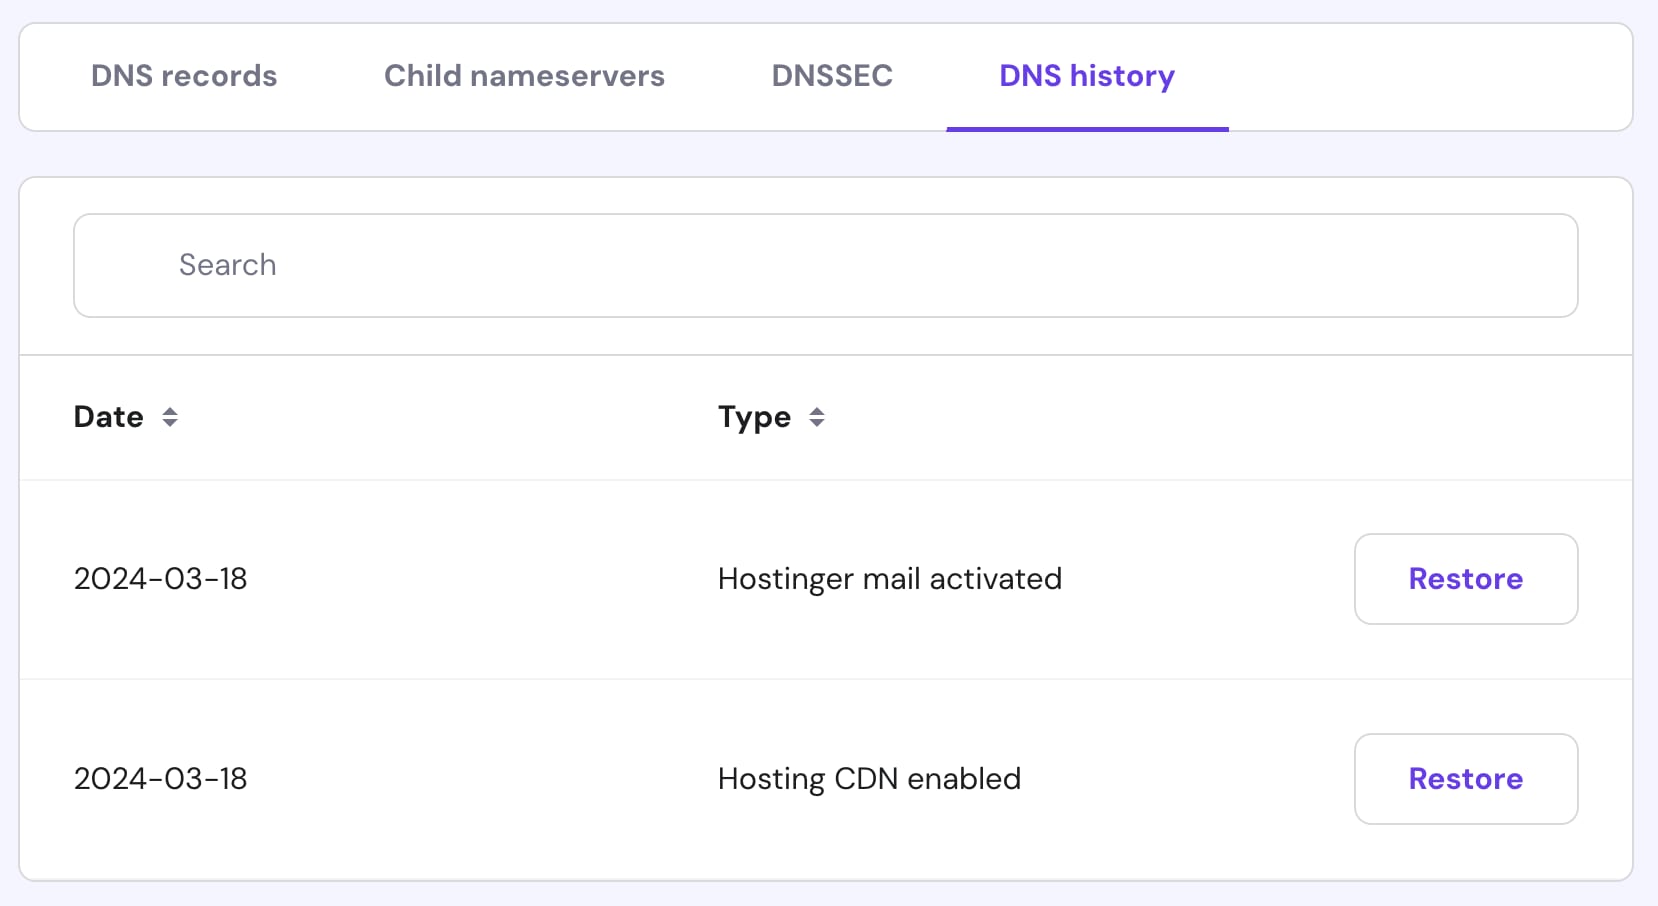
To restore your DNS zone to a previous version, select the DNS history tab and click on Restore next to the date for which you want to roll back any DNS changes:
Review the DNS snapshot to ensure that these are the records you want to use to fully replace the current values.
Then, scroll down and mark the checkbox to accept that restoring DNS may affect your current website and that it will require some time for the changes to apply.
Once everything is good to go, click Restore DNS zone. Once propagation is completed, your DNS records will be restored.
Bulk Delete
Deleting multiple records at once.
To remove several records in one go:
- Check the boxes next to the records you want to delete.
- Click the Delete selected button that appears at the top of the table.
- Confirm the deletion in the prompt.
Import and Export DNS records
hPanel also allows you to bulk import and export DNS records using a standard BIND zone file.
How to Export DNS Records
- Go to hPanel → Domains.
- Click Manage next to your domain.
- Open DNS / Nameservers from the left sidebar.
- Click the Export option.

- A
.txtfile in BIND zone file format (RFC 1035) will be downloaded to your device.
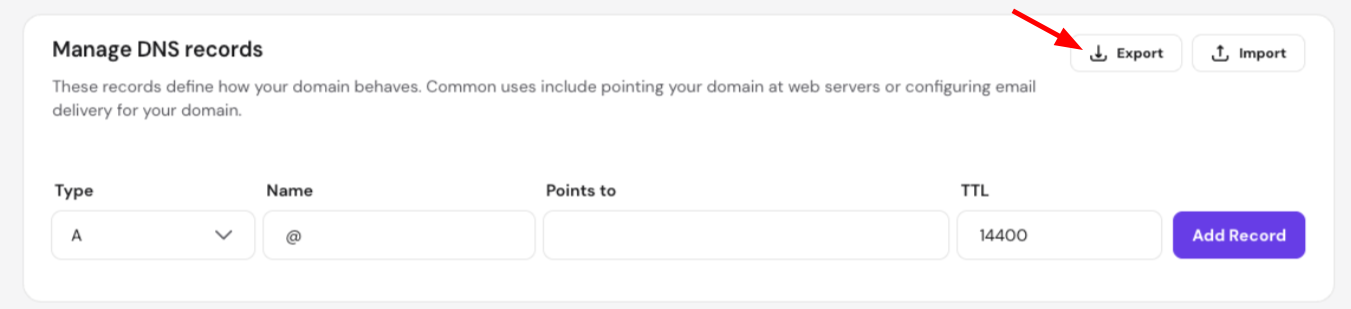
This is useful for creating a portable backup of your DNS zone before making bulk changes.
How to Import DNS Records
- Go to hPanel → Domains.
- Click Manage next to your domain.
- Open DNS / Nameservers from the left sidebar.
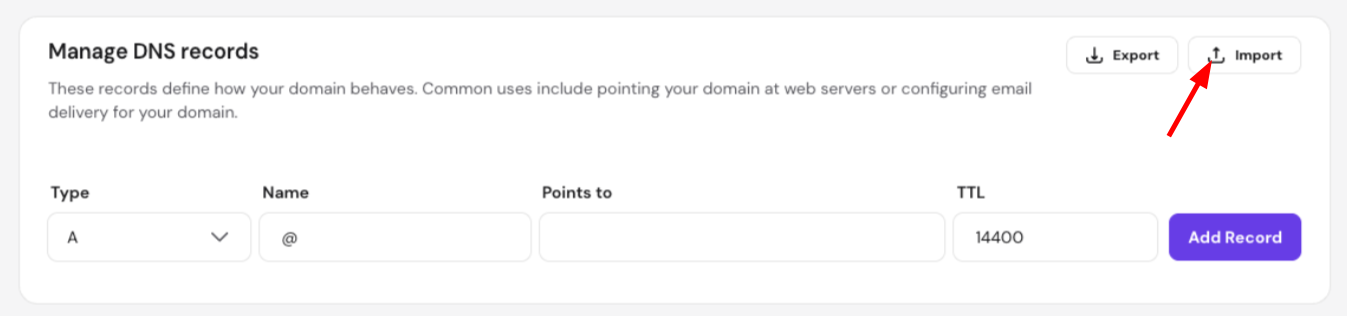
- Click the Import option

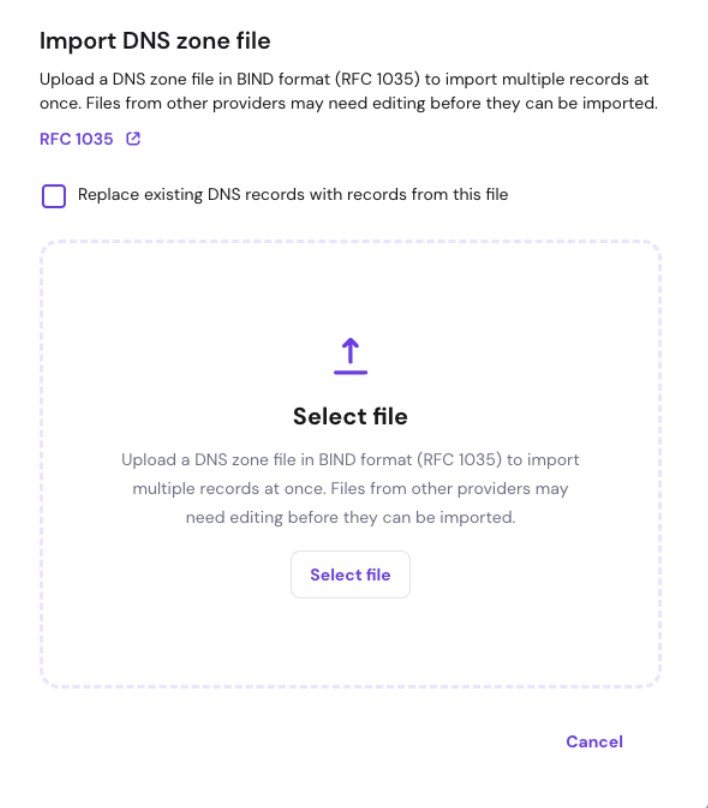
- Upload your BIND zone file (
.txt, RFC 1035 format).

- Choose your import mode:
- Append — imported records are added alongside existing ones
- Replace — all existing DNS records are removed and replaced with the imported ones
- Confirm the import.
Subdomains
You can now view and manage your subdomains directly from the DNS / Nameservers page of your main domain. A dedicated Subdomains section is displayed on this page, listing all subdomains associated with the domain.
The DNS view adapts based on how each subdomain was set up:
• Subdomains added as separate websites — these have their own dedicated DNS management section, separate from the main domain’s DNS records.
• Regular subdomains or subdomains created via a domain’s DNS — these are managed under the main domain’s DNS records.
If your main domain has hosting connected, a Create subdomain button is also shown at the top of the Subdomains section for quick access to creating a new subdomain.