Inside Hostinger Reach, you are able to edit the content inside your email campaign template, and upload the images you desire from either your local device, free images online from Unsplash, or even use direct image URL links.
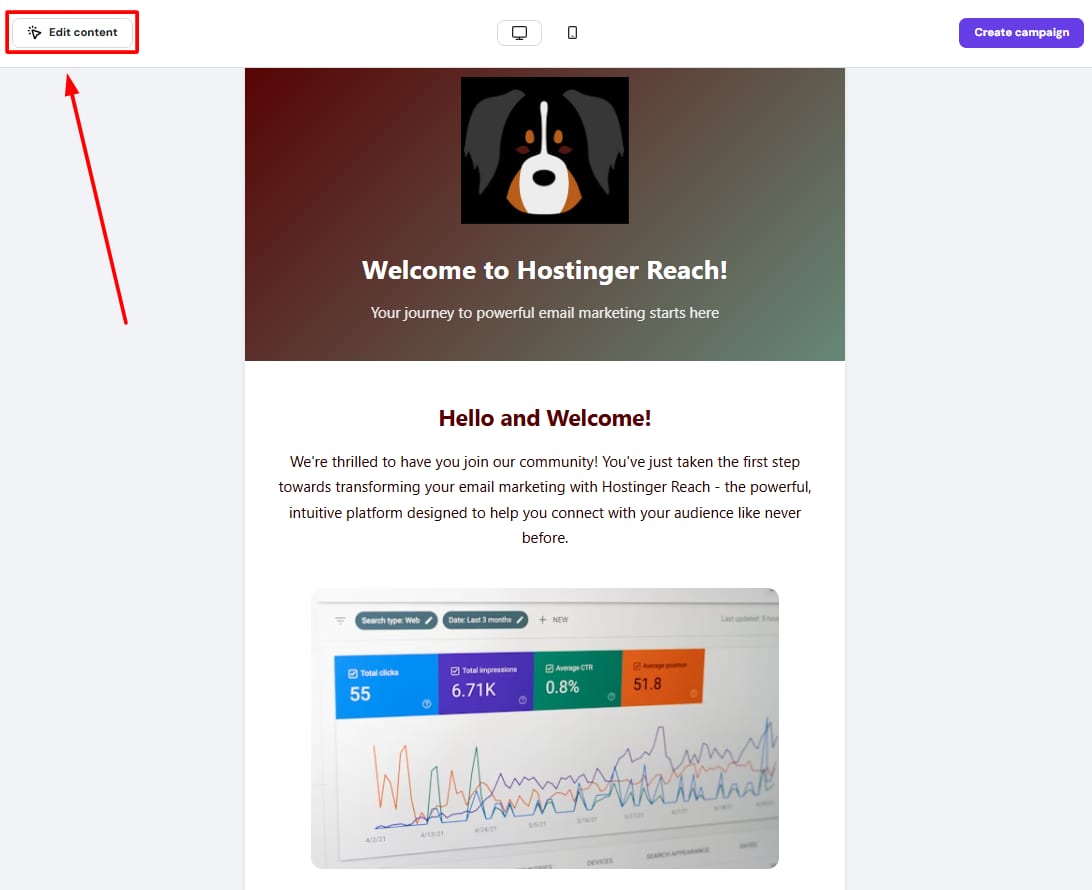
To upload images, access your email campaign template, and click on Edit Content inside the preview screen:
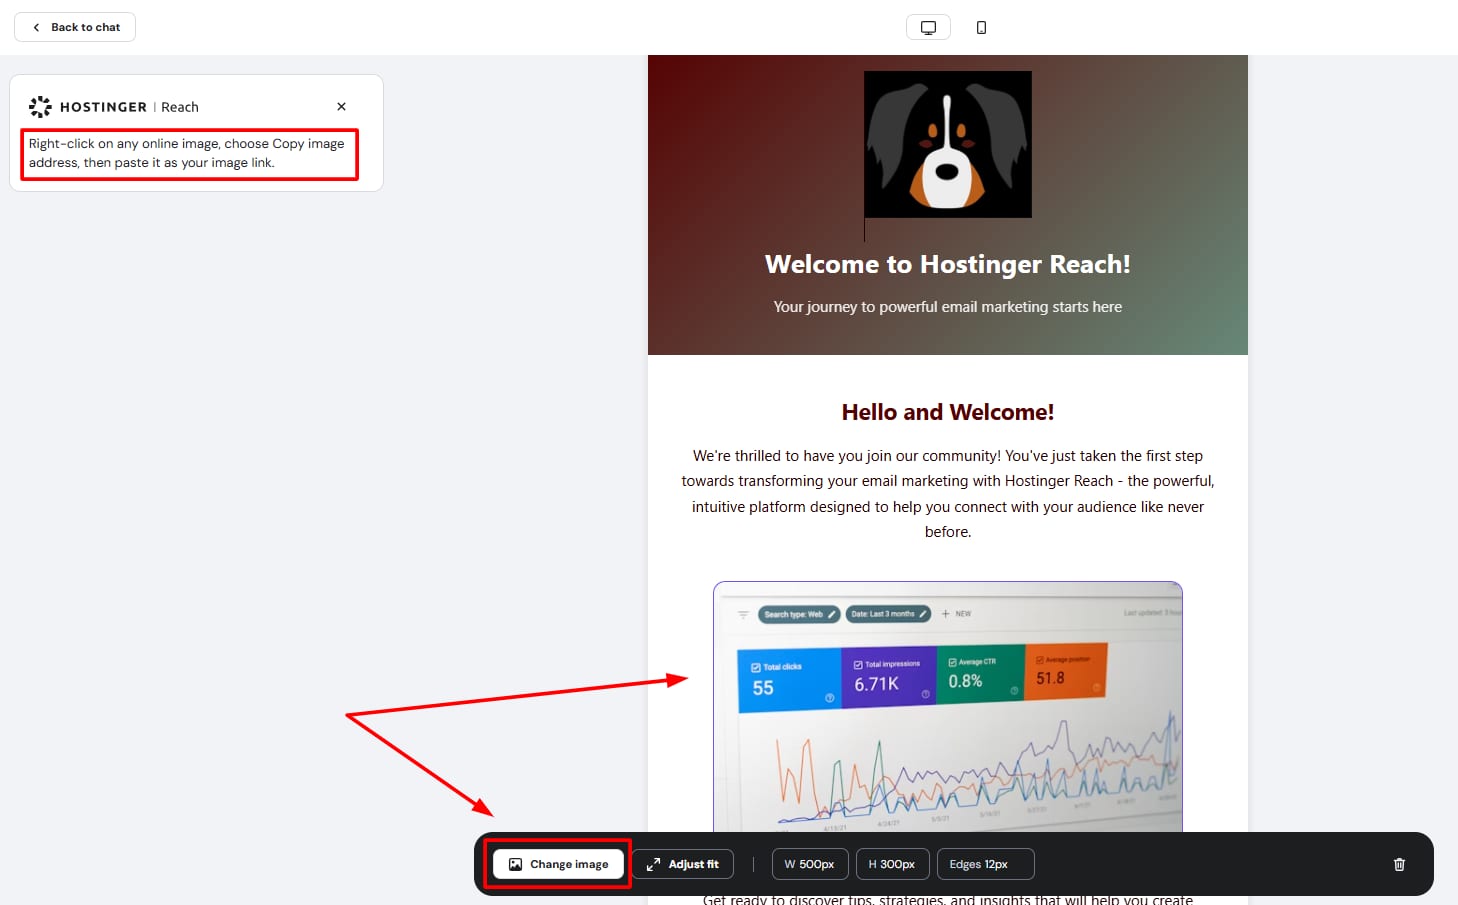
After that, you will right-click the specific image you would like to edit and click on Change image:
Now, you will be able to follow one of the three ways to upload images inside Hostinger Reach tool.
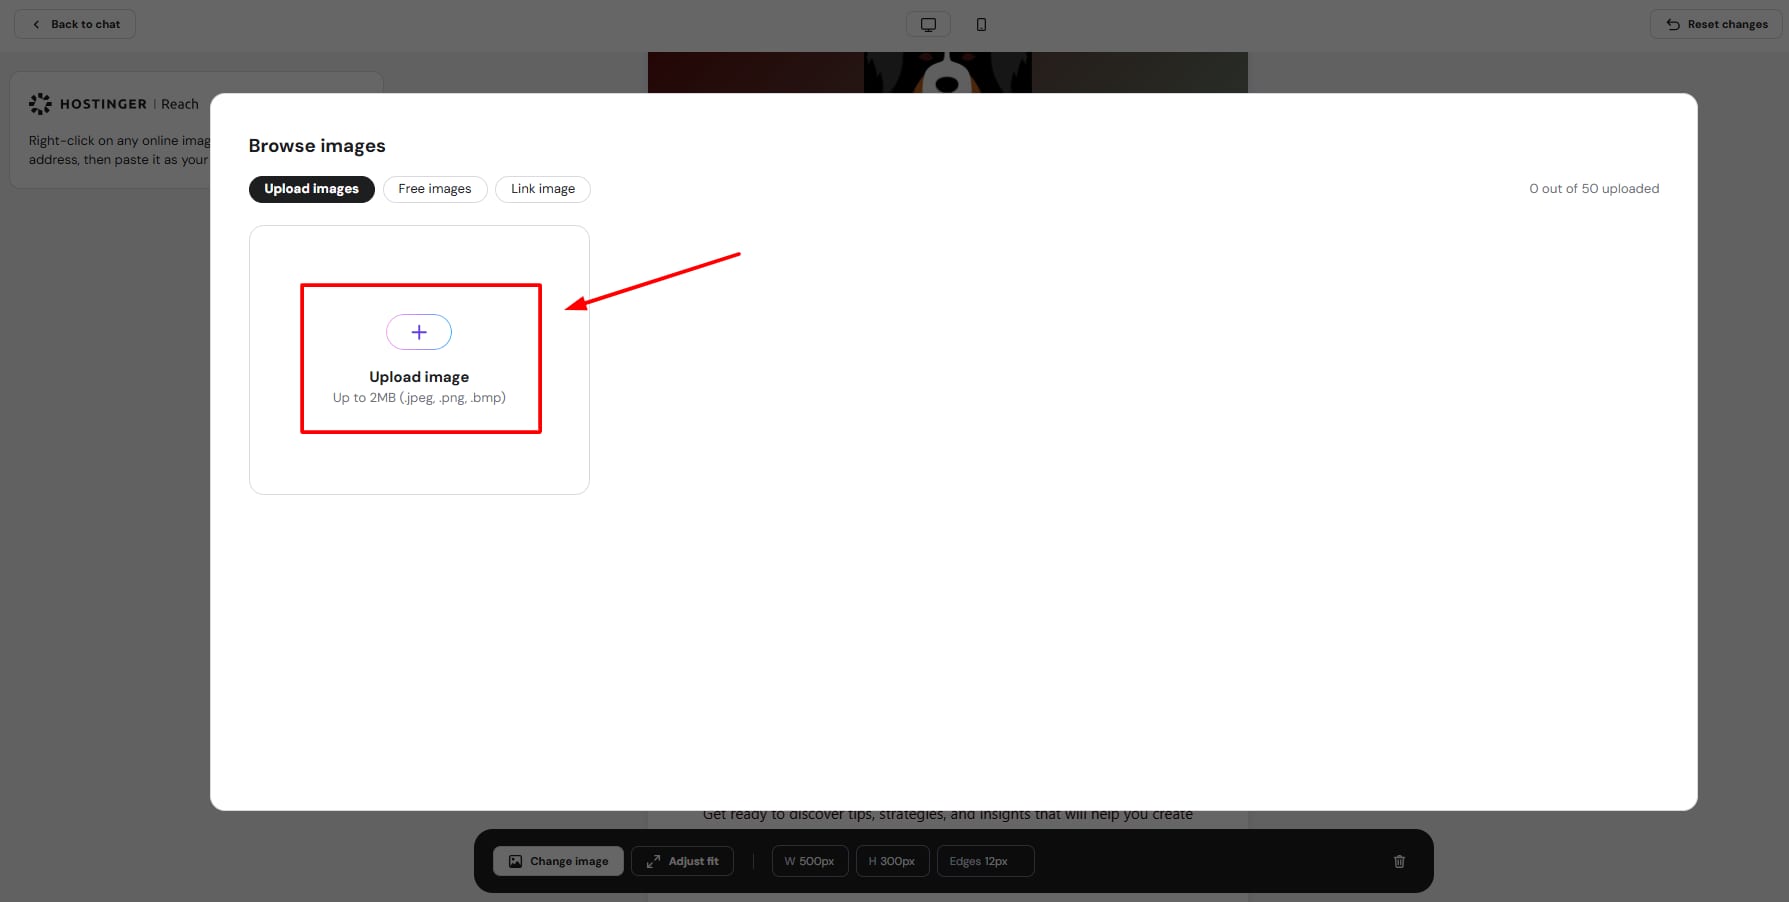
1. Upload image from local device
In this case, you can simply click on the “+” symbol, as in the image below:
2. Upload a free image from Unsplash
To use one of the professional free images from Unsplash, you would need to search for the specific keyword and select the desired image result, as shown below:

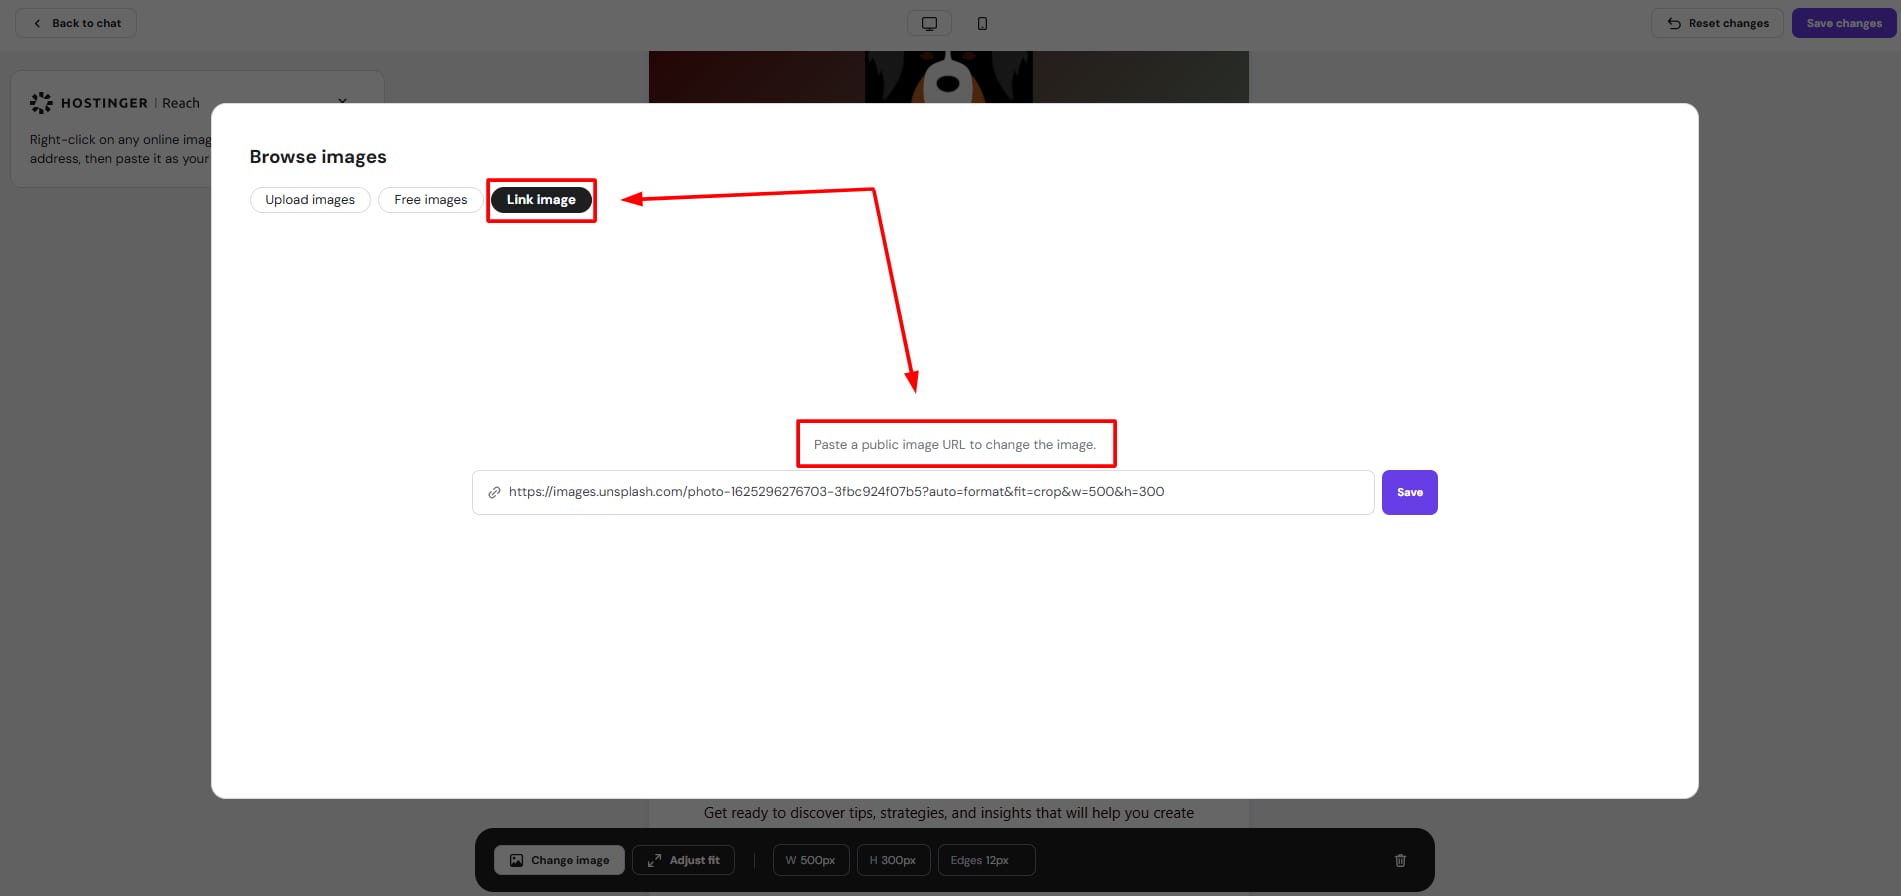
3. Upload a direct image URL from the web
To achieve this, you would need to copy the image URL from the live web by using the left-click, and then paste the copied URL into the field below:
And that’s it 🚀 If you would like to know more details about editing your email template content, you can find them here.