If your goal is to sell products from your online store, we strongly recommend setting up a Google Merchant Center account before creating a Performance Max campaign in the Google Ads App to ensure you are getting the most out of your campaign.
Please take a look at this article for instructions on setting up a Merchant Center account and linking your products to PMax. Below you find the sections of it:
Creating a Google Merchant Center account
Create a Google Merchant Center account. If you already have one, you can skip this step and move to the second iteration.
-
Open Google Merchant Center and select “Start now”:
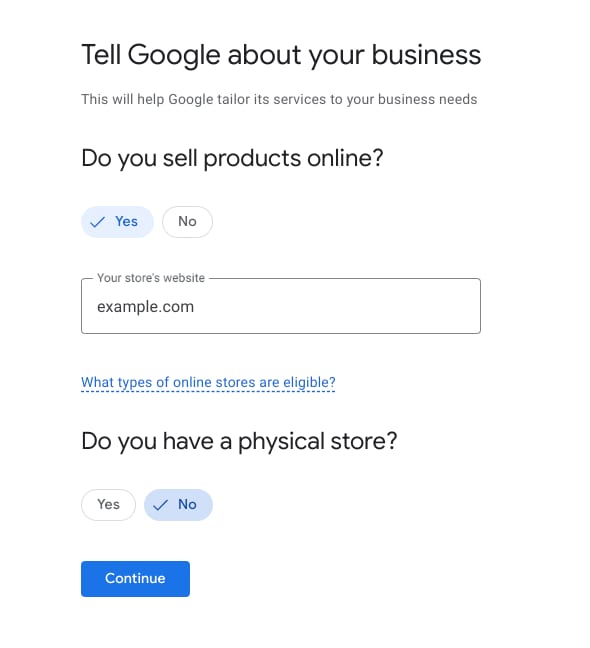
2. Fill required details and select: “Continue”:
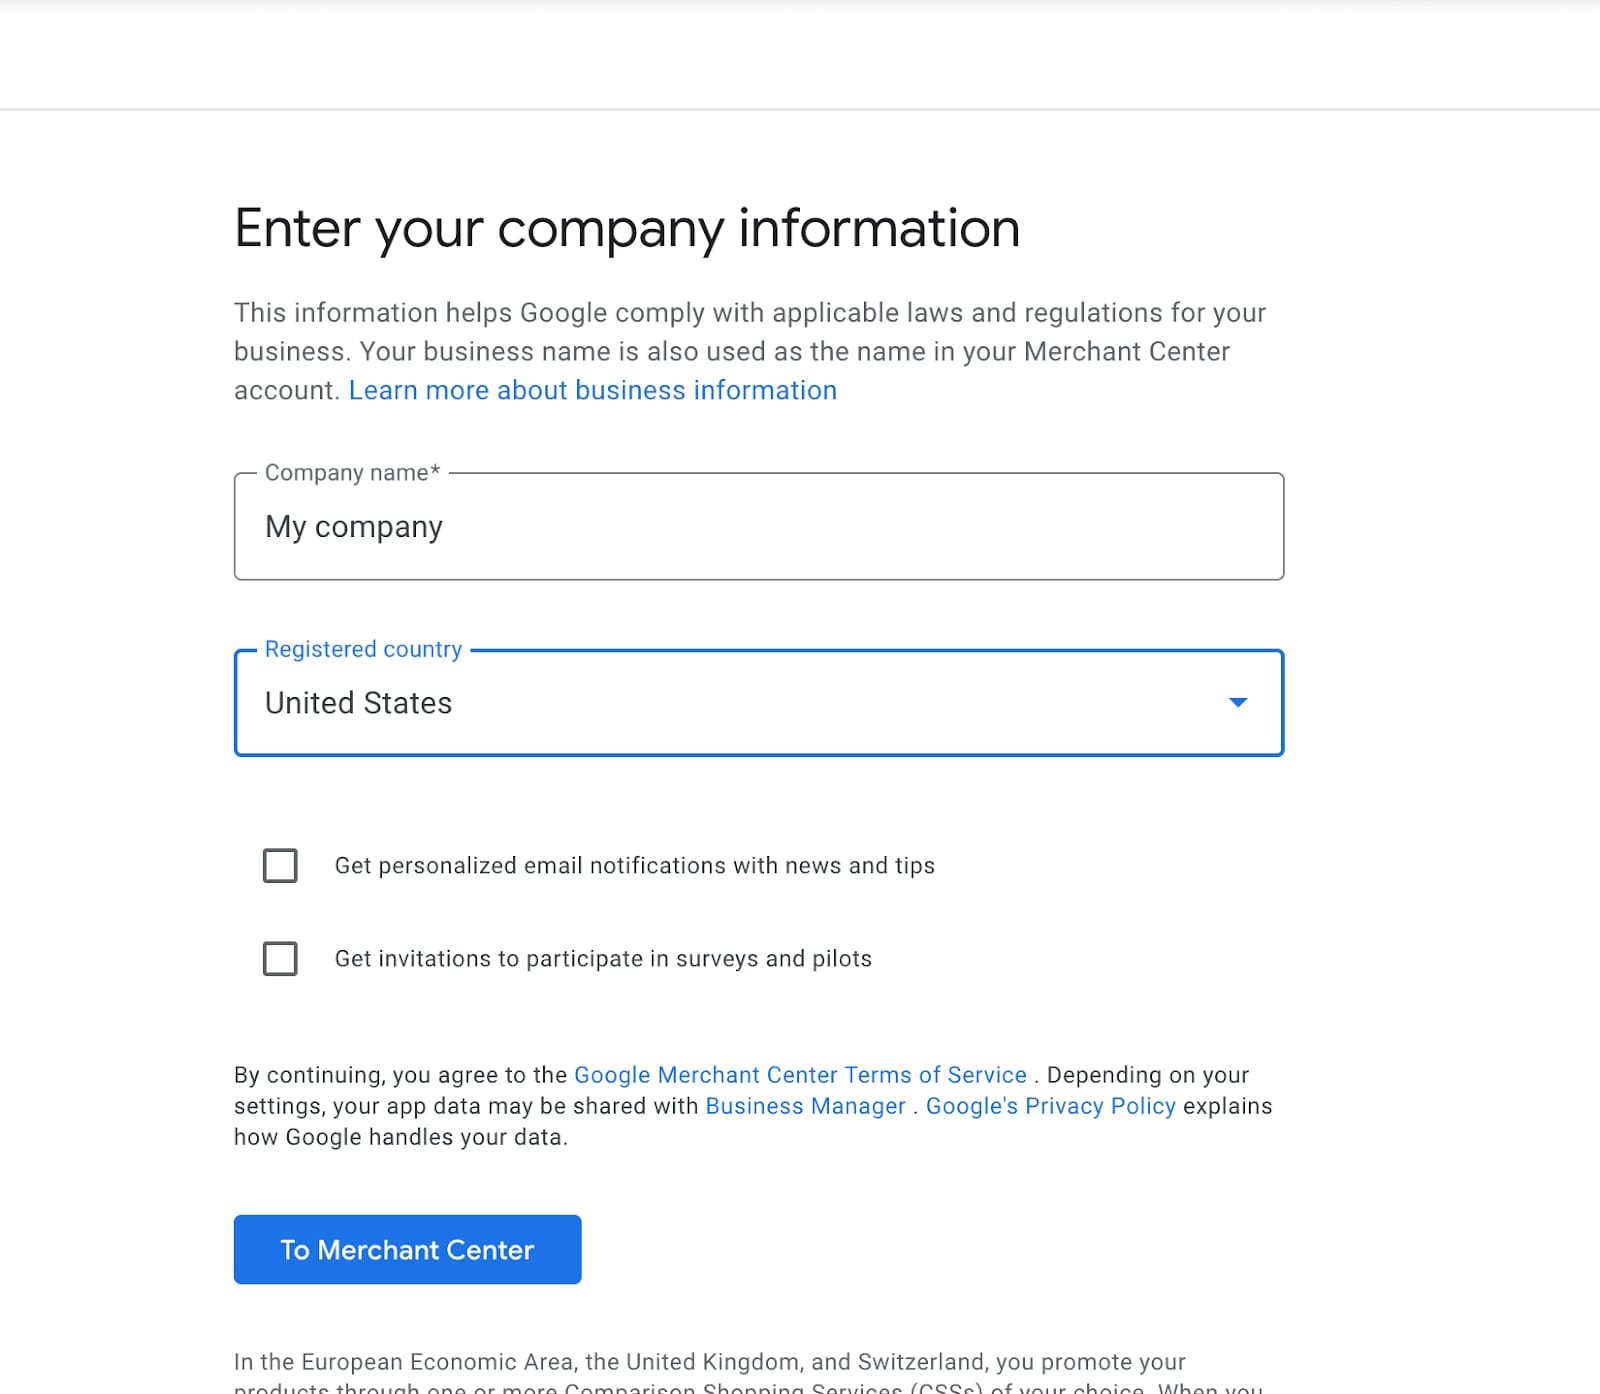
3. Add your company details:
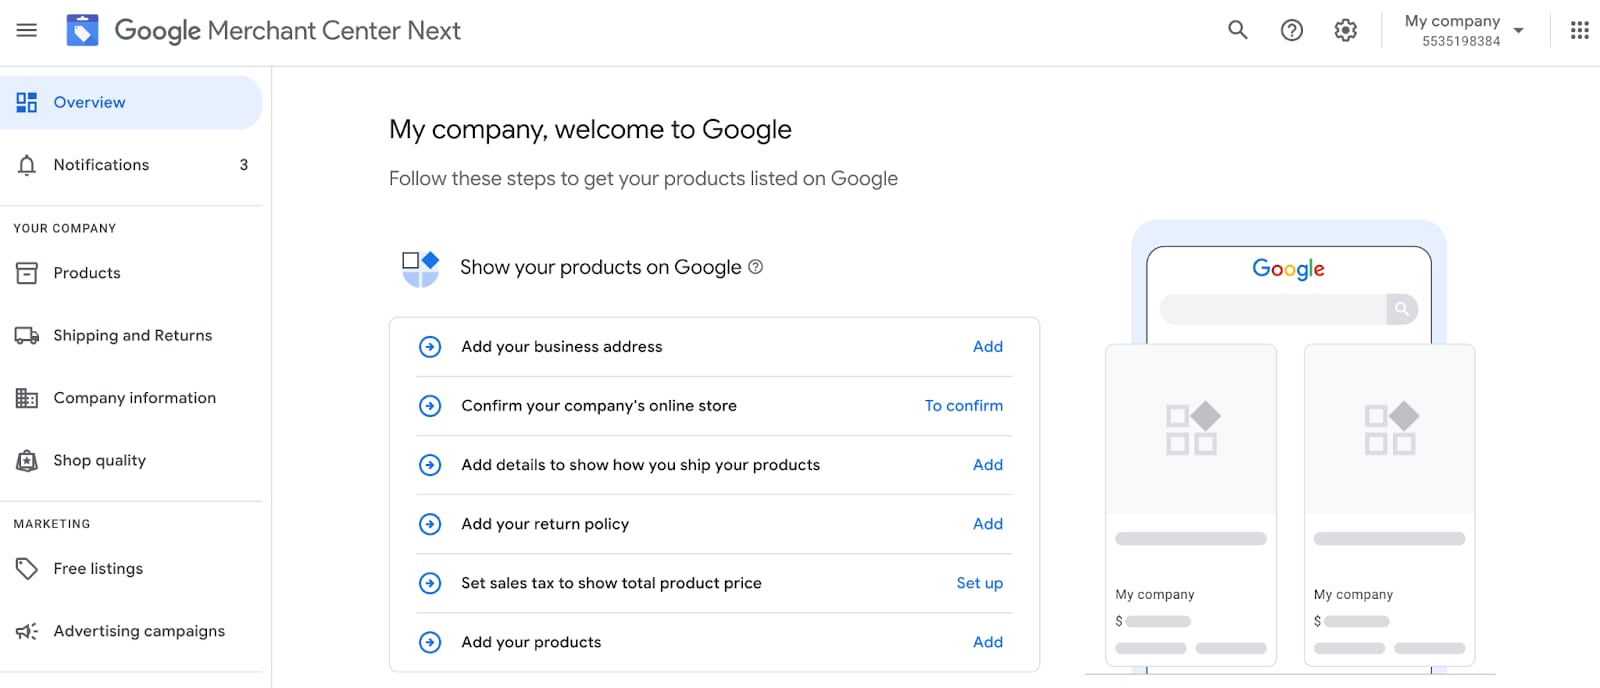
4. Fill out details about your business. Make sure you add all details as it will ensure that your products are properly listed on Google:
Set up Google Ads App
-
Log in to your Hostinger account and select the website you want to promote.
-
On the left side menu, select “More settings” and choose “Integrations”:
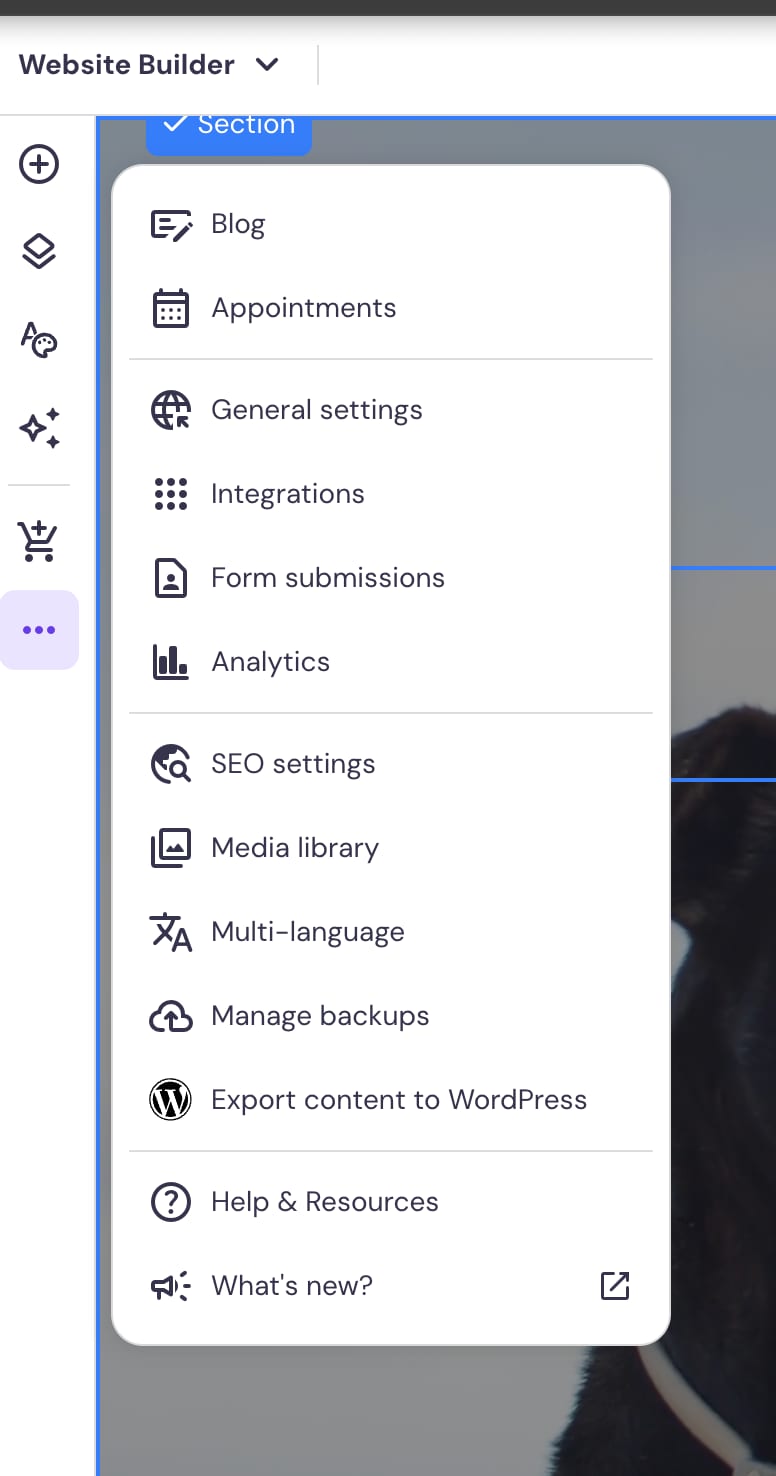
3. From “Integrations” section select “Google Ads App” and click “Open”:

4. You will be redirected to the Google login page where you can select your Google account you’d like to connect with Google Ads App or create a new one.
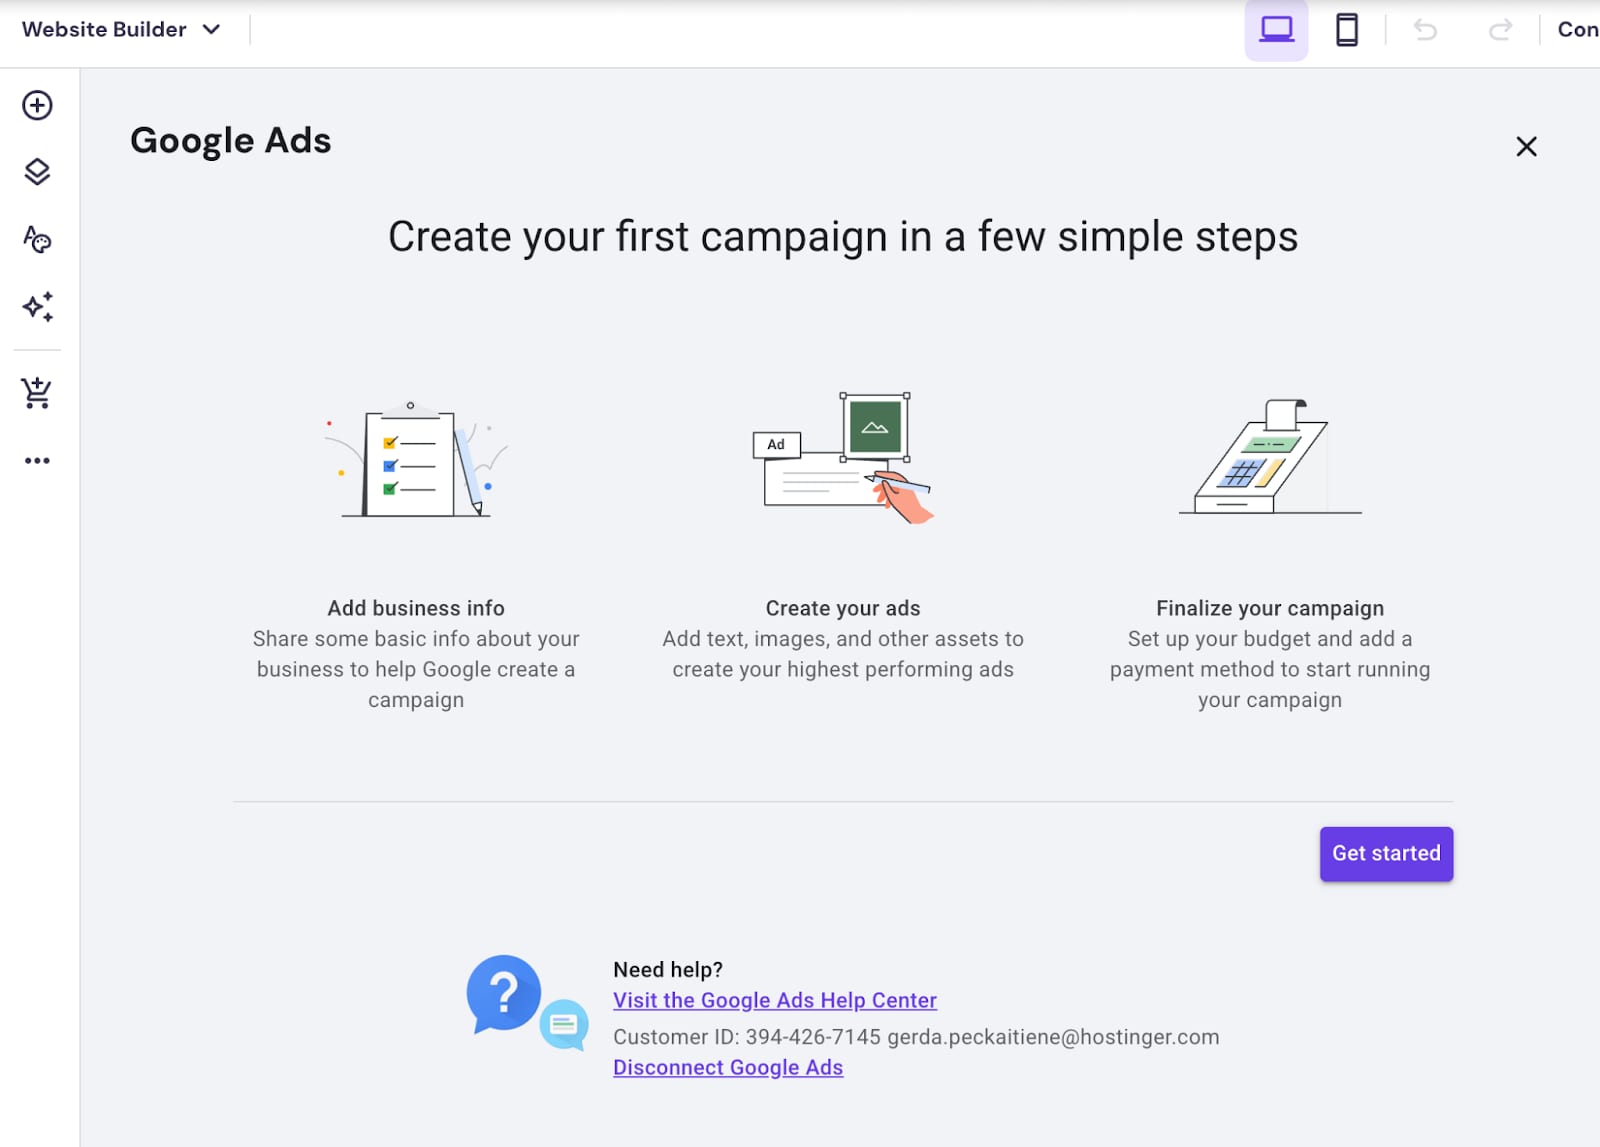
5. Once the account is selected, you will be redirected back to Google Ads app set up. Choose “Get started”:
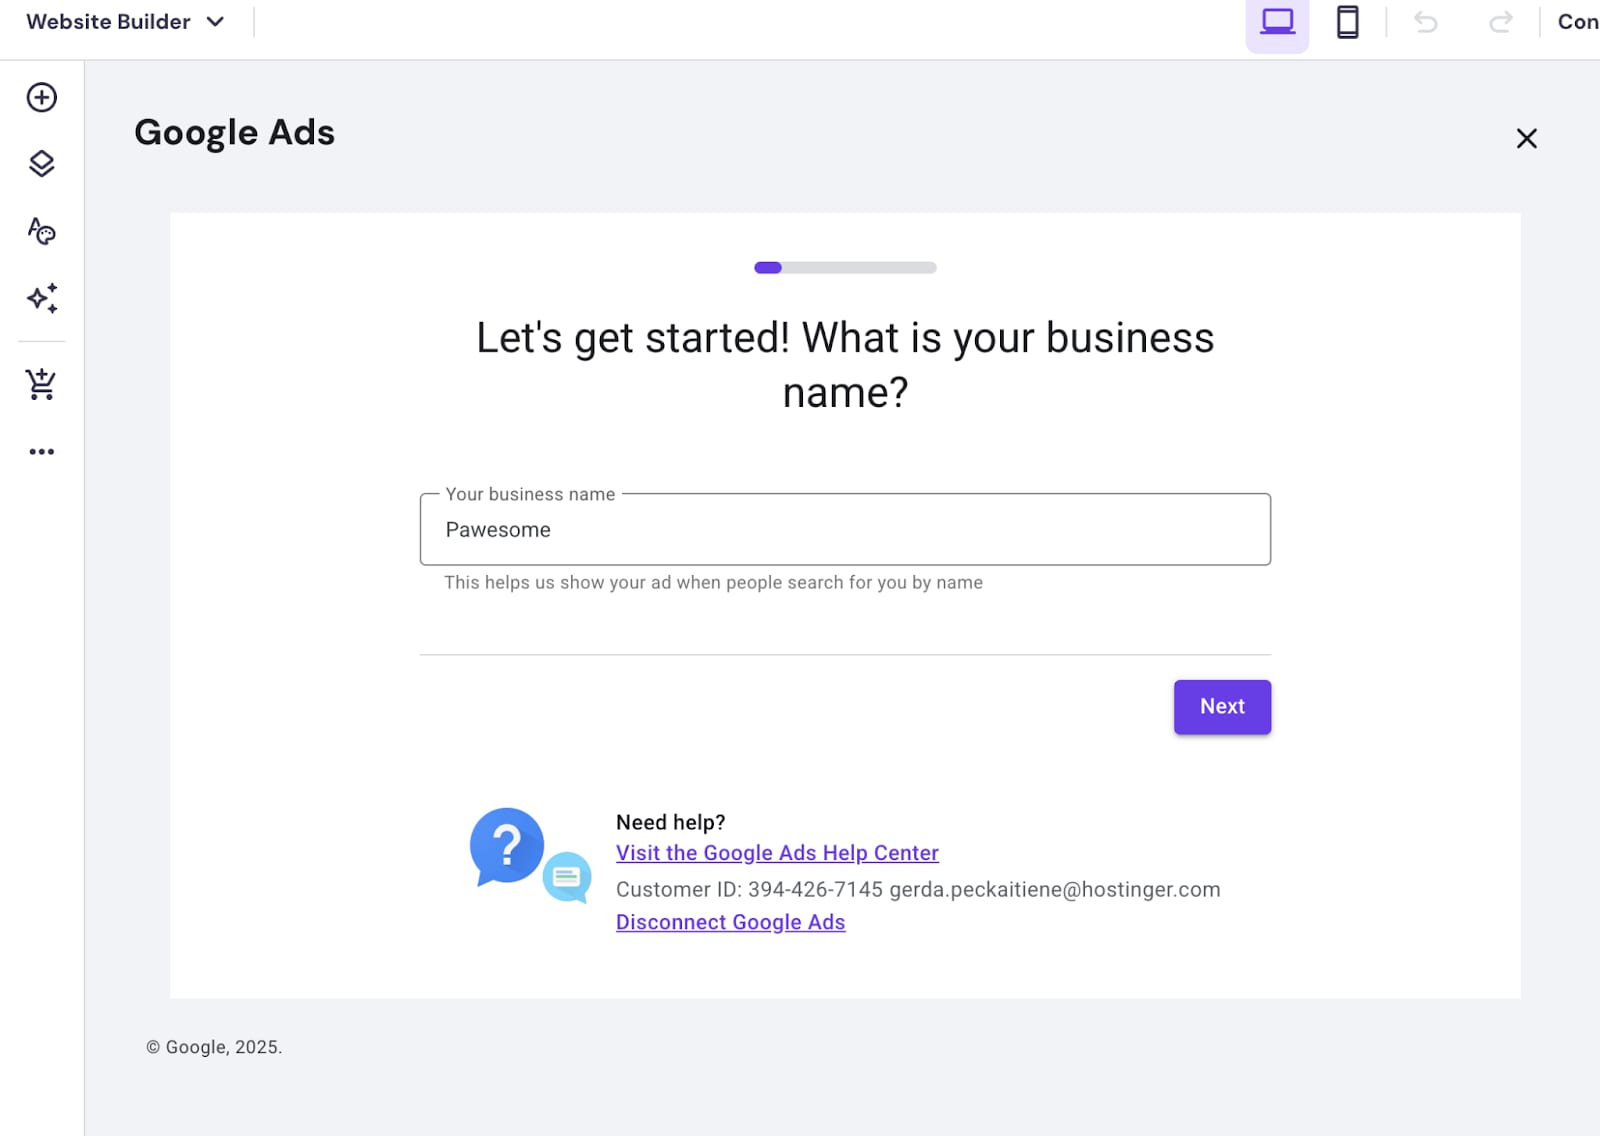
6. In the next step you will be asked to provide your brand or business name. Add one and press “Next”:
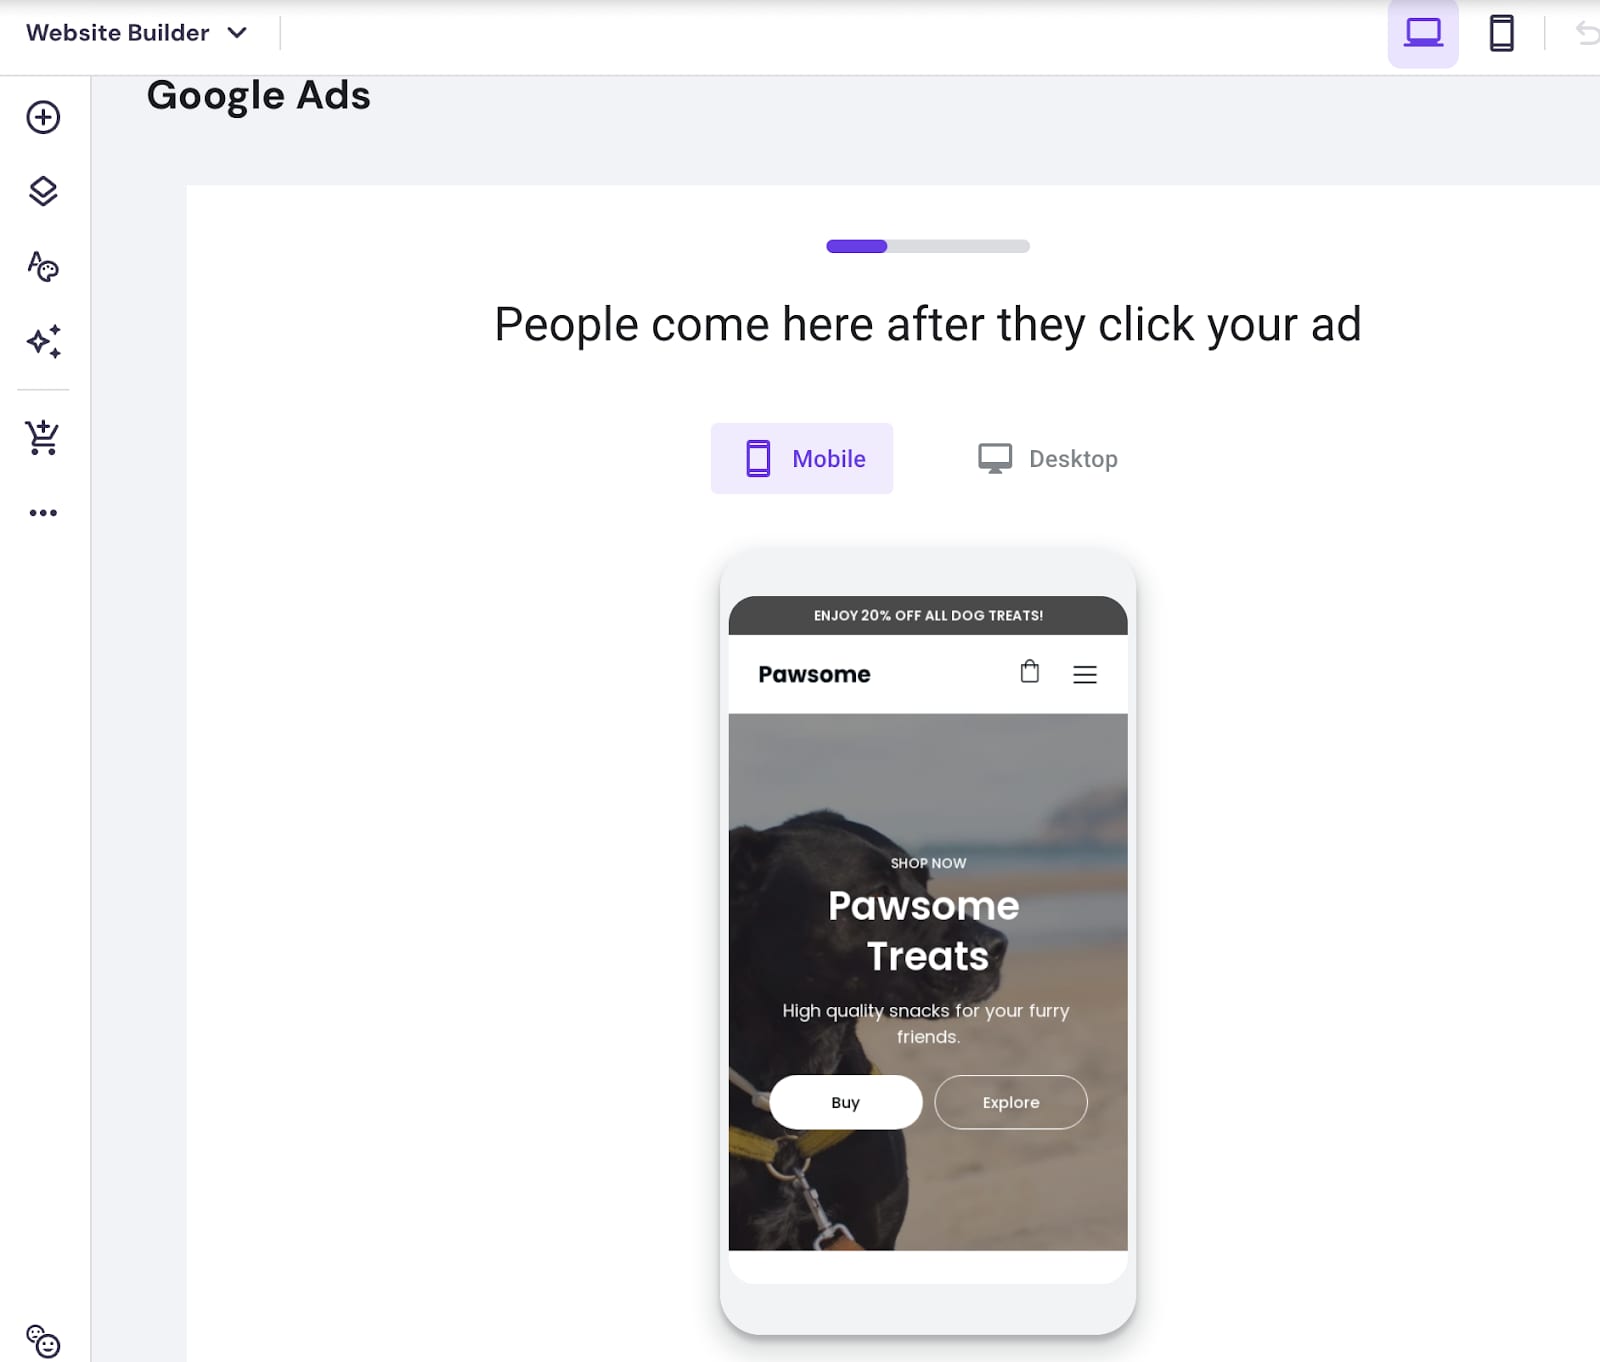
7. Confirm the landing page of your website – this is where customers will be redirected to after they will click on the ad:
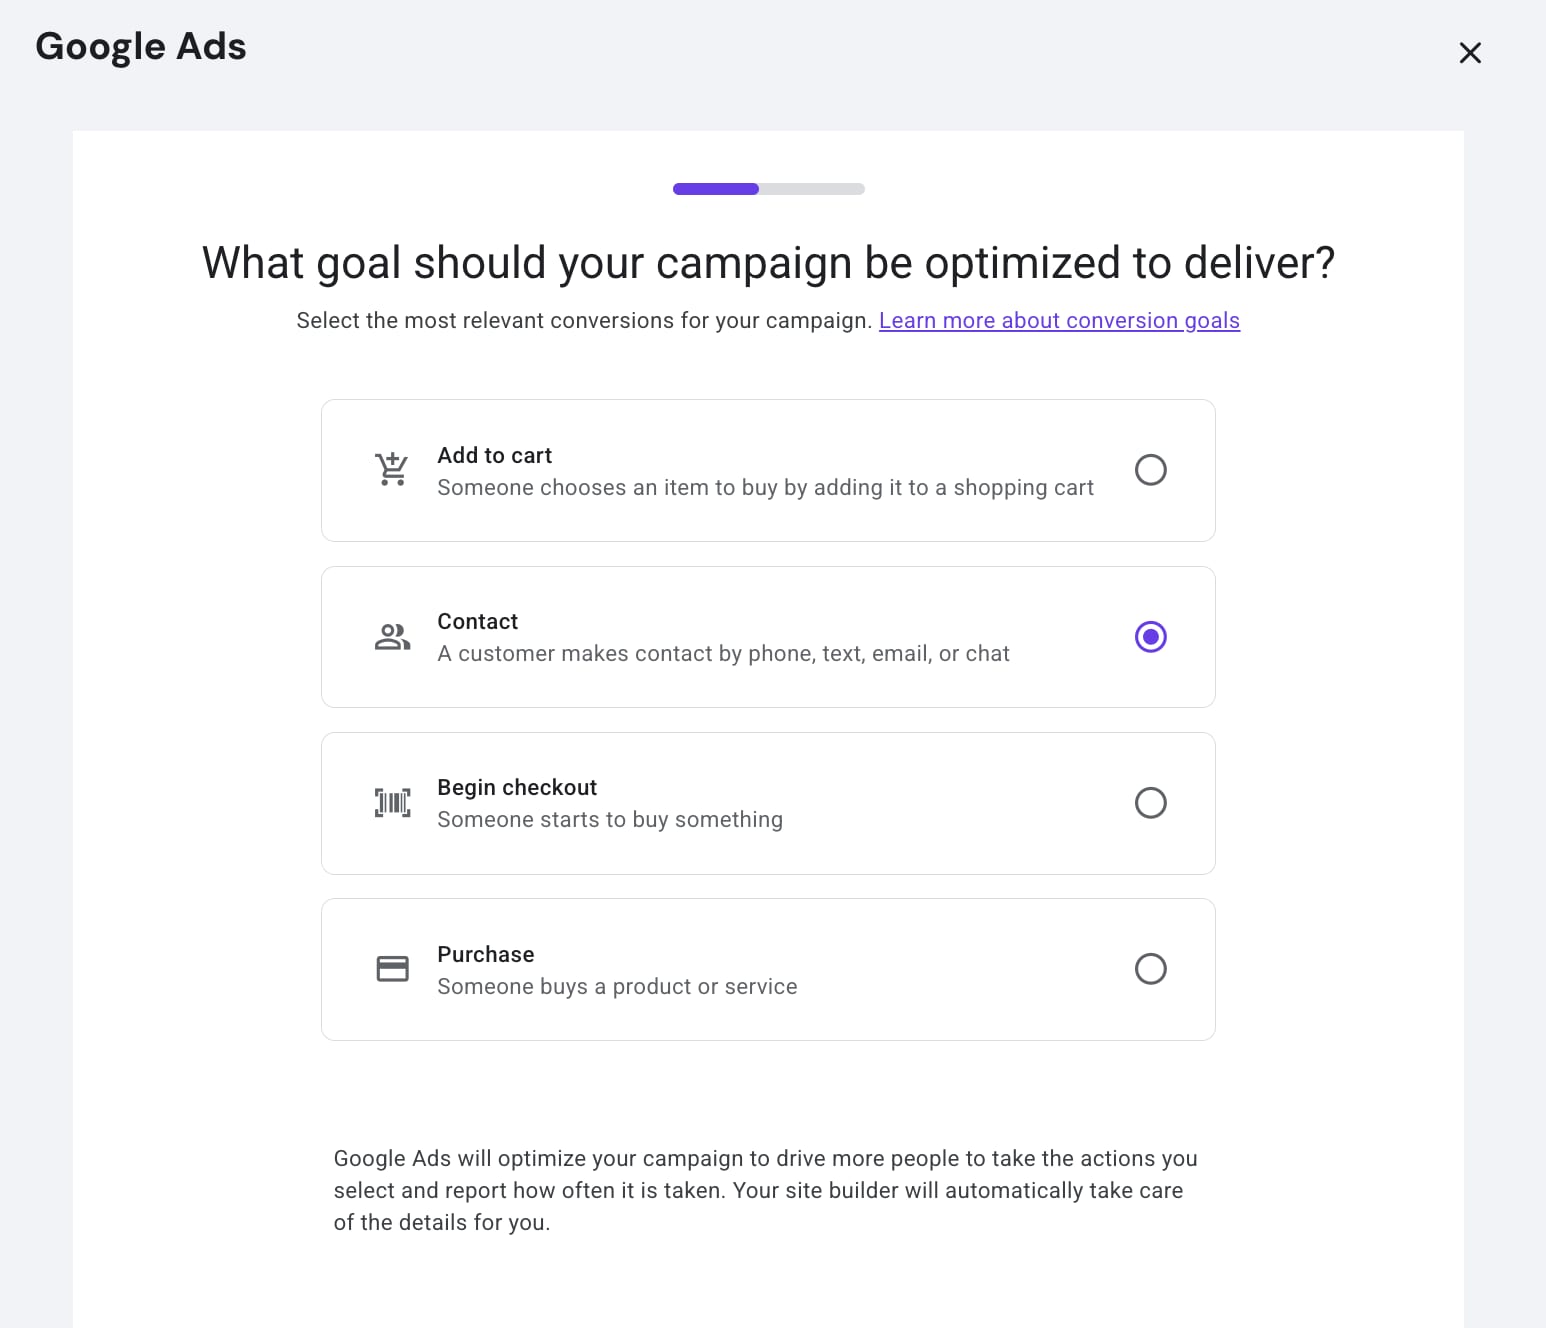
8. Select your campaign goals. More details on how to correctly set goals can be found here:
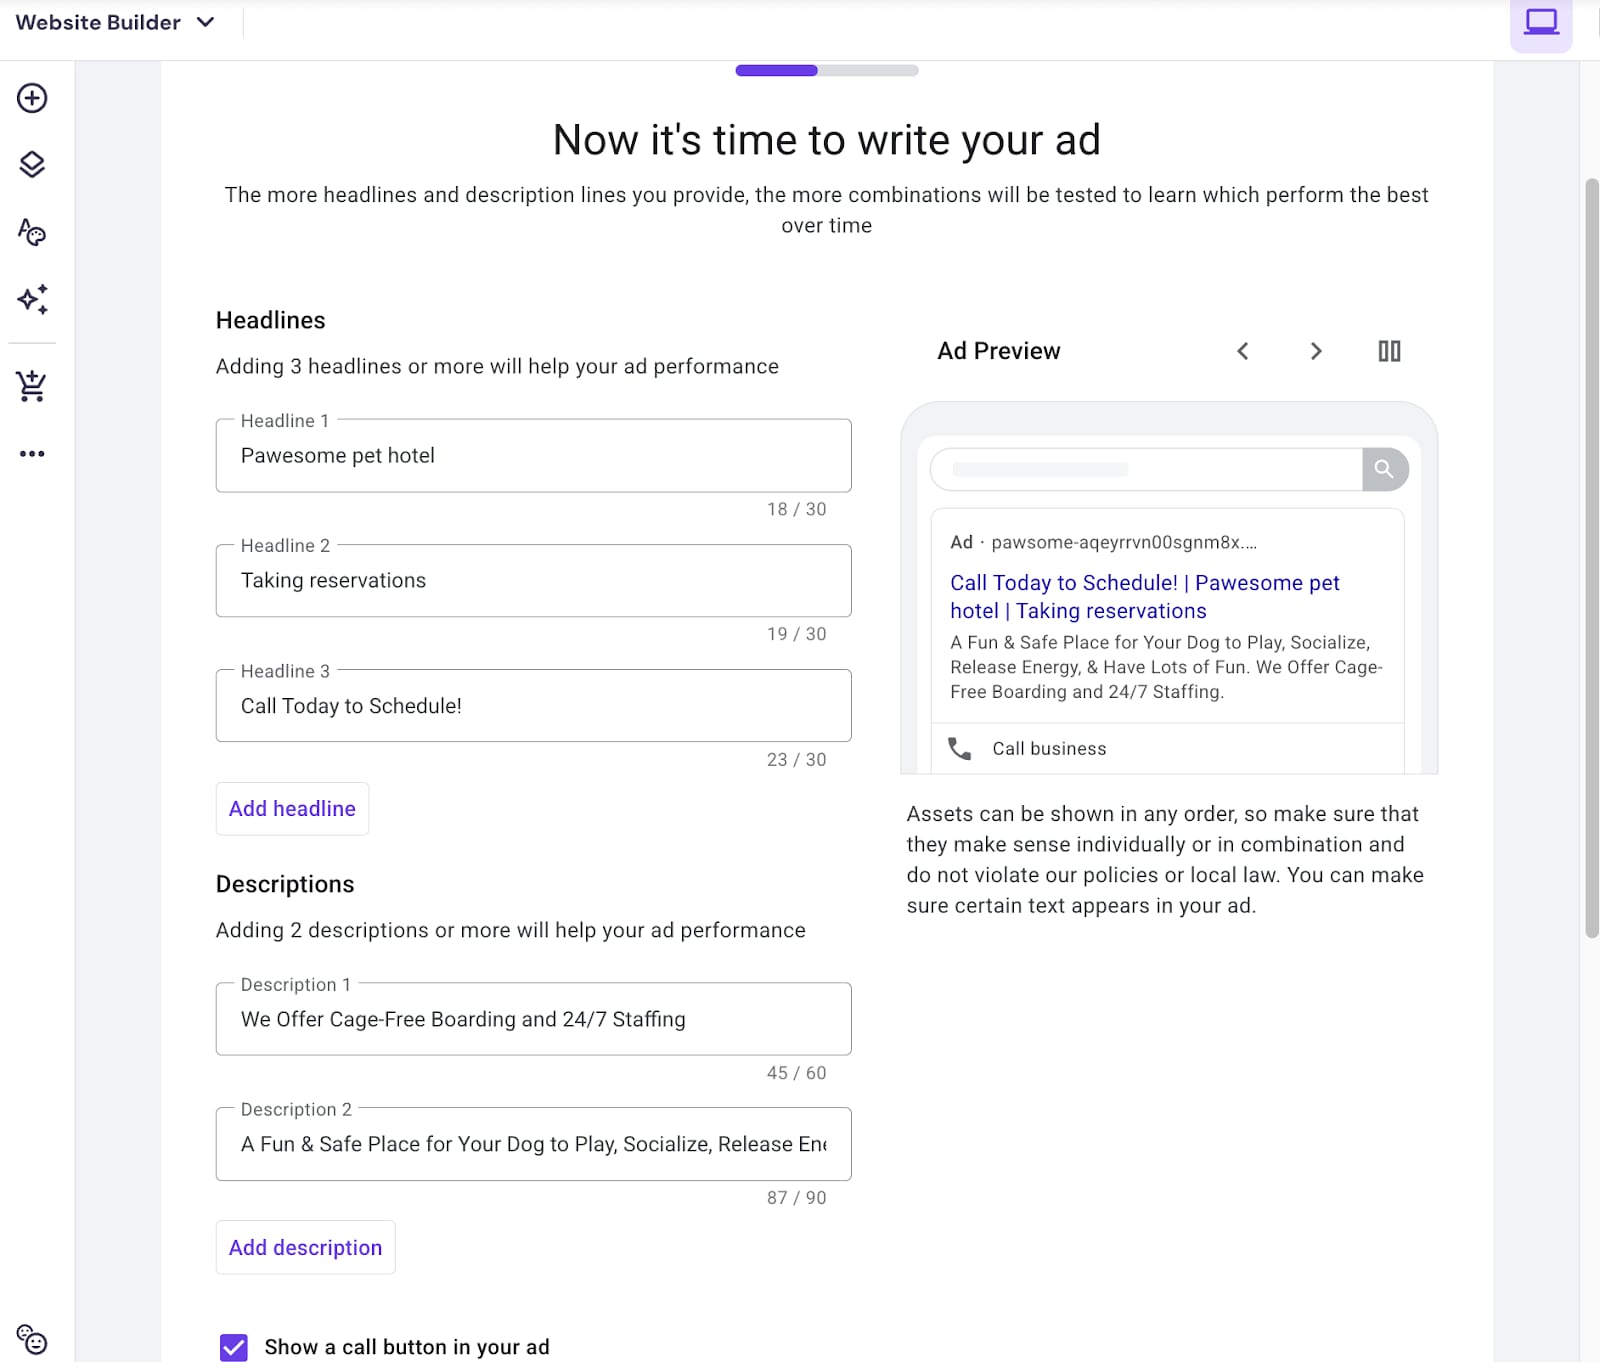
9. Add details about your add:
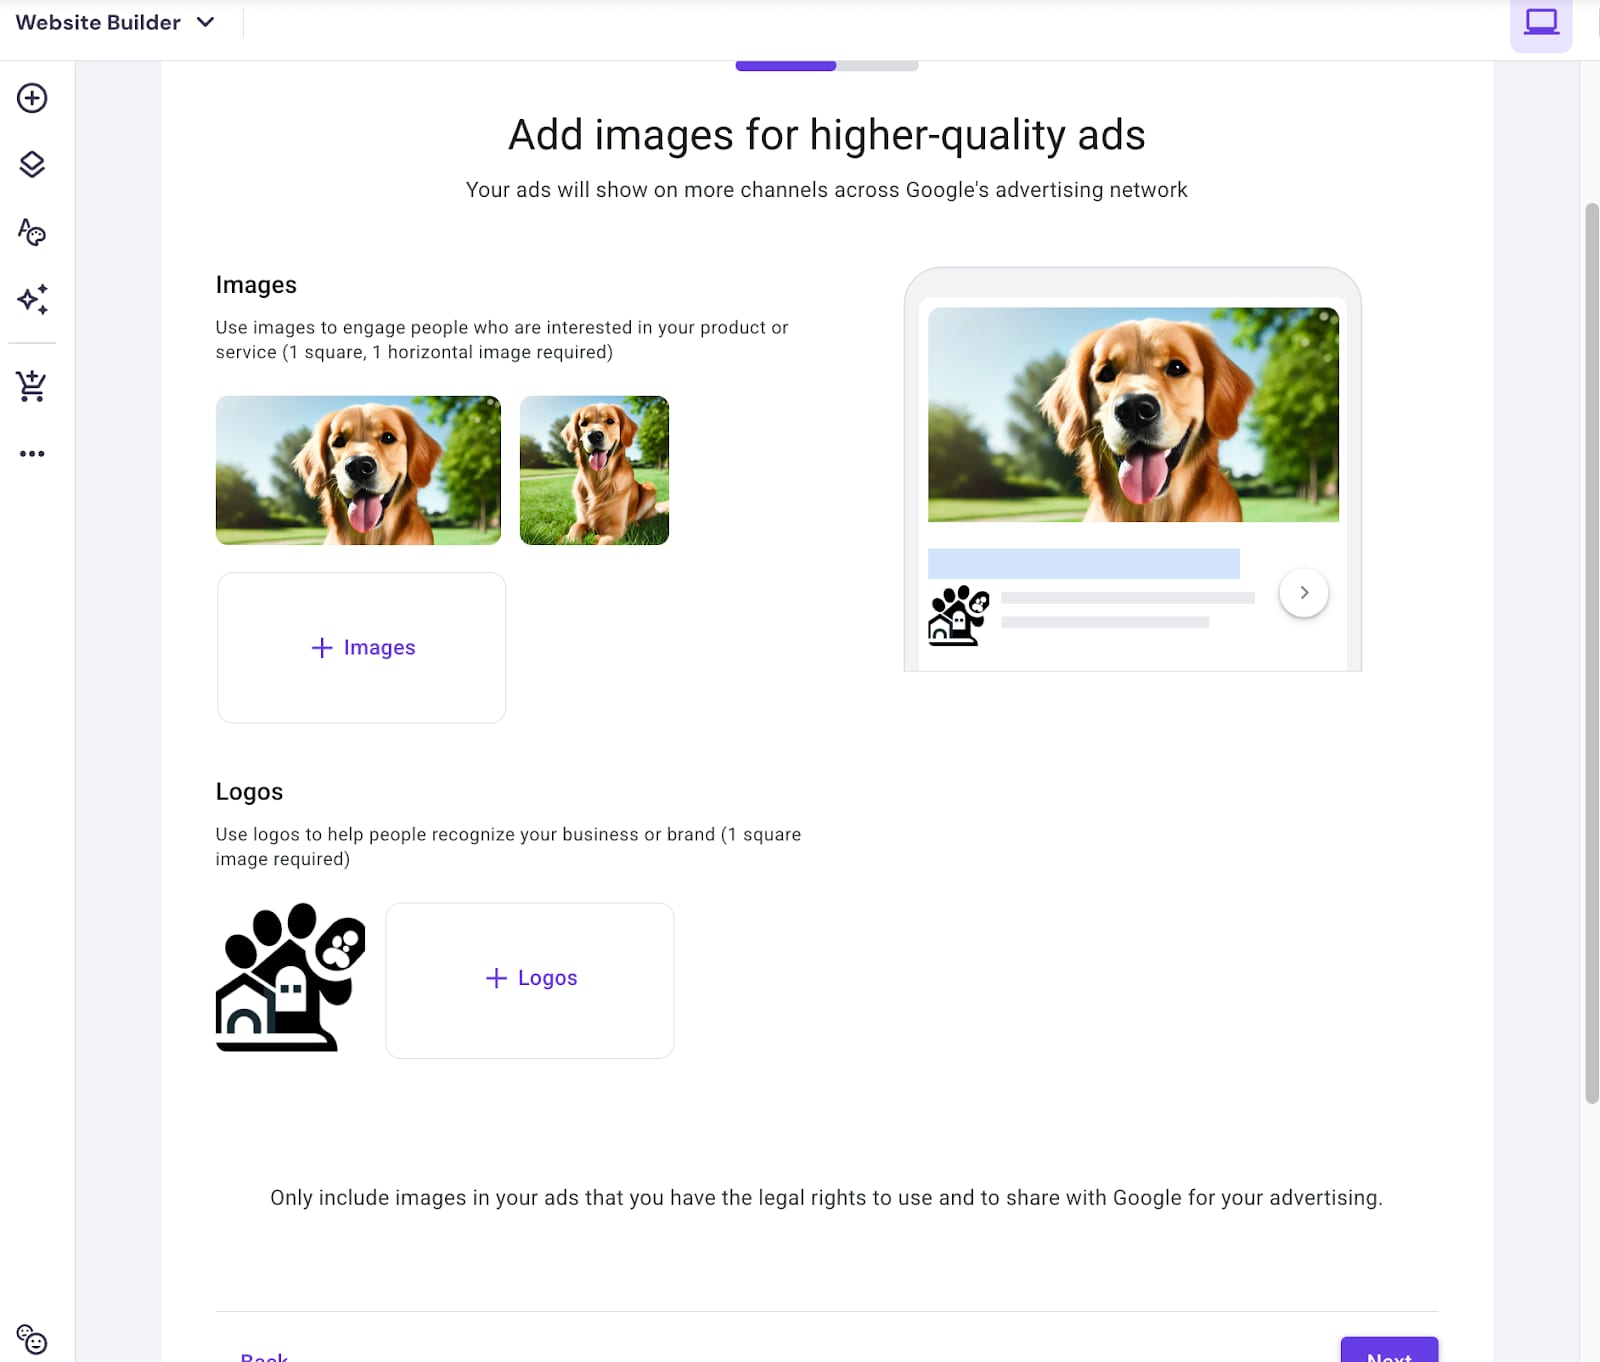
10. Make sure you add images and logo, representing your business. If you do not have your business logo, feel free to use Hostinger AI logo generator:
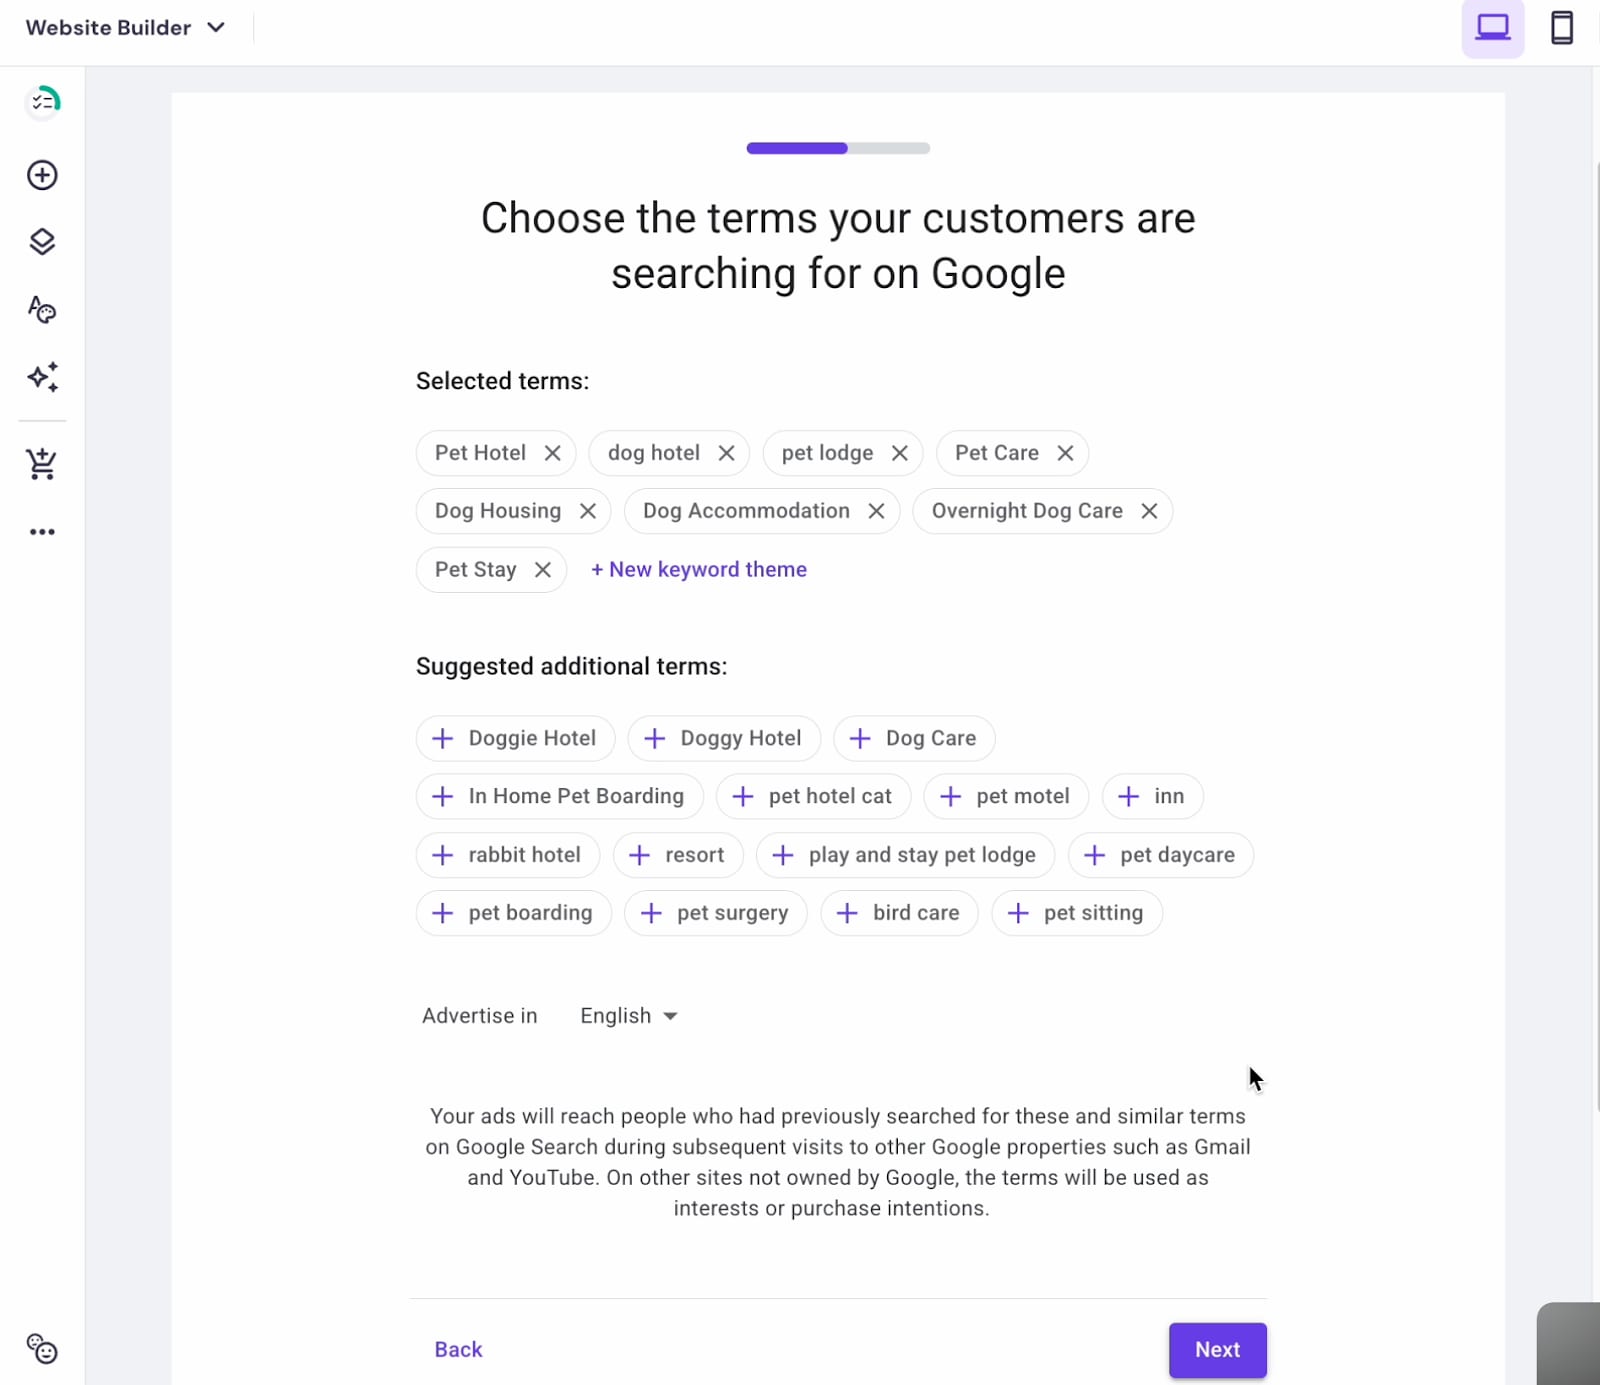
11. Select keywords that are relevant for your business or add new ones:
12. Select advertising location:

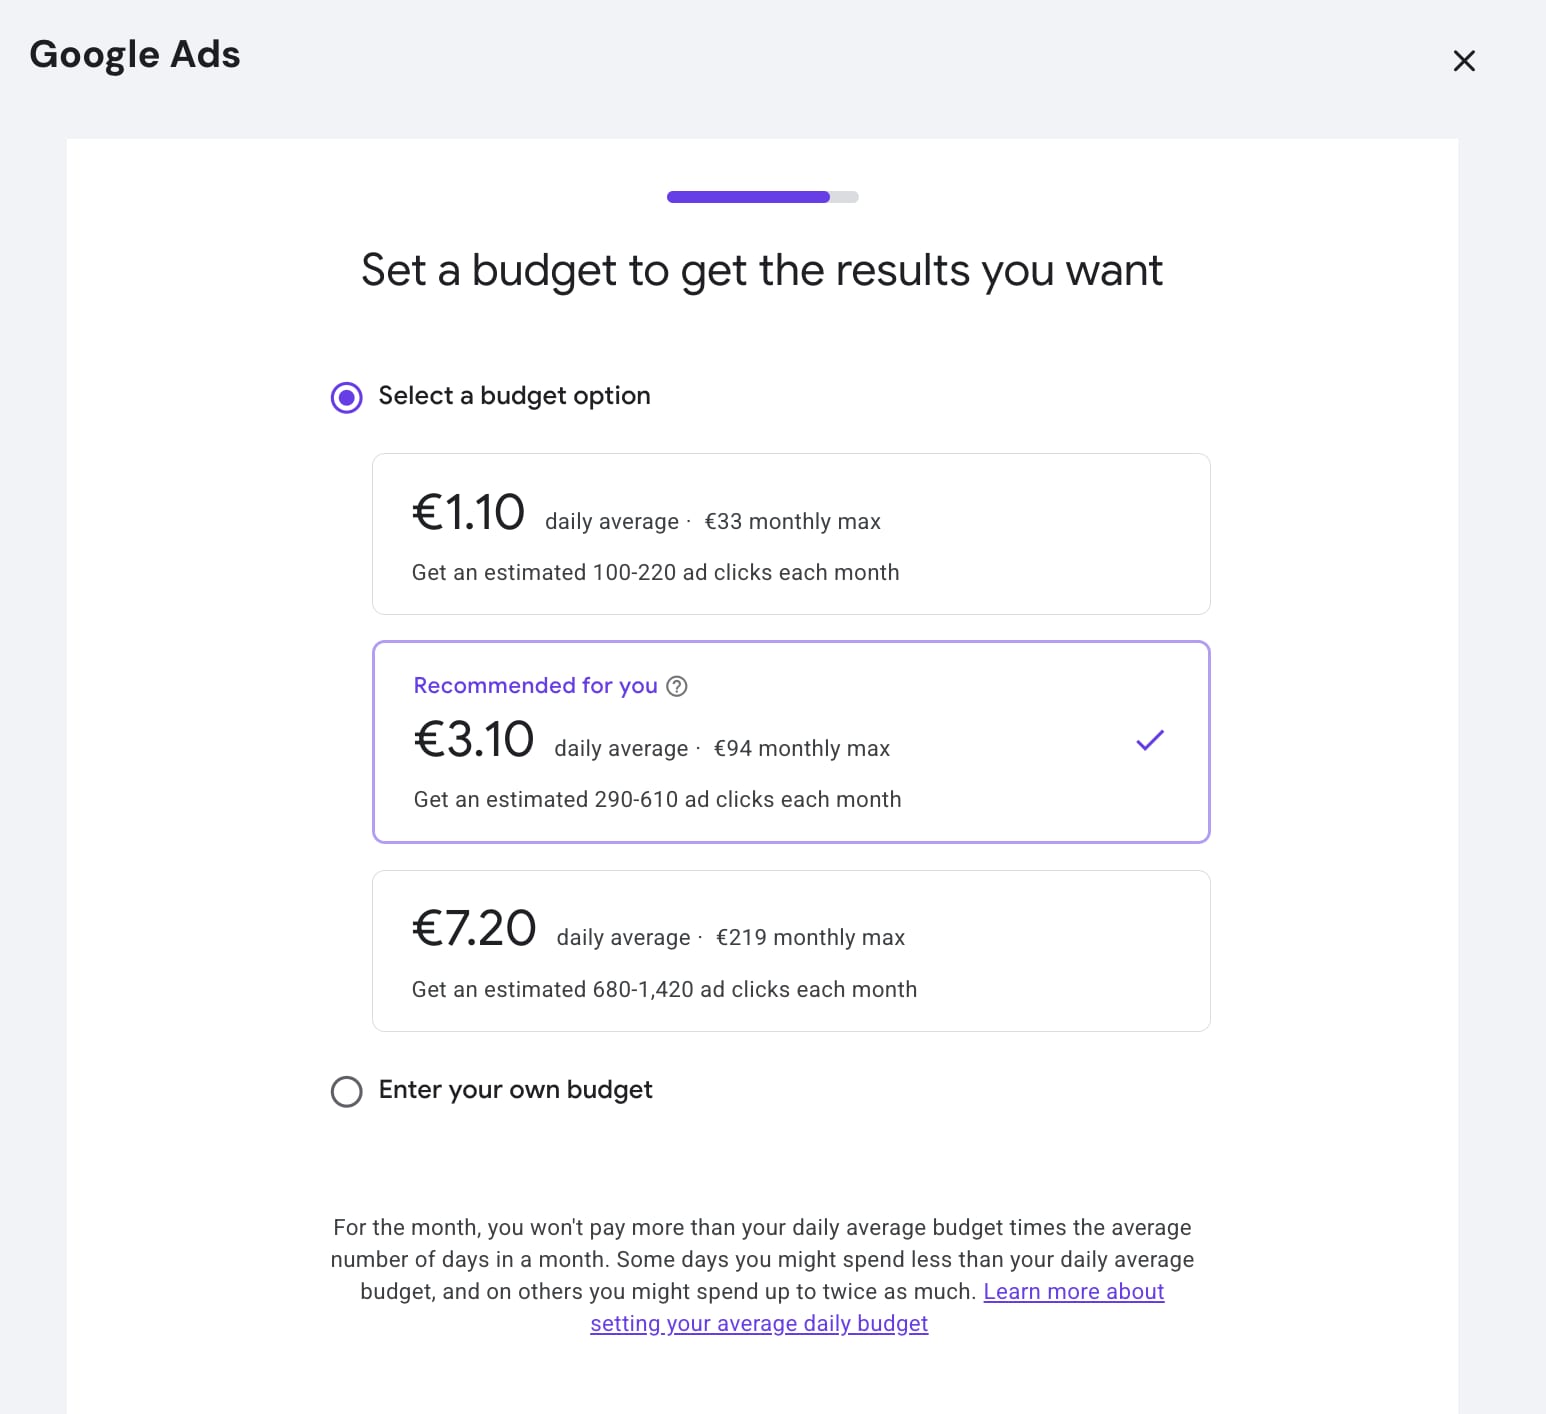
13. Set a budget to get the results you want by following recommendations or adding your own:
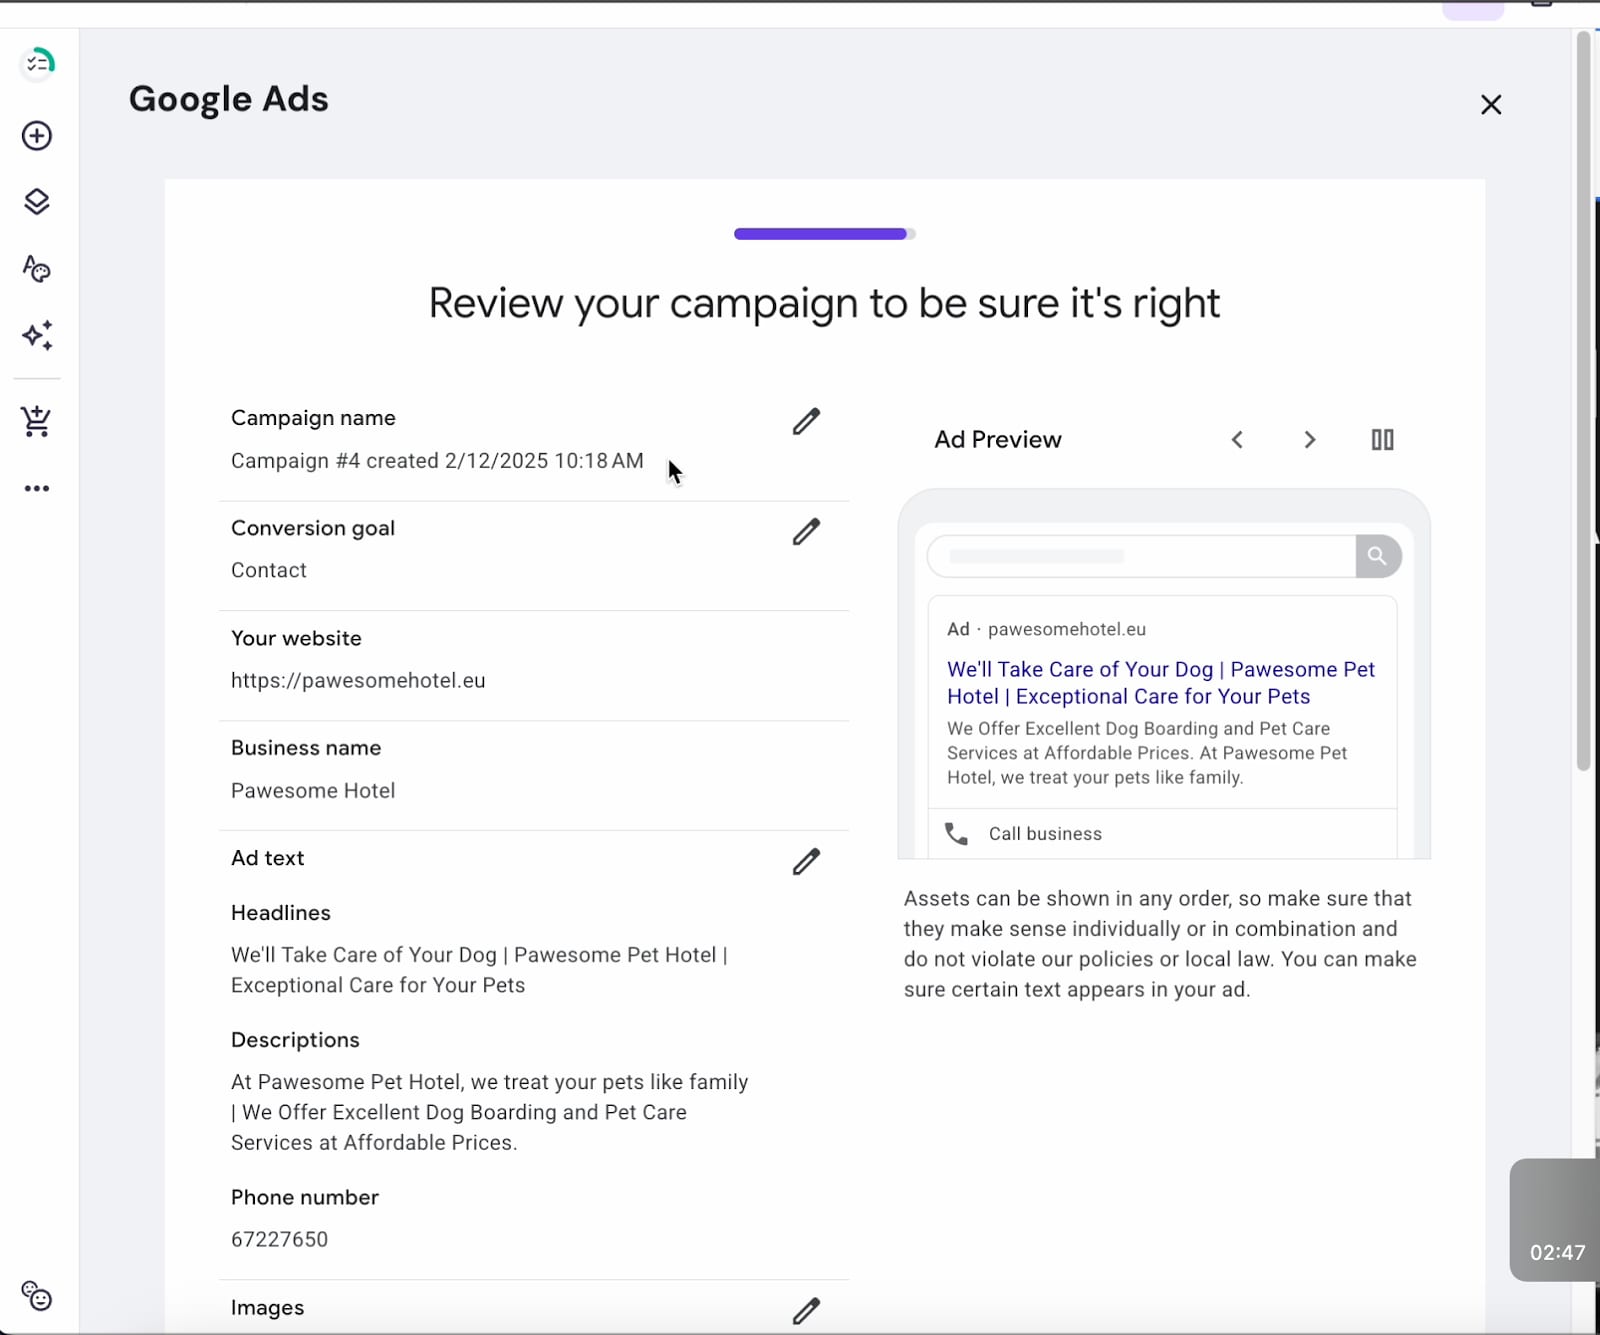
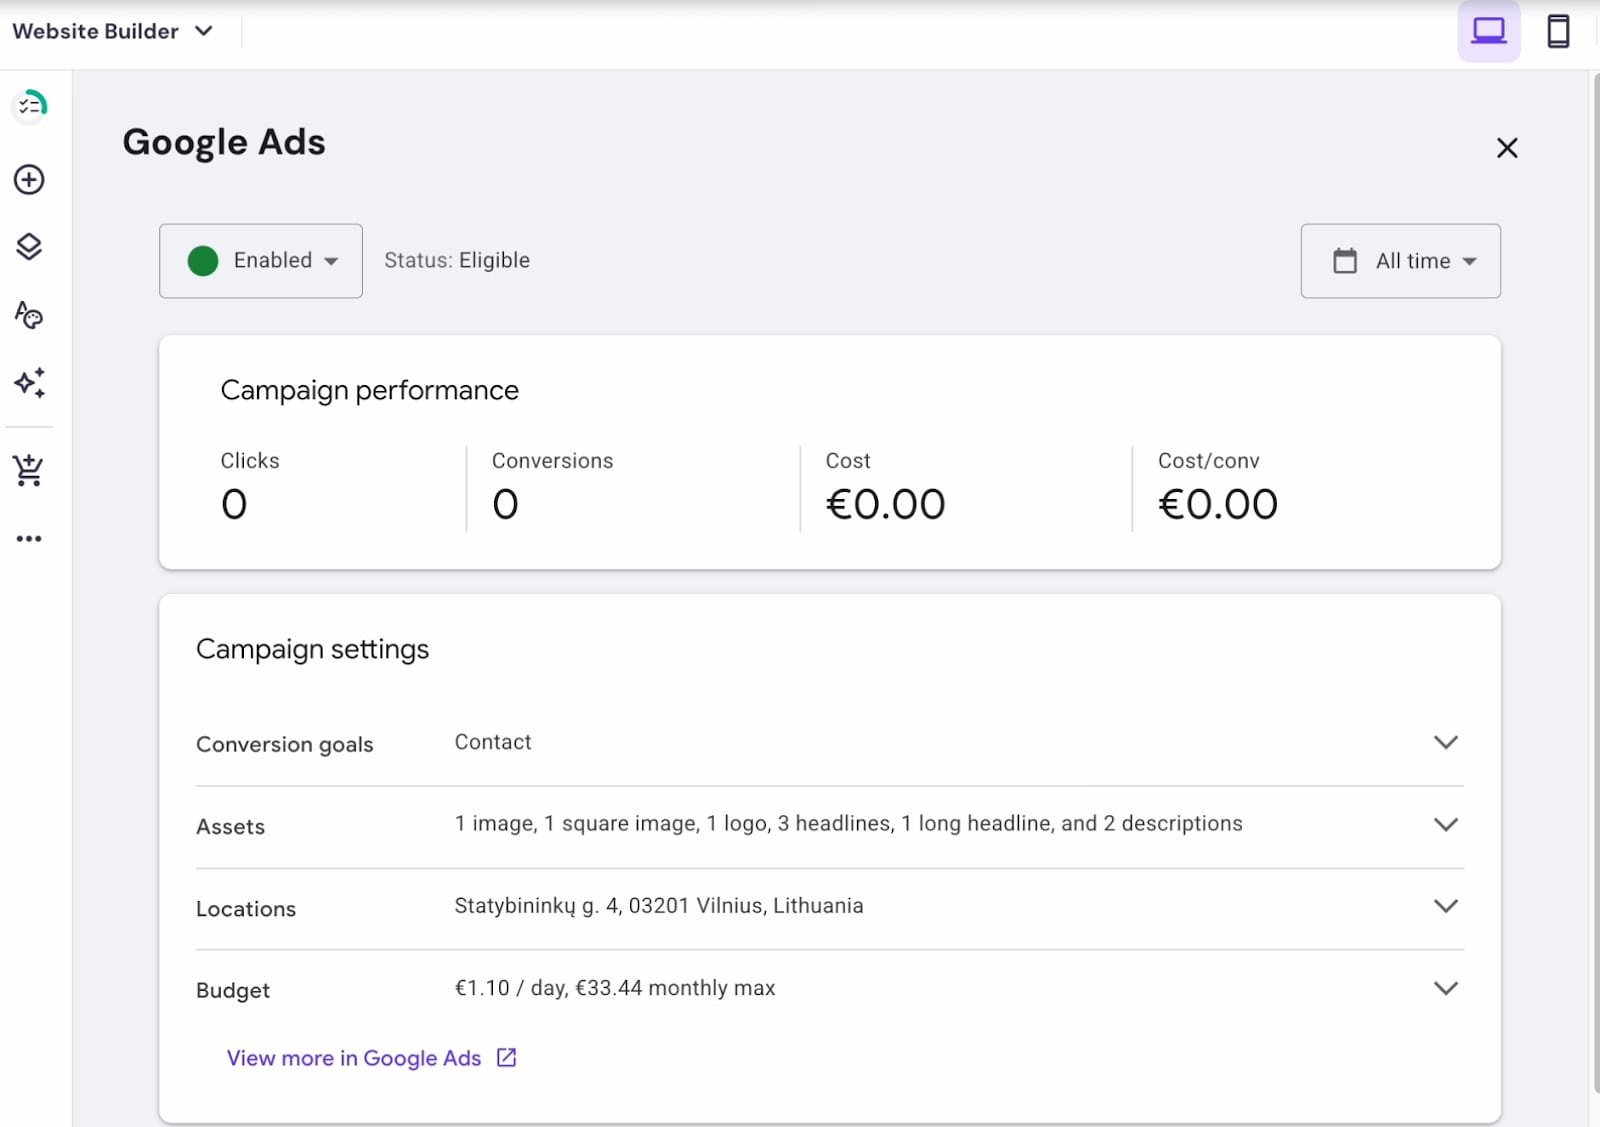
14. Review your campaign’s details:
15. As last step, add Billing data. You’re ready to go!
Link your Google Merchant Center and Google Ads App accounts
Once you have both Google Merchant Center and Google Ads accounts, ensure they are properly linked.
-
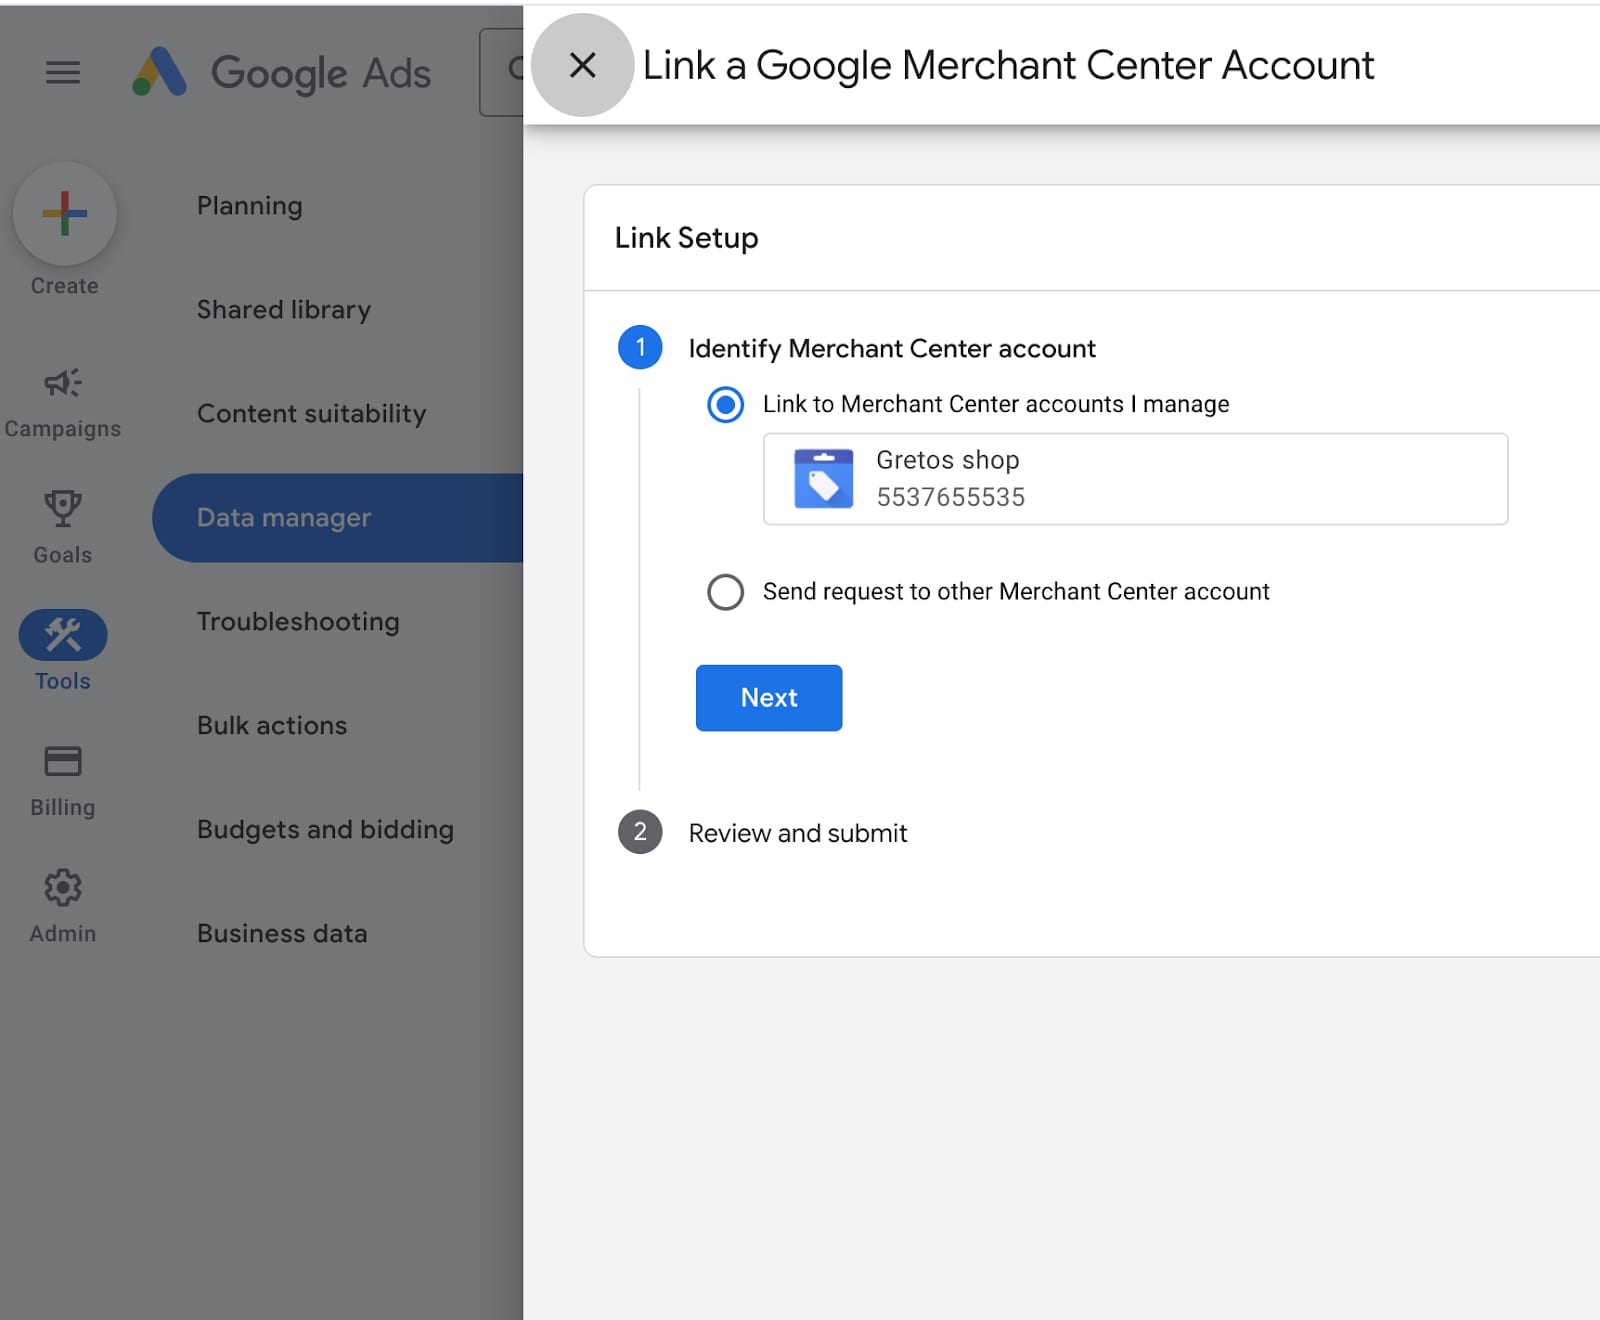
Log into your Google Ads account and visit “Data Manager” to link Merchant Account:
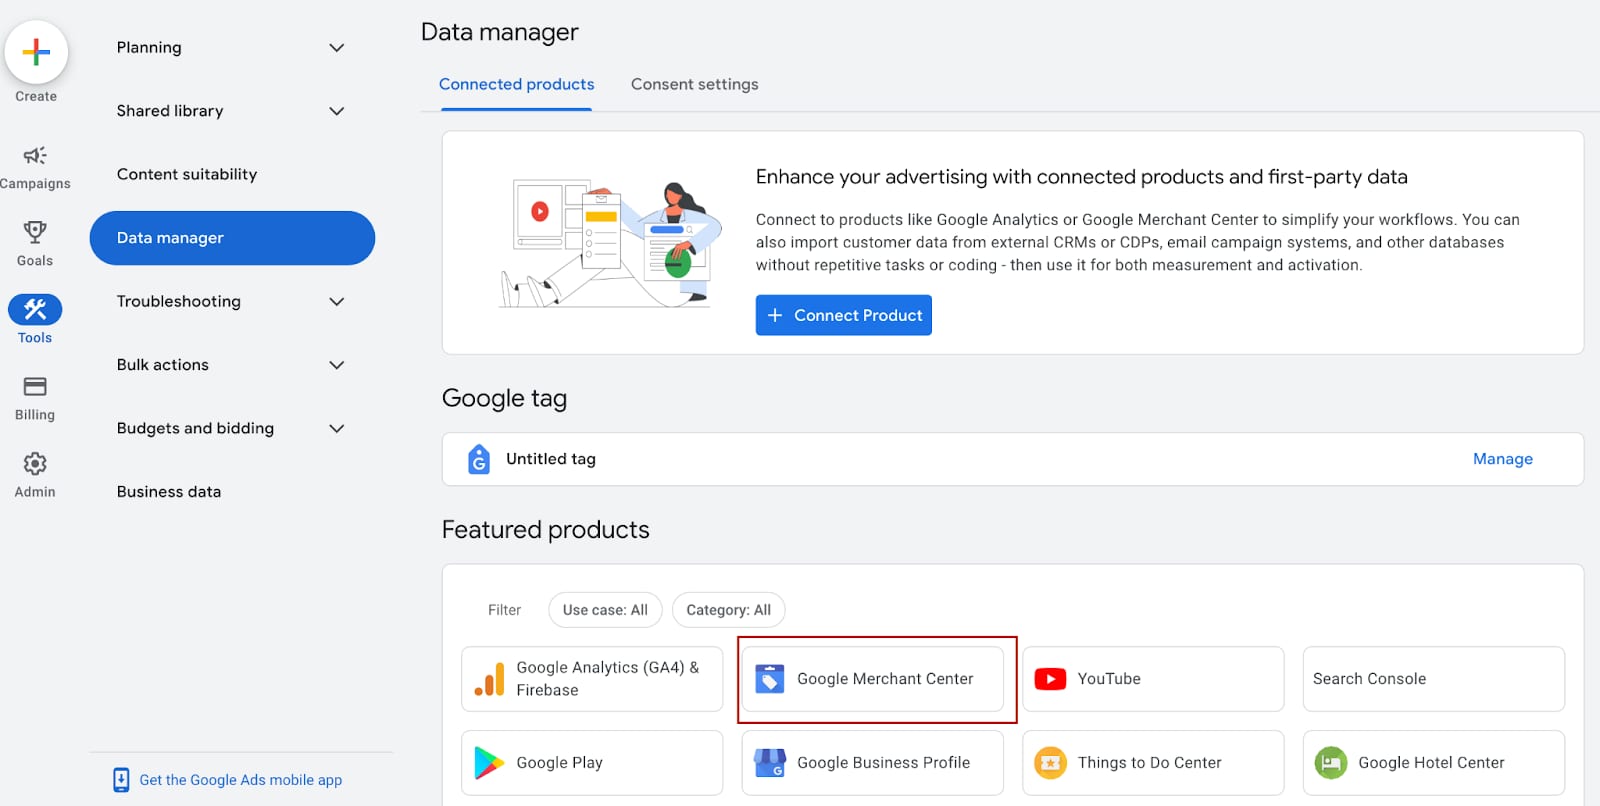
2. Select the Merchant Center to be linked. Once you see successfully linked accounts – you don’t need to create a new campaign as it already exists:
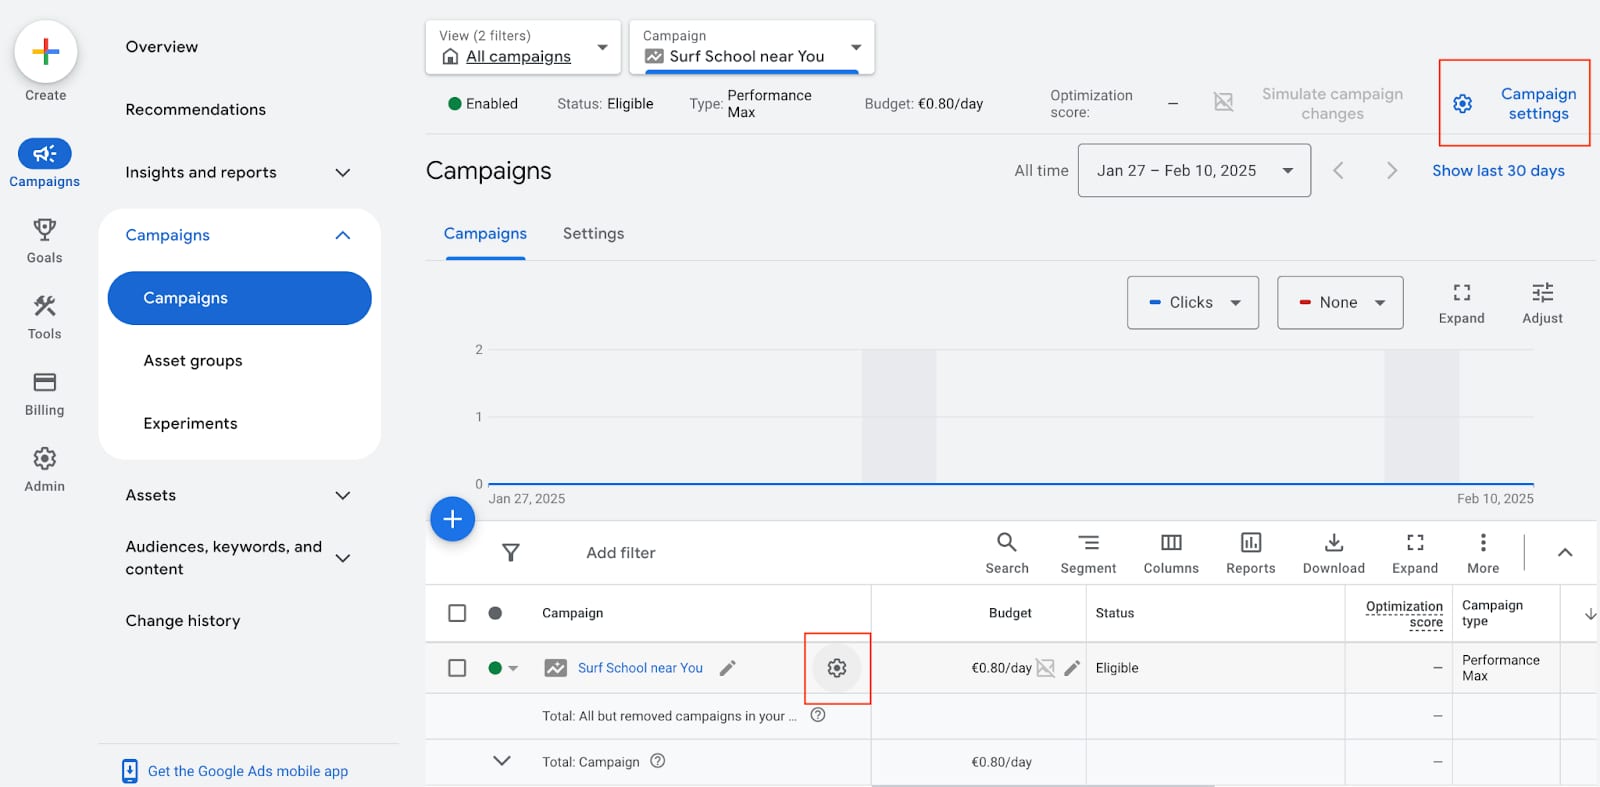
3. Navigate to “Campaigns” and select the “Surf School near You” created by the Google Ads App. Select “Campaign settings” or a Gear icon next to the campaign:
4. Once settings are opened, navigate to “Merchant and Comparison Shopping Service”:
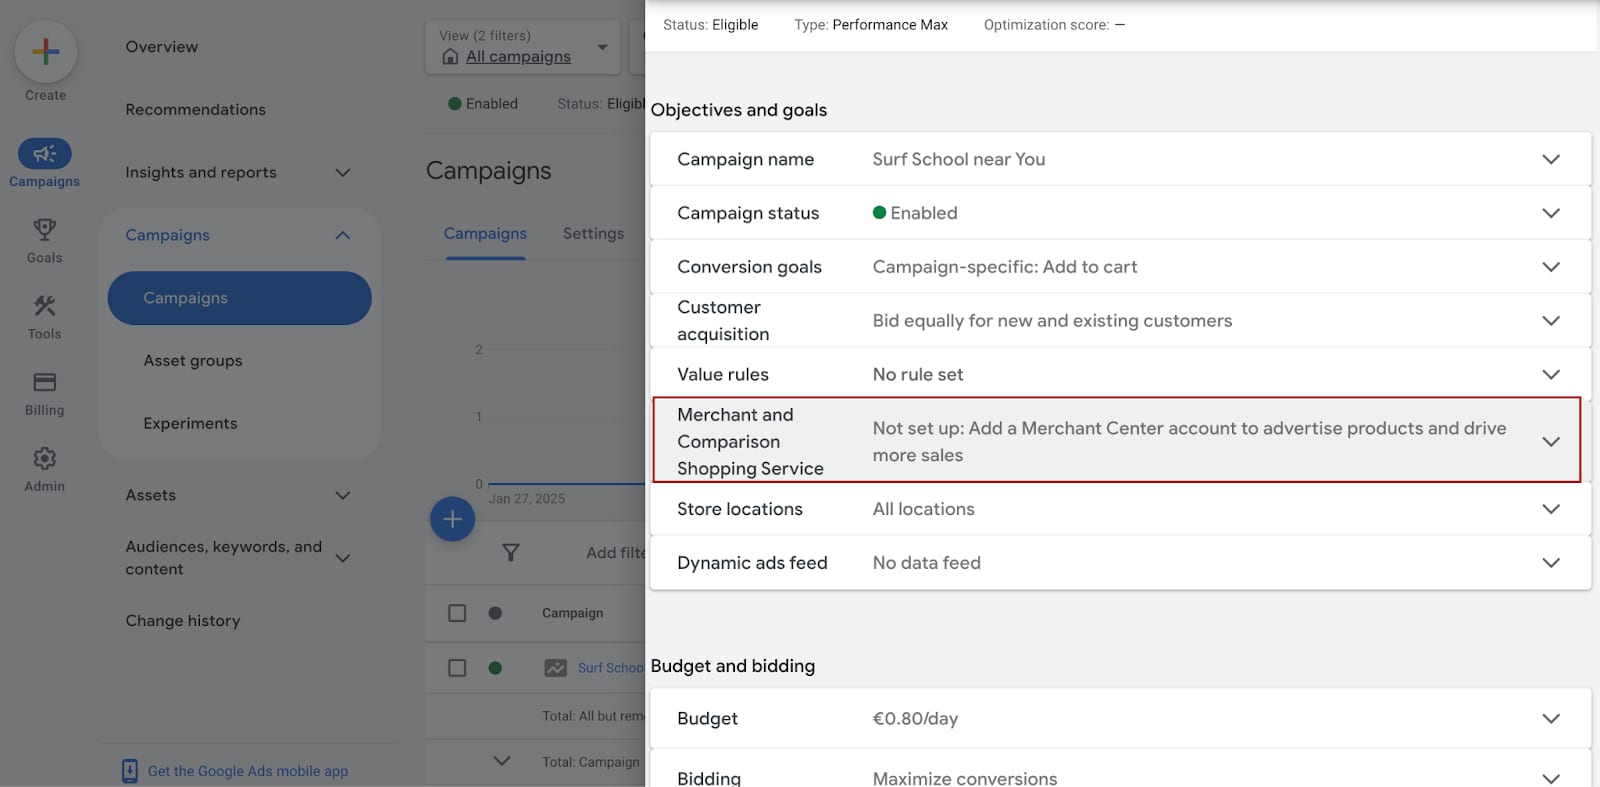
5. From here, select the “Merchant Center” account to be linked after clicking on a checkbox. Note that adding a Merchant Center account to the”Surf School near You” campaign cannot be undone.

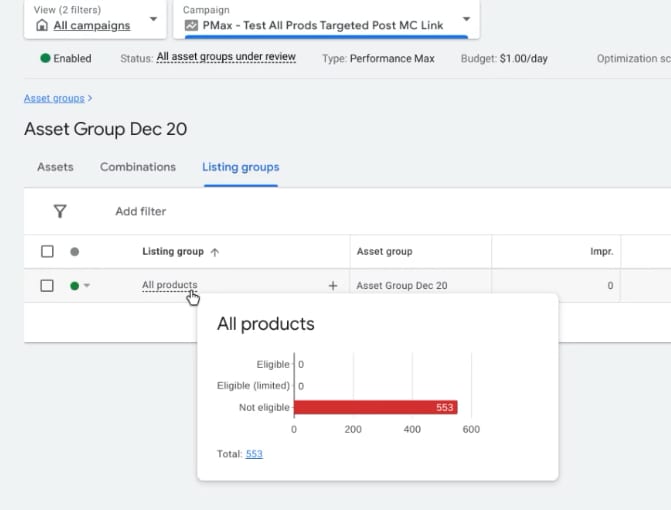
6. Verify all products being shown for Performance Max campaigns. Navigate to “Campaigns” and select the “Surf School near You”. Open “Asset groups” and “Listing groups”, choose “All products will be listed”:
And that’s it, you should be ready to go 🎈
If you are looking for ways to use Google Ads while not selling products online or boost your website’s performance while using Google Ads, refer to the respective articles.