1. Prepare Your .jar File:
-
Make sure your Minecraft server
.jarfile is ready (e.g.,server.jarorminecraft_server.jar). -
Rename it to something simple, such as server.jar, if needed.
2. Access the Hostinger Game Panel:
-
Log in to your Hostinger Game Panel account.
-
Select your Minecraft server instance from the list of servers and click on Manage.
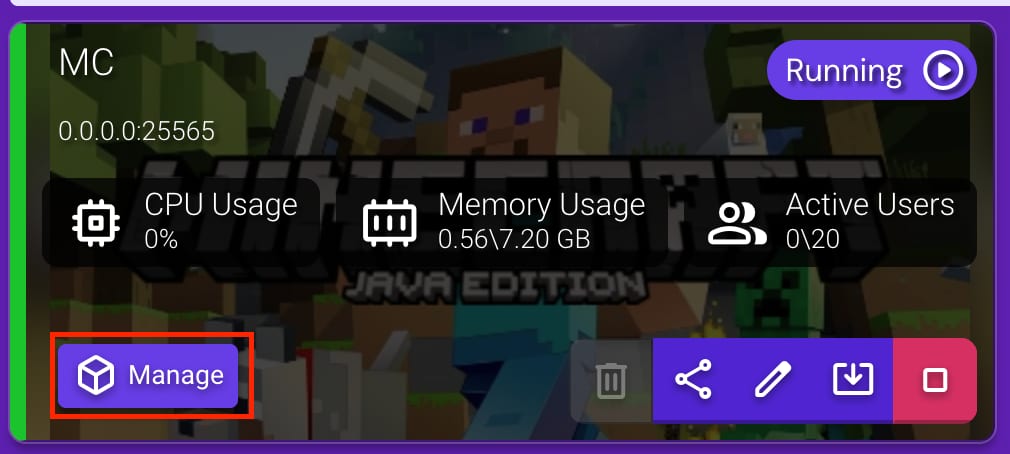
3. Stop the Server:
-
Click the Stop button to safely stop the server before uploading new files.

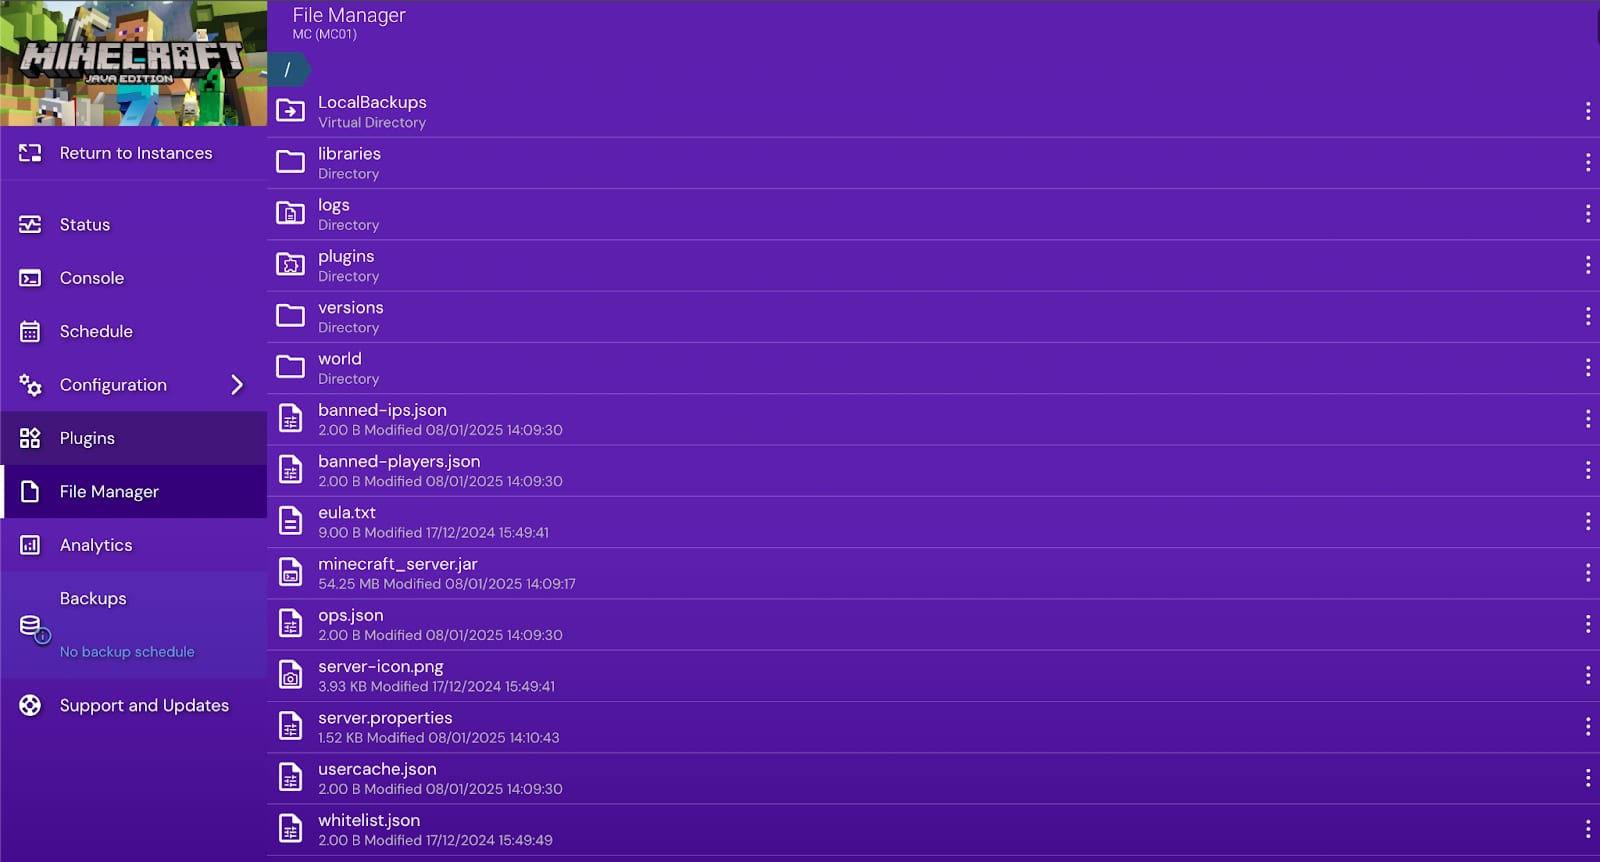
4. Upload the .jar File:
-
Navigate to the File Manager tab in the left-hand menu.
-
Drag and drop your
.jarfile from your local machine to the root directory.
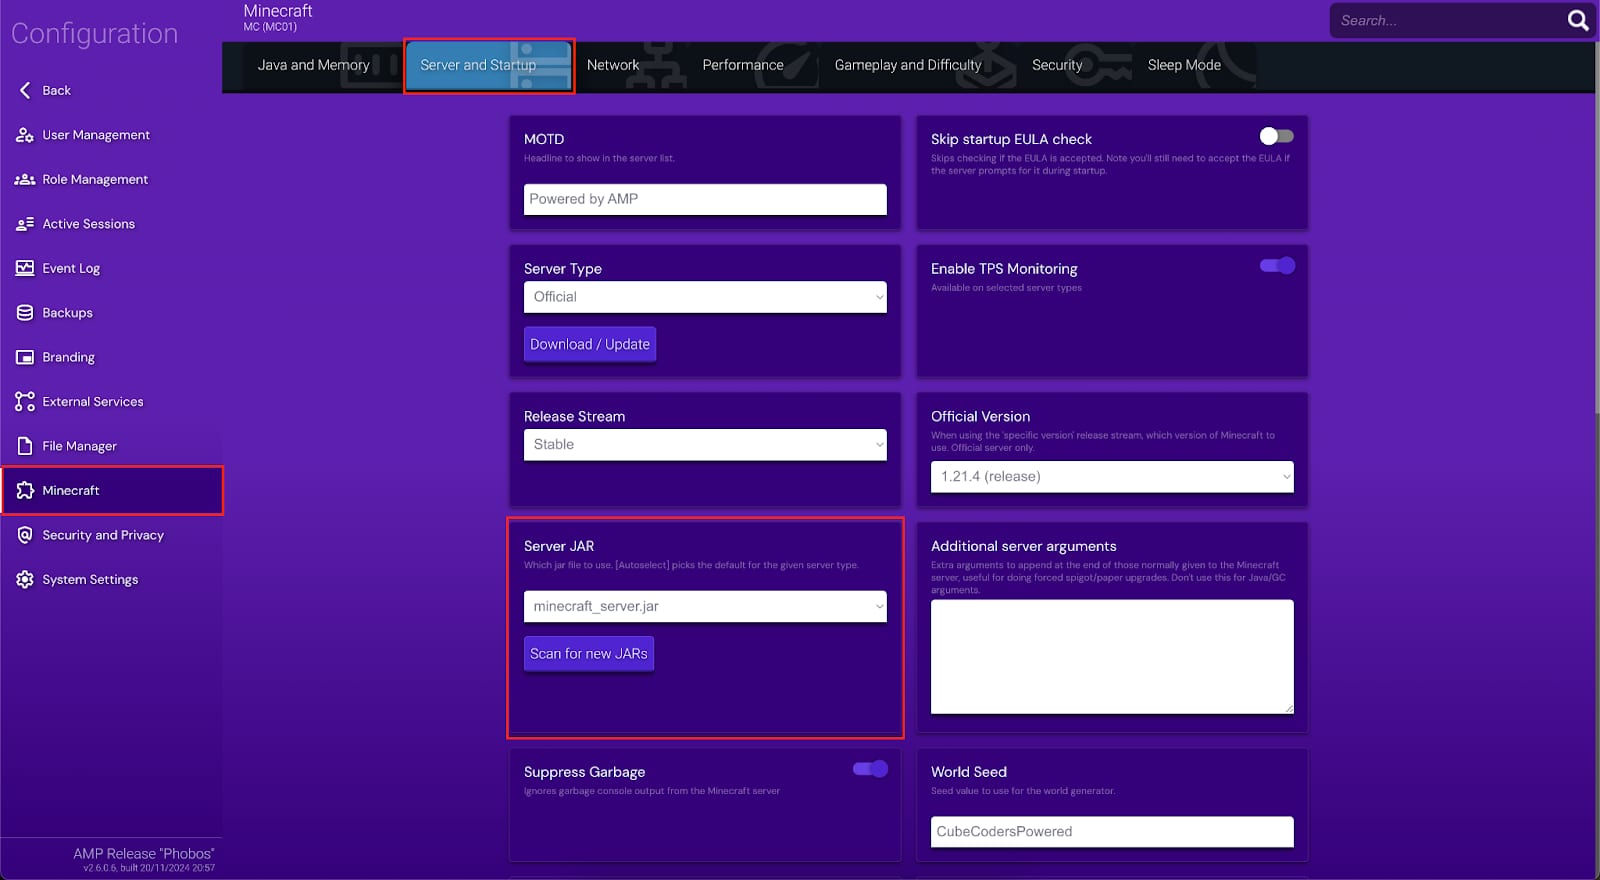
5. Set the Server .jar File:
-
Go back to the Configuration tab from the left-hand menu.
-
Select Minecraft section.
-
In the top tab select Server and Startup.
-
Find the field labeled Server JAR.
-
Replace the existing value with the name of your uploaded file (e.g.,
server.jar).
6. Start the Server:
-
Return to the Status tab.
-
Click the Start button to launch the server using the new
.jarfile.