Deploying your Bolt.new application to a Hostinger VPS is straightforward. Follow this step-by-step guide to get your site up and running quickly.
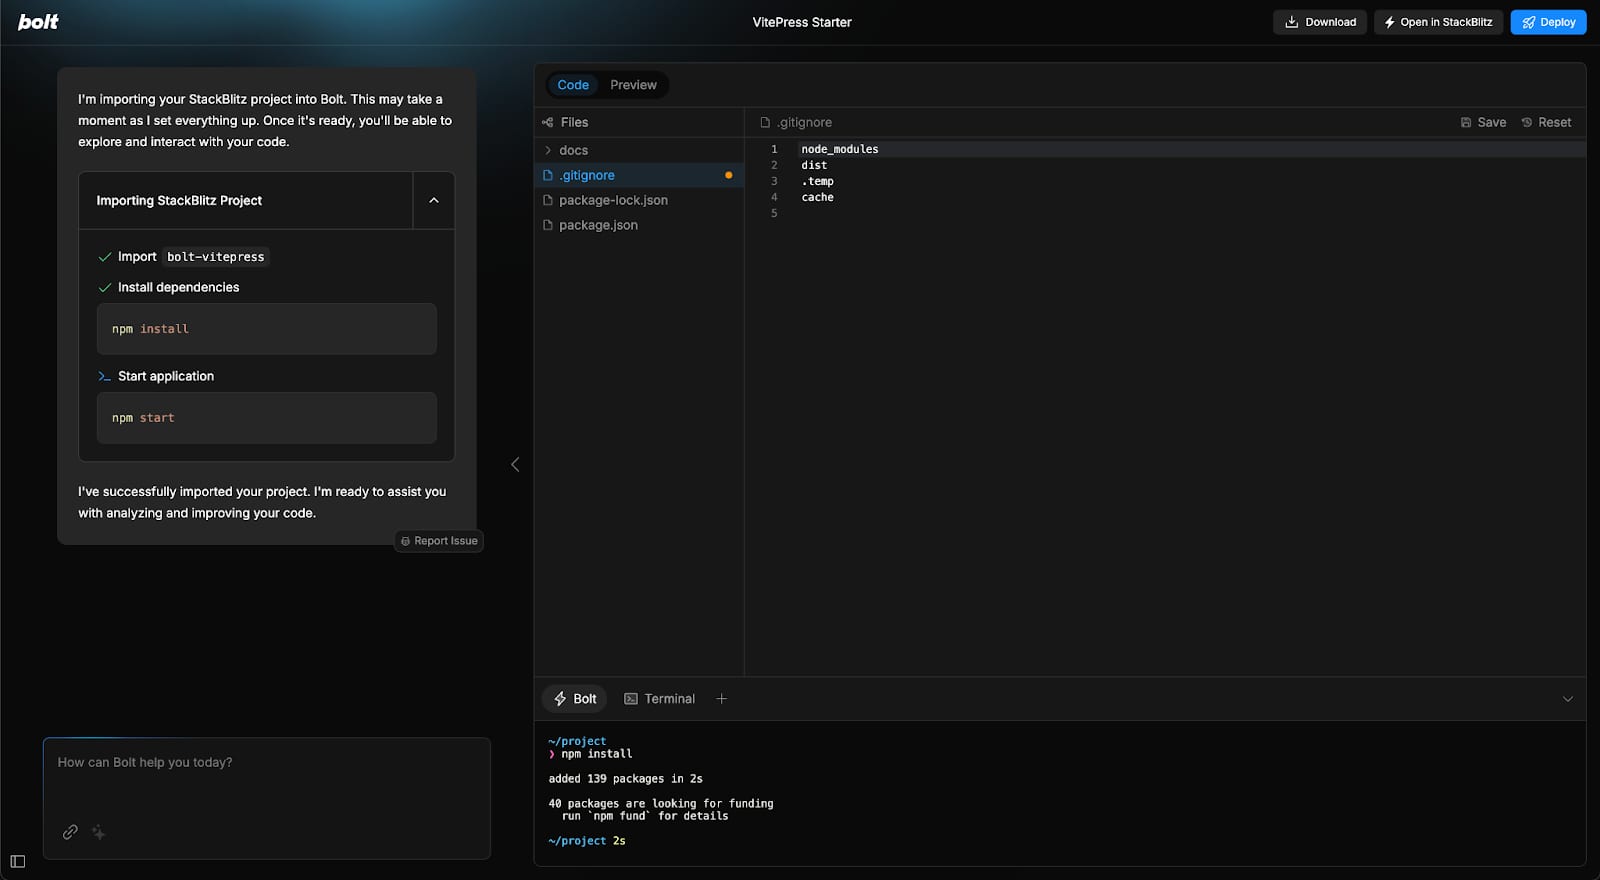
Step 1 – Create and download your application in bolt.new.
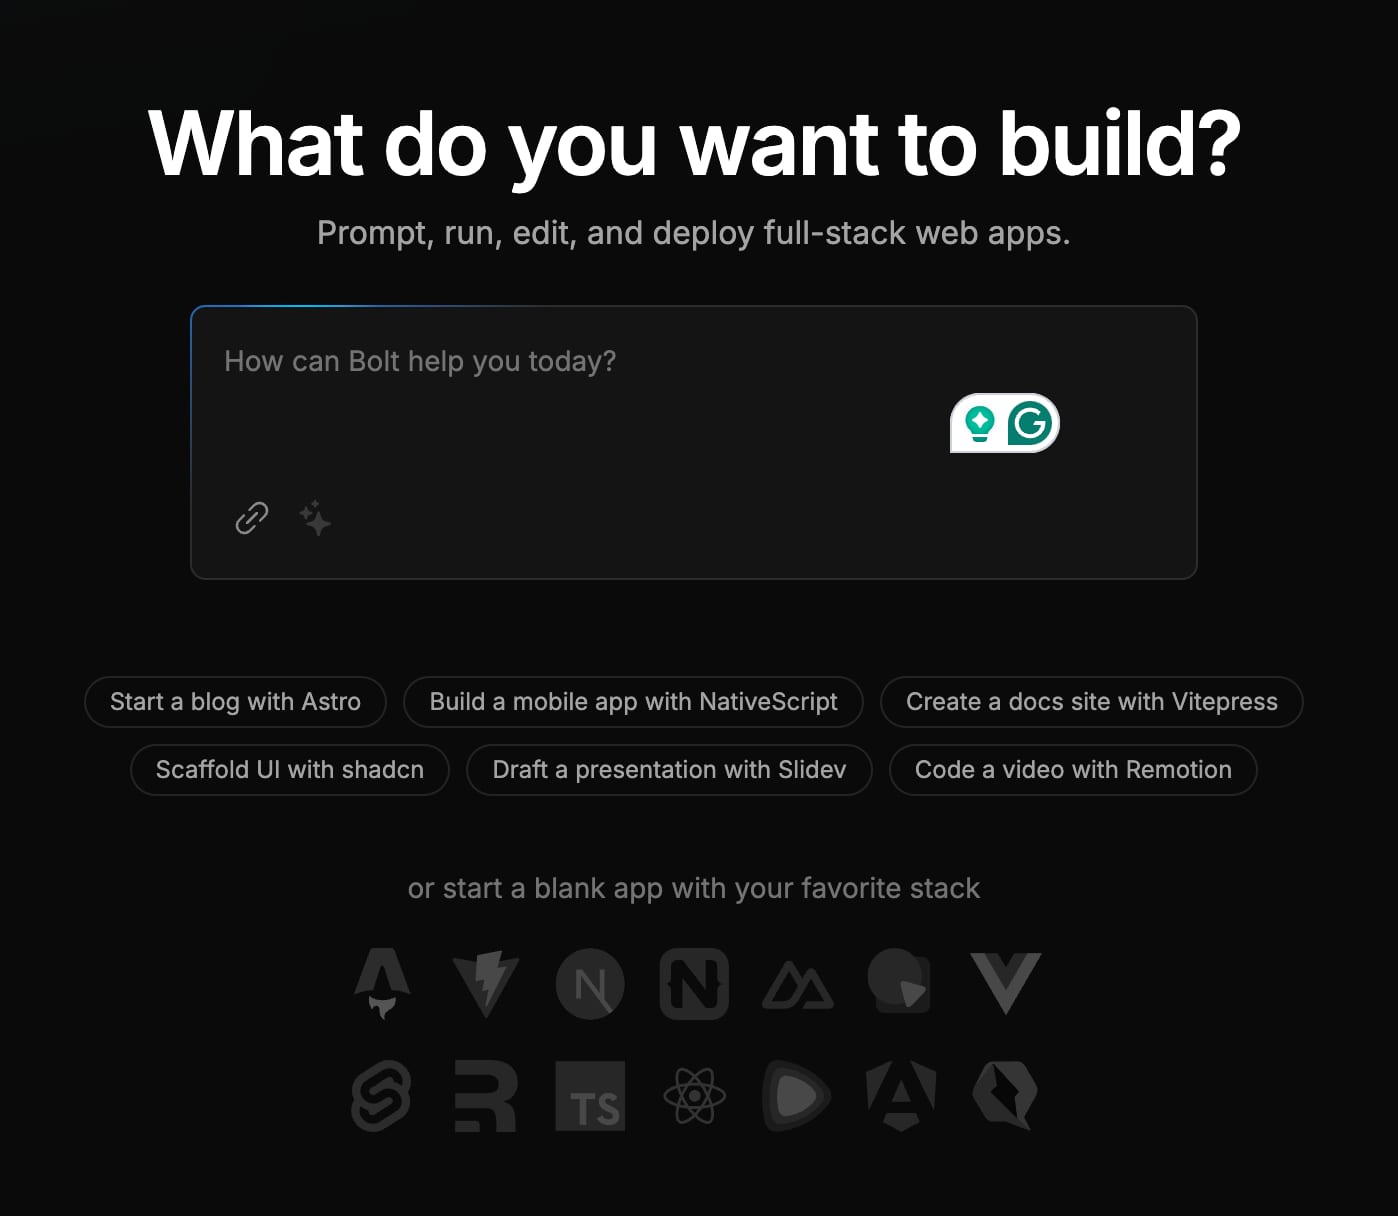
For this guide, we will use their suggestion for creating a Vitepress application, but the process should be similar to all projects.
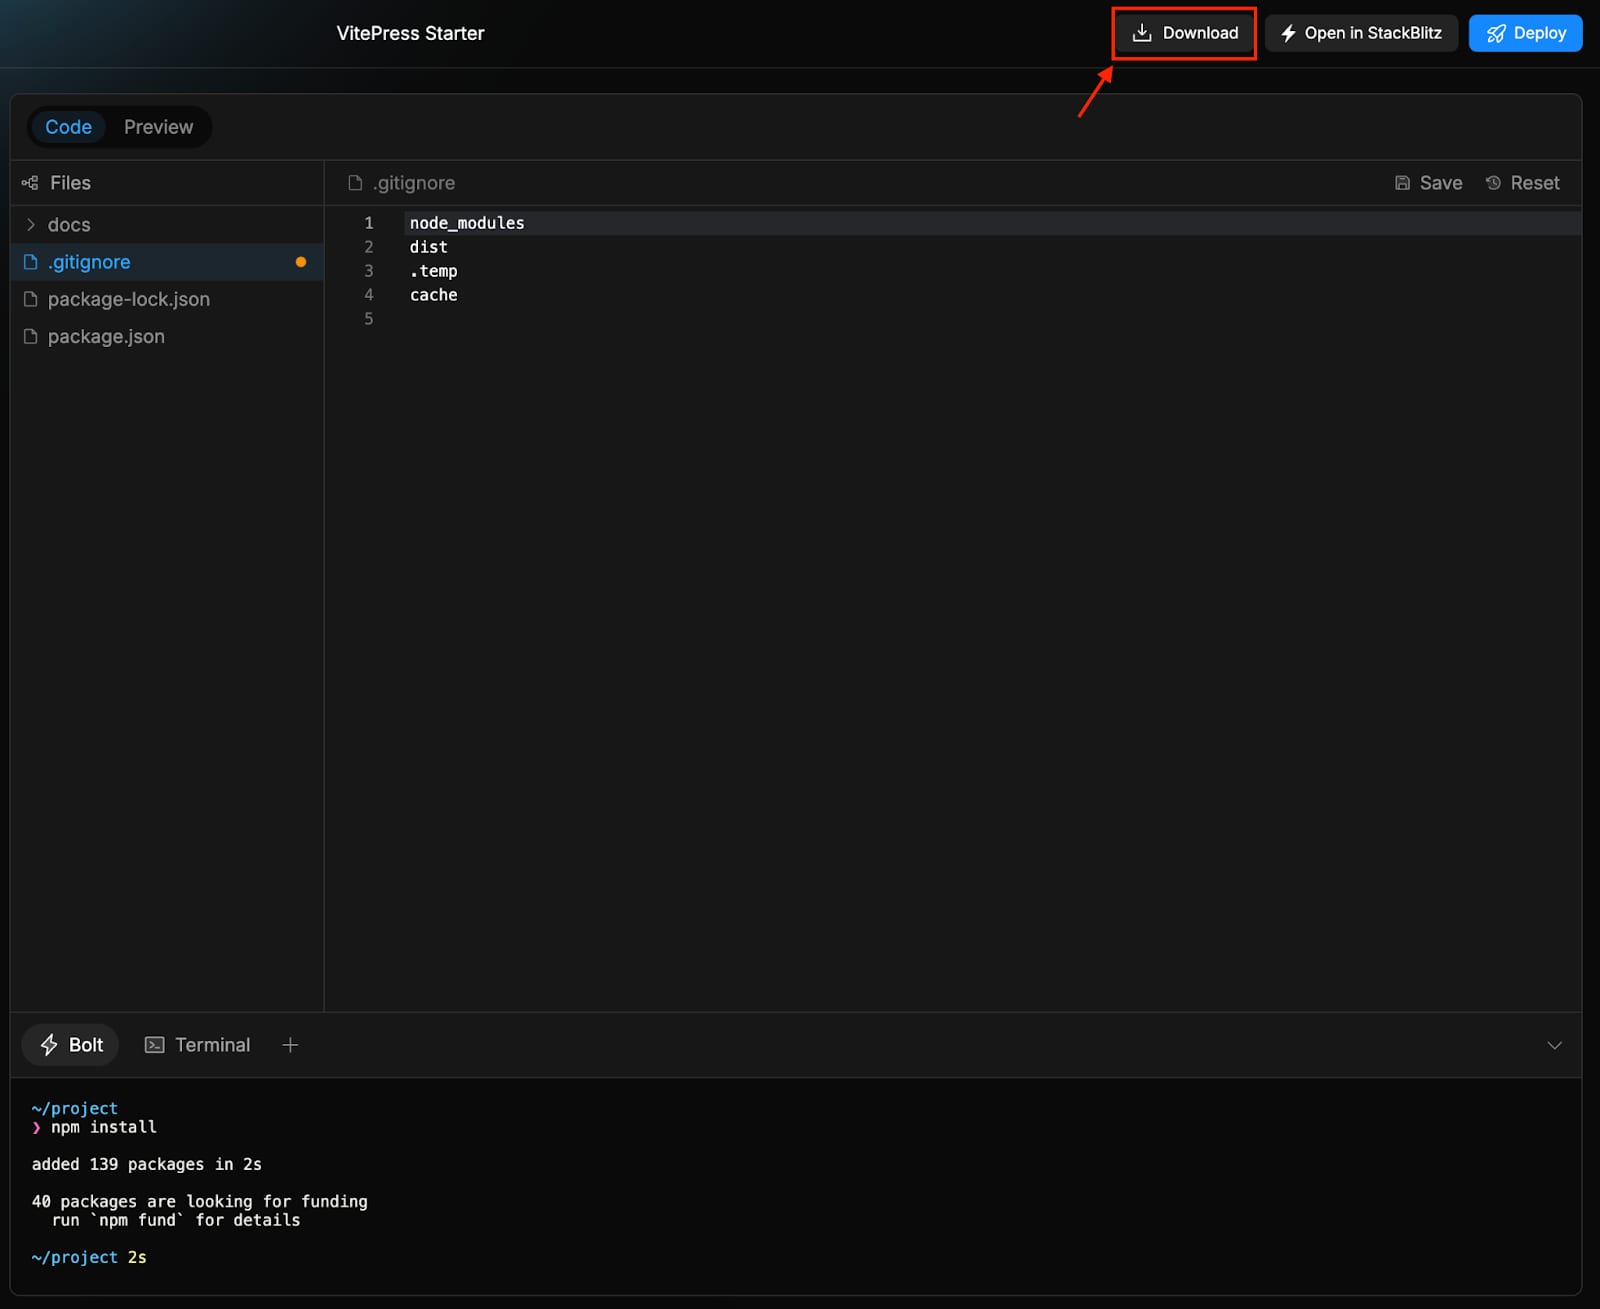
Once the code is generated, you can download the source code with a single click. Simply click the Download button located in the top-right corner, and a ZIP file will be downloaded for you.
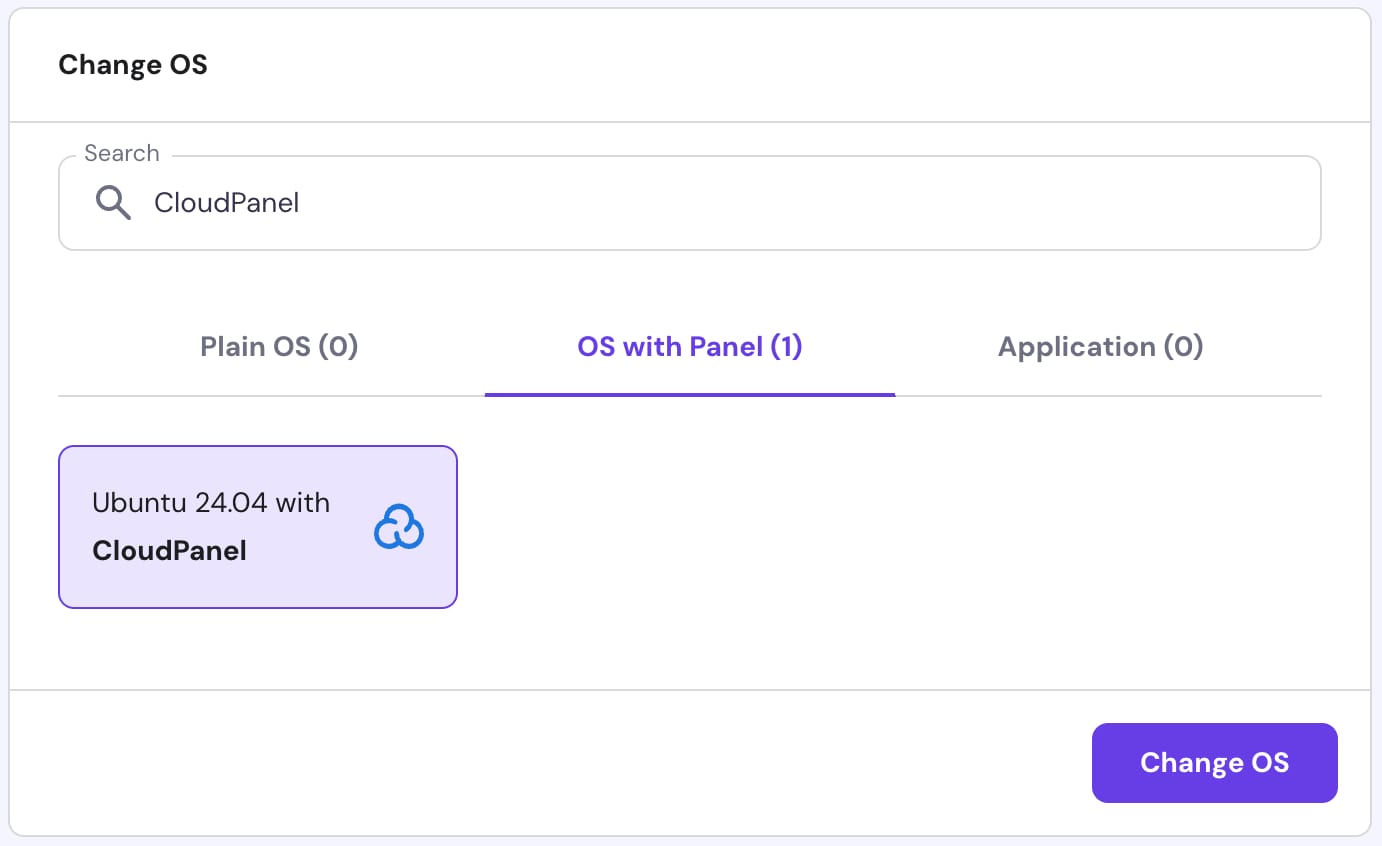
Step 2 – Install Ubuntu 24.04 with CloudPanel in Hostinger
Step 3 – Access your CloudPanel account
Enter https://your_vps_ip:8443/
Replace your_vps_ip with the IP address of your VPS.
Enter the login credentials provided during the CloudPanel setup:
Once logged in, navigate to the “Sites” tab.
Click “Add Site” and select Node.js.

Enter your domain (e.g., domain.tld) and complete the setup.
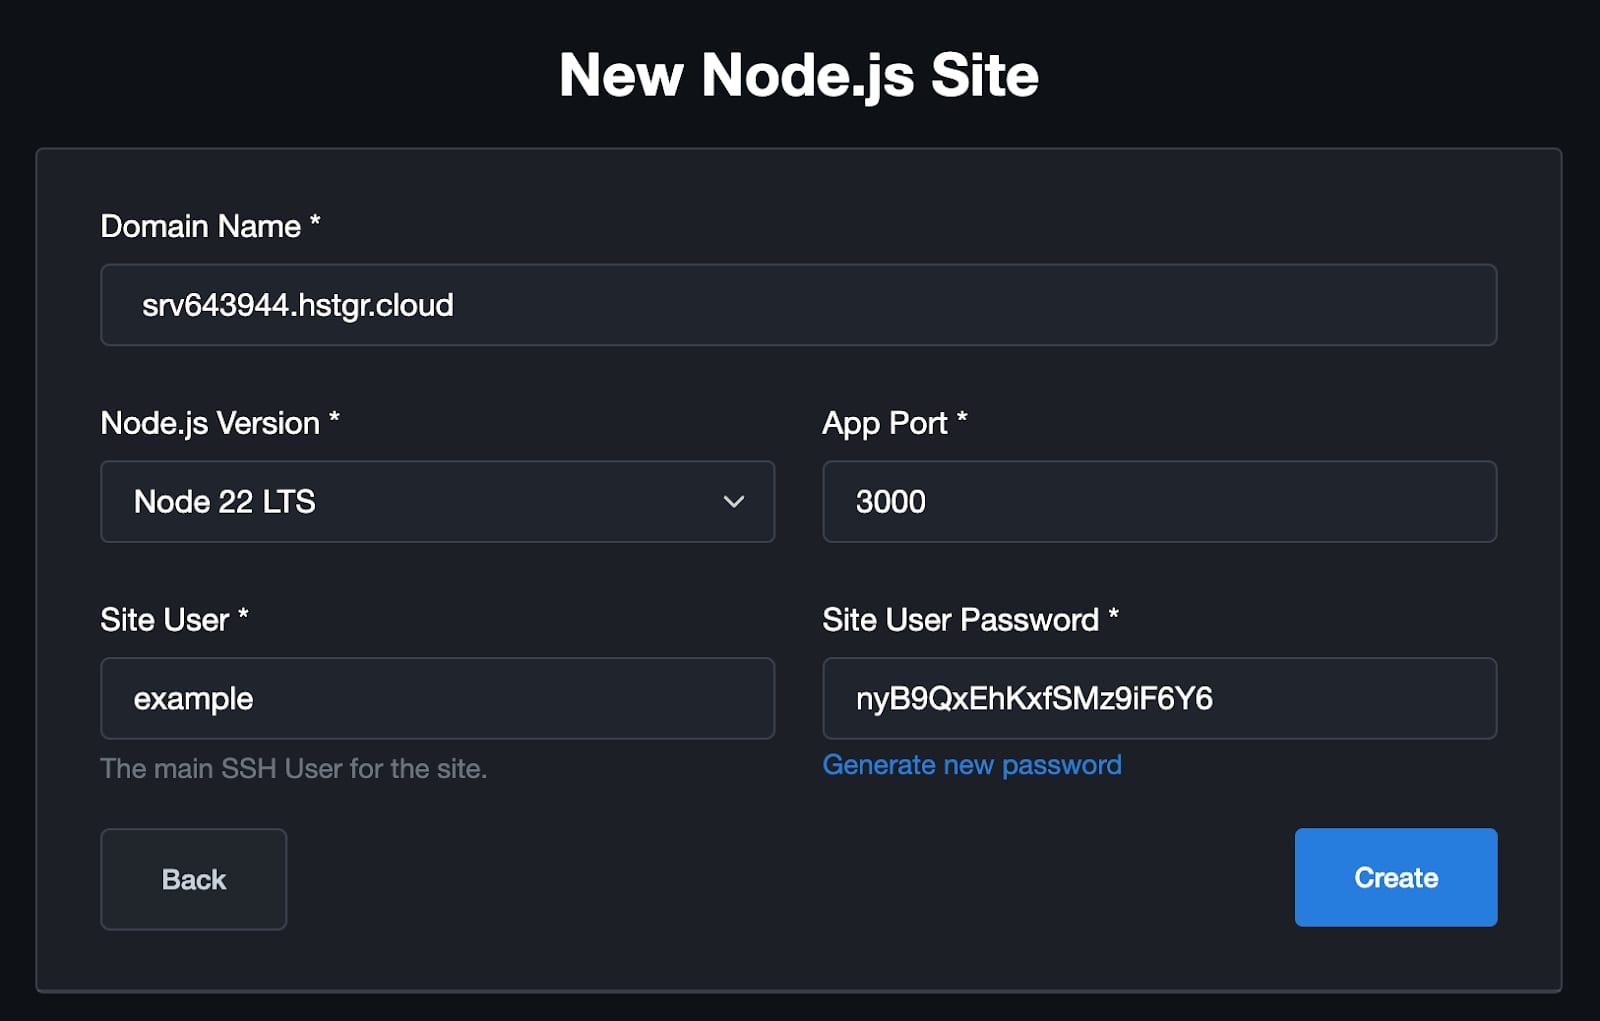
Note: You can use your hostname as your domain name for this guide
Step 4 – Upload Your Source Code
-
Go to your newly created site by clicking on the “Manage” button.
-
Open the File Manager in CloudPanel.
-
Navigate to
/htdocs/your_domain_name/ -
Upload your downloaded source code .zip file here and extract it. Make sure all files are in
your_domain_namefolder.
Step 5 – Install Dependencies
-
Connect to your VPS via SSH:
ssh example@your_vps_ip -
Navigate to your project directory:
cd /home/your_username/htdocs/your_domain_name/ -
Install Node.js dependencies:
npm install
Step 6 – Build the Application
-
Run the build command to generate static files:
npm run build -
Install the serve package globally:
npm install -g serve -
Use PM2 to keep the server running:
npm install -g pm2pm2 start "serve ./docs/.vitepress/dist" --name "vitepress"pm2 savepm2 startup -
Check Your Application
Open your domain in a browser (e.g.,http://domain.tld) to confirm the application is running.
Step 7 – Enable SSL (Optional)
-
In CloudPanel, go to the SSL/TLS tab.
-
Click Actions → New Let’s Encrypt Certificate.
-
Verify that SSL is installed by visiting your domain via HTTPS (e.g.,
https://domain.tld).
That’s It!
Your Bolt.new application is now live on your Hostinger VPS. 🎉